30
-EN
Audio Processor Operation (Optional)
Creating Personal Equalizer
Characteristic Curves
You can create your own equalizer characteristic
curves. The following is the procedure.
NOTE
The Parking Brake must be engaged to access the
Equalizer Adjustment mode screen. Attempting to access
this screen while driving, the warning – CAN’T
OPERATE WHILE DRIVING will be appeared in the
display.
1
Display the equalizer mode screen by pressing
one of the Function buttons
1
(FLAT) through
6
(NEWS) to select the desired characteristic
curve you wish to change.
2
Press and hold the FUNC (RETURN) button for
at least 2 seconds.
The display changes to show the equalizer
adjustment screen .
3
Rotate the rotary encoder clockwise or
counterclockwise to select the frequency that
you wish to adjust. The colour of the frequency
changes when it is selected.
4
Press the rotary encoder to execute the
selection.
5
Make level adjustments by rotating the rotary
encoder. Press and release the rotary encoder
at the desired level.
Repeat the above steps to adjust other
frequencies.
6
When the adjustments have been completed,
press the FUNC (RETURN) button.
The display changes to the Equalizer mode
screen.
Selecting Factory Surround Mode
Presets
Depending upon the music source you listen to,
you can choose your desired surround mode from
6 factory-preset surround modes.
1
Press the SOURCE button.
The main menu screen appears.
2
Press the
4
(A.PROC) button.
The Audio Processor list will be displayed.
3
Turn the rotary encoder and select "Surround"
then press the rotary encoder.
The Surround mode screen appears.
4
Press the Function button (
1
through
6
) that
has your desired surround mode.
NOTE
You can choose from 6 factory preset surround modes
(NORMAL, STADIUM, LIVE, CHURCH, DANCE, and
HALL).
5
Press the FUNC (RETURN) when your selection
has been made.
The display returns to the Audio Processor List
screen.
Tip
When the FUNC (RETURN) button is pressed, the
display returns to the previous screen.
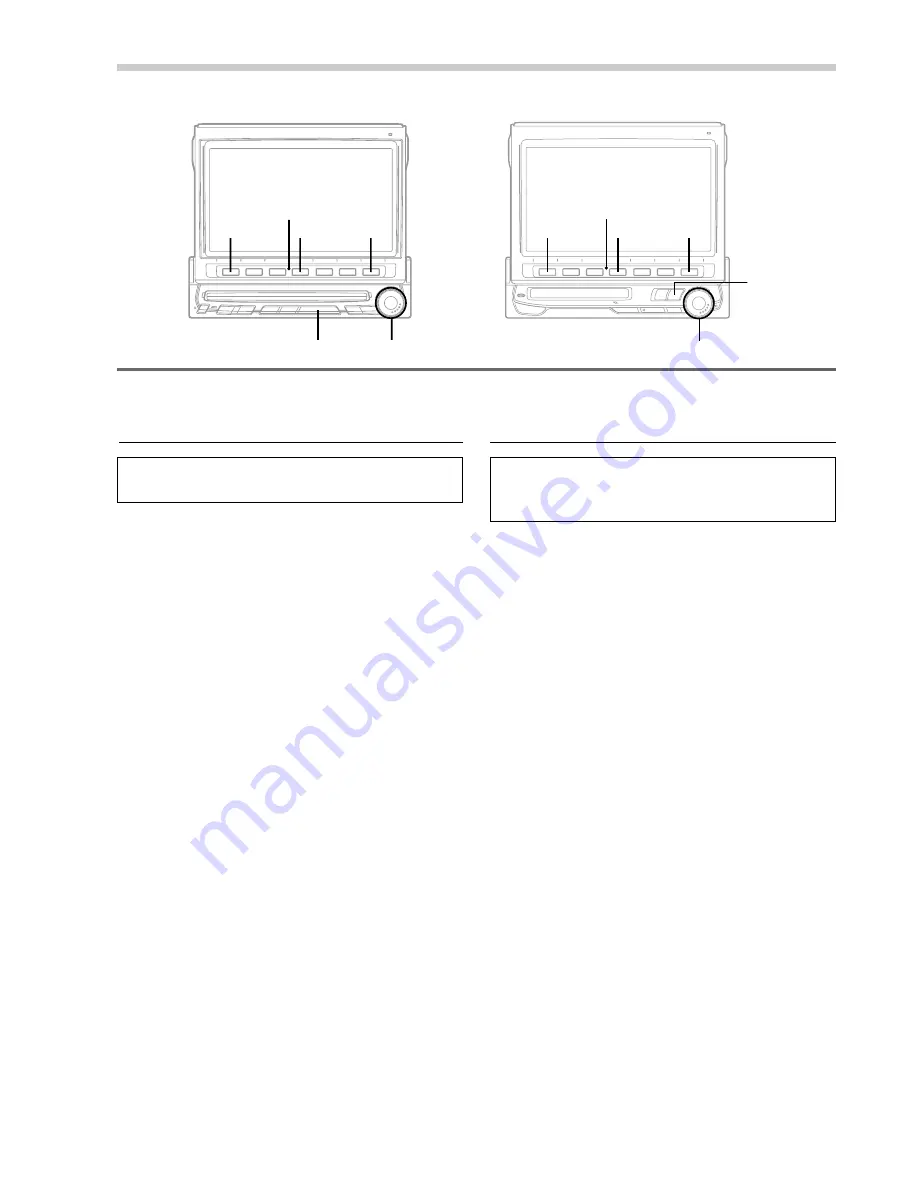
SOURCE
SOURCE Rotary encoder
Rotary encoder
1
FUNC
1
FUNC
4
4
Function buttons
(
1
through
6
)
Function buttons
(
1
through
6
)
(IVX-C806)
(IVX-M706 .... with MD built-in
CVA-1006R ... without MD built-in)
Summary of Contents for CVA-1006R
Page 70: ...68 EN ...


