iFT Series Hardware Installation Manual
ADPRO
26
27817_08
3.9
RAID 1 Support
3.9.1
About RAID 1
RAID stands for Redundant Array of Independent Disks (originally Redundant Array of Inexpensive Disks). It is a
storage technology that combines multiple disk drive components into a logical unit. Data is distributed across
the drives in one of several ways called RAID levels, depending on the level of redundancy and performance
required. RAID has become an umbrella term for computer data storage schemes that can divide and replicate
data among multiple physical drives, while the operating system can still access the data as being on one single
drive.
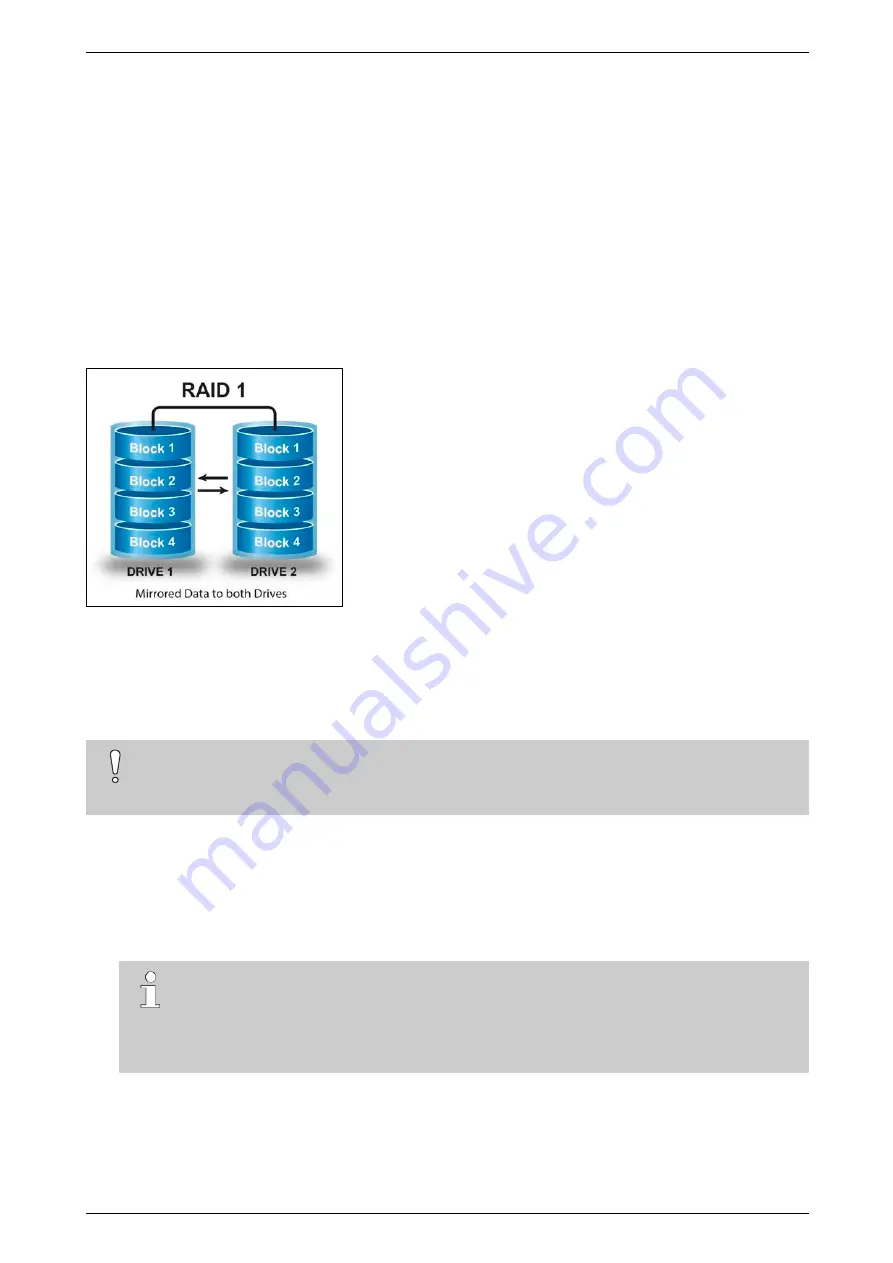
RAID 1 is about mirroring without parity or striping. Data is written identically to two drives, thereby producing a
“mirrored set”: the read request is serviced by either of the two drives containing the requested data, whichever
one has the shortest search time plus rotational latency.
3.9.2
Activating RAID 1
RAID 1 requires minimum 2 hard disks. The size of the RAID 1 recording combination is the smaller of the
2 disks installed in your device. For example: if you have a 1 TB disk and a 2 TB disk, the RAID 1 recording disk
has a 1 TB capacity.
Caution!
When you apply RAID 1, the system formats the selected disks and erases the data on the disks.
You will lose all the data on the disks. Back up your recordings first.
To activate RAID 1, proceed as follows:
1.
Stop the device, and switch off the power supply.
2.
Connect a monitor/screen and keyboard to the XO device.
3.
Switch on the power supply and wait for the boot window to appear.
4.
Select
XO Installer
and press Enter.
Note
The boot window only appears for a few seconds, then the device continues booting. To make
sure that you do not miss it, press the arrow keys on the keyboard repeatedly while the device is
booting. The device will then stop at the boot window, and this gives you time to select and open
the
XO Installer
menu.
5.
Choose
Update current system
>
Manage recording disks
.
6.
Use the arrow keys to select the desired hard disk and press Enter. An X appears in front of the selected
hard disk (between the brackets).
7.
Select also the second hard disk.


