Switching from PageMaker to InDesign CS2
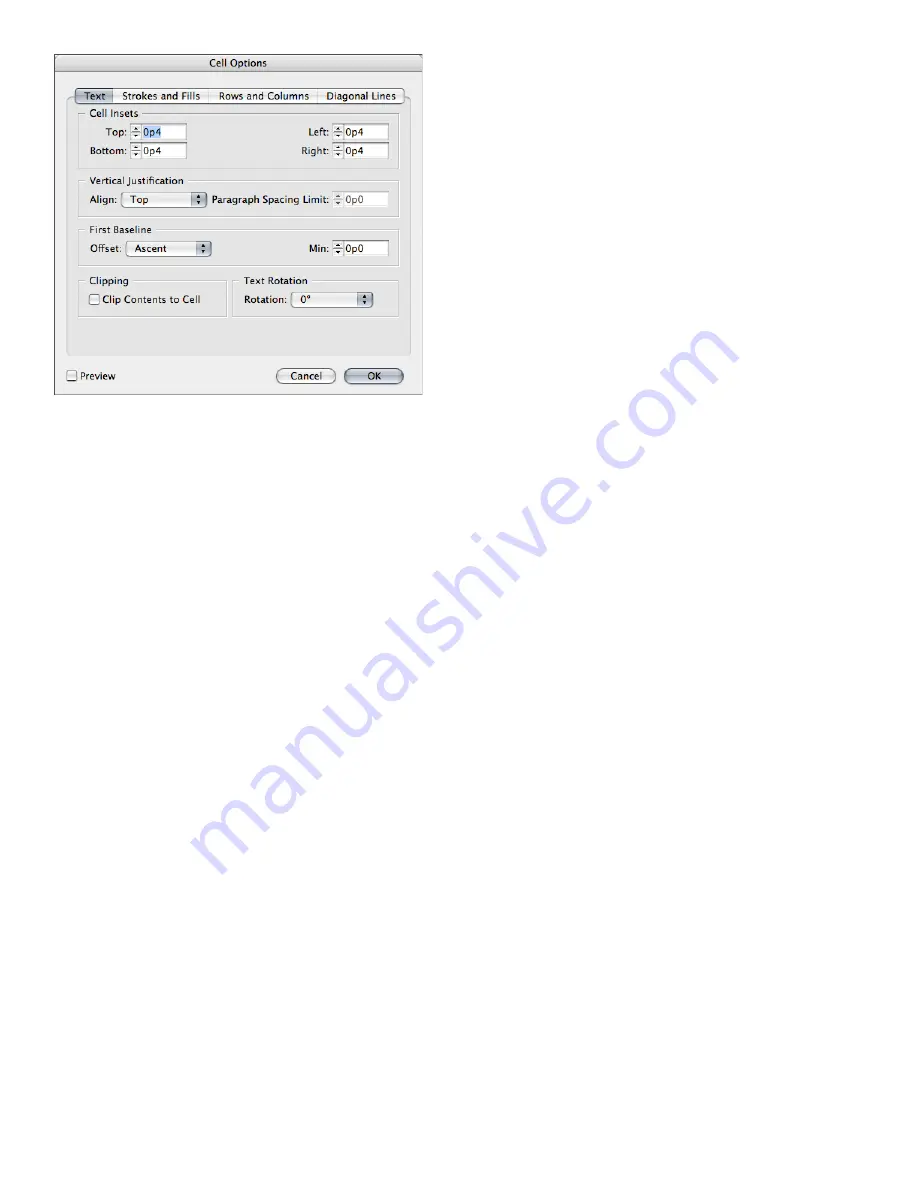
The various panes of the Cell Options dialog box (Table > Cell Options) let you control the placement of text
within a table cell.
The Row Strokes, Column Strokes, and Fills panes of the Table Options dialog box include
controls that let you alternate strokes and fills to enhance readability or improve the appearance
of a table. Adding alternating strokes and fills to table rows does not affect the appearance of the
table’s header and footer rows. However, adding alternating strokes and fills to columns does
affect header and footer rows.
You can also use alternating stroke and fill settings to create nonalternating patterns, such as
applying a fill to every cell. To create such an effect, specify 0 for Next in the second pattern.
Alternating stroke and fill settings override cell stroke formatting, unless you select the Preserve
Local Formatting option in the Table Setup panel of the Table Options dialog box.
The Table palette, the Control palette, and the context menu also include controls for modifying
tables. Table-related commands are displayed in the context menu when you select one or more
table cells.
Placing graphics in tables
You can use the Place command (File menu) to add a graphic to a table cell, or you can copy and
paste a graphic into a cell. If you add a graphic that is larger than the cell, the cell height expands
to accommodate the graphic, but the width of the cell does not change—the graphic may extend
beyond the right side of the cell. If the row in which you place the graphic is set to a fixed height,
a graphic that is taller than the row height causes the cell
to be overset similar to the way a text
frame is overset if it’s not big enough to display all of its text.


