1
Switching from PageMaker to InDesign CS2
Setting up columns
Both PageMaker and InDesign CS2 let you create columns to control the flow of text and help
you position text and graphics. By default, a page has one column defined by two column guides,
one at the left margin and one at the right margin. Changing the number of columns replaces all
existing columns with a new set of equally spaced columns. In PageMaker, the Column Guides
command (Layout menu) lets you specify column settings for document pages or master pages
after you create a document (that is, after you click OK in the Document Setup dialog box).
InDesign CS2 provides three options for setting up columns:
• You can specify column settings (the number of columns and gutter width) in the New Document
dialog box (File > New > Document) when you create a new document.
• After you’ve created a new document, you can add columns to document pages or master pages
by using the Margins and Columns command (Layout menu). Any changes you make are
applied to the pages selected in the Pages palette (Window > Pages). Note that any changes you
make in the Margins and Columns dialog box in InDesign CS2 don’t affect the columns inside
any text frames.
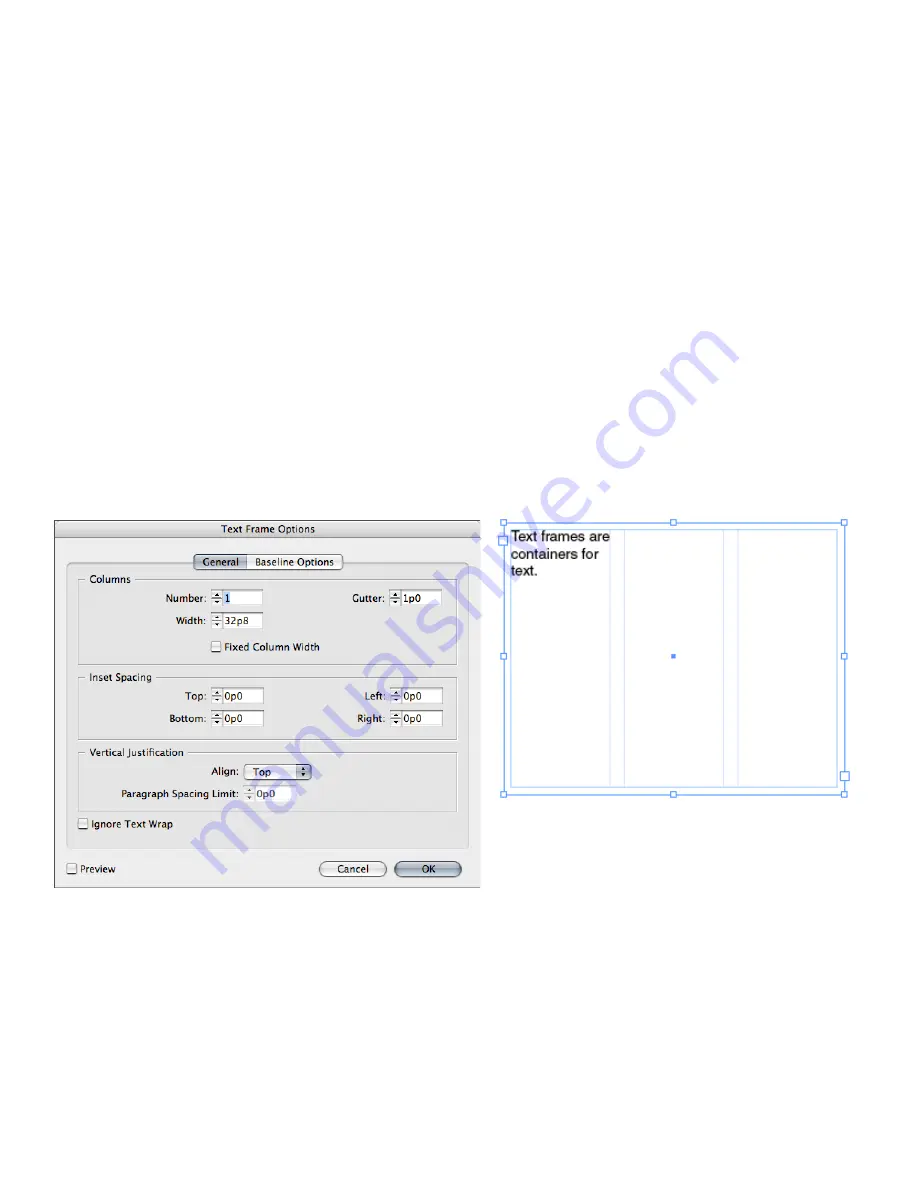
• You can set up equal-width columns within a text frame by selecting the frame, and then
choosing Object > Text Frame Options. In the Text Frame Options dialog box, specify the
number of columns you want in the Number field. Text frame columns exist only within
individual text frames, not on the page itself.
If you create multiple columns on a page, the column guides between columns appear in pairs.
When you drag one column guide, the pair moves. This allows you to create columns of unequal
widths. The space between the column guides is the gutter value you specified; the pair of guides
moves together to maintain that value.
Use the Columns controls in the General panel of the Text Frame Options dialog box (Object > Text Frame Options) to divide a text frame into multiple, even-width columns.


