32
Computer input
Adjusting screen size
With LX200, the size of the screen can be re-set to the value as you like.
On-screen menu
1
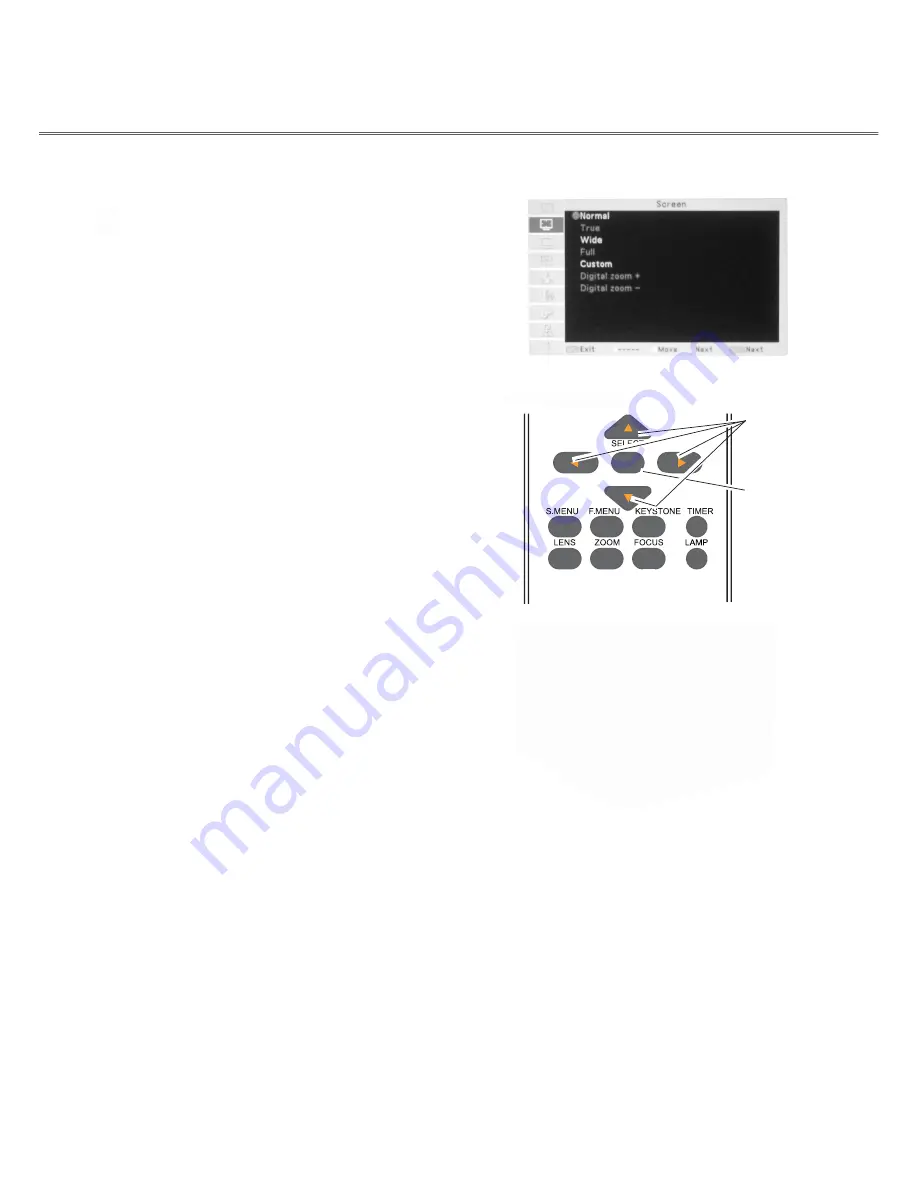
Press the F.MENU button to display the full screen menu. Use
▲
/
▼
to select Screen and press
►
or SELECT.
2
Press
▲
/
▼
to select your required item and then press
SELECT.
Normal
To project images in the same aspect ratio with the input signals.
True
To provide images in original size. When the original image size
is larger than the screen size (1024 x 768), the projector enters
display area selection mode automatically. Press
▲
/
▼
/
◄
/
►
to
select a display area. The arrow turns red upon adjustment and
disappears upon the maximum limit.
Wide
To provide an image with an aspect ratio of 16:9 by expanding
the image width uniformly.
Full
To provide an image to fit the screen.
Remote
control
Arrow buttons
Select
Custom
To help users manually adjust the proportion and position of the
screen.
When this item is selected, press
►
and the corresponding interface
will show on the screen. To adjust your required item, press
▲
/
▼
.
H/V scale: Adjust the horizontal/vertical screen scale.
H&V: When set to “On”, the aspect ratio is fixed. The Scale V
appears dimmed and becomes unavailable. Adjust Scale H,
and then the screen scale is automatically modified based on
the aspect ratio.
H/V position: Adjust the horizontal/vertical screen position.
Common: Save the adjusted scale to all the inputs. Press SELECT at
Common to display a confirmation box. To save the scale,
press SELECT. When Custom is selected, the saved scale is
used.
Reset: Reset all the adjusted values. Press SELECT at Reset to
display a confirmation box. To set, press SELECT at “Yes”.
Digital zoom +
Select Digital zoom +. The on-screen menu disappears and
D.zoom + appears. Press the SELECT button to expand the image
size. Press
▲
/
▼
/
◄
/
►
to pan the image. The Panning function can
work only when the image is larger than the screen size.
You can also enter the digital zoom + mode by pressing D.ZOOM
▲
or SELECT on the remote control.
√
Note:
• The projector does not support images with resolution higher
than 1920*1200. If the resolution of your PC screen is so,
please re-set to lower before connecting to the projector.
• Image data other than XGA (1024 x 768) will be modified
to those applicable to the screen size in the initial mode.
• If no signal is detected in the PC system menu, options
of True, Full, and Digital zoom + are not available.
Digital zoom -
Select Digital zoom -. The on-screen menu disappears and D.zoom
- appears. Press the SELECT button to compress the image size.
You can also enter the digital zoom – mode by pressing D.ZOOM
▼
or SELECT on the remote control.
To exit Digital zoom +/- mode, press any button except D.ZOOM
▲
/
▼
and SELECT.
To return to the original screen size, select Screen size in the
“Screen size adjustment” menu, re-select an input source in the
“Input source” menu, or adjust the screen size with D.ZOOM
▲
/
▼
.


