Appendix B: Acer Altos G710 rack installation guide
148
Installing the system into the rack
Caution!
To minimize the chances of injuries, make sure that two
or more people help in installing the server.
To install the system into a four-post rack
1
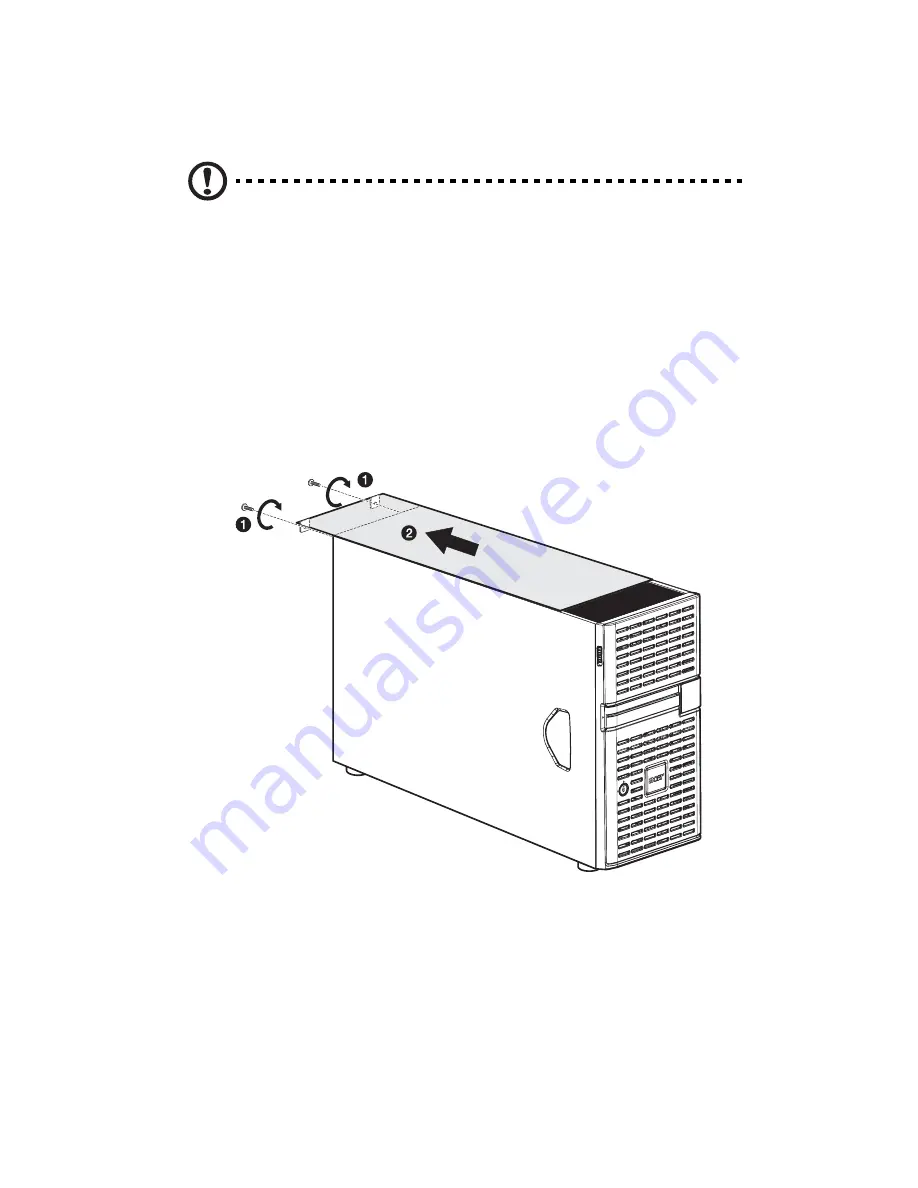
Remove the top panel from the server by following the steps
below:
(1) Remove the two screws that secure the top panel to the
chassis.
(2) Slide the top panel slightly backward, then detach it from the
chassis.
2
Remove the foot stands from the server by the following the steps
below:
(1) Lay the server on its side on a flat, stable surface
(1)
.
(2) Remove the screws that hold the foot stands to the bottom of
the chassis
(2)
. Keep these for later use.
Summary of Contents for Altos G710
Page 1: ...Acer Altos G710 User s Guide ...
Page 10: ...x Setting 183 Index 187 ...
Page 11: ...1 System tour ...
Page 35: ...2 System setup ...
Page 46: ...2 System setup 36 ...
Page 47: ...3 System upgrade ...
Page 69: ...59 2 Pull out the CPU from the socket 2 ...
Page 89: ...4 BIOS setup ...
Page 130: ...4 BIOS setup 120 ...
Page 131: ...5 Troubleshooting ...
Page 142: ...5 Troubleshooting 132 ...
Page 143: ...Appendix A System management ...
Page 151: ...Appendix B Acer Altos G710 rack installation guide ...
Page 152: ...This appendix shows you how to set up the Altos G710 server in a rack mount configuration ...
Page 167: ...Appendix C SCSI RAID configuration ...
Page 168: ...This appendix shows you how to create a RAID volume in your SCSI drives ...
Page 173: ...Appendix D ePanel ...
Page 196: ...Appendix D ePanel 186 ...


