


6
User Menu Operation
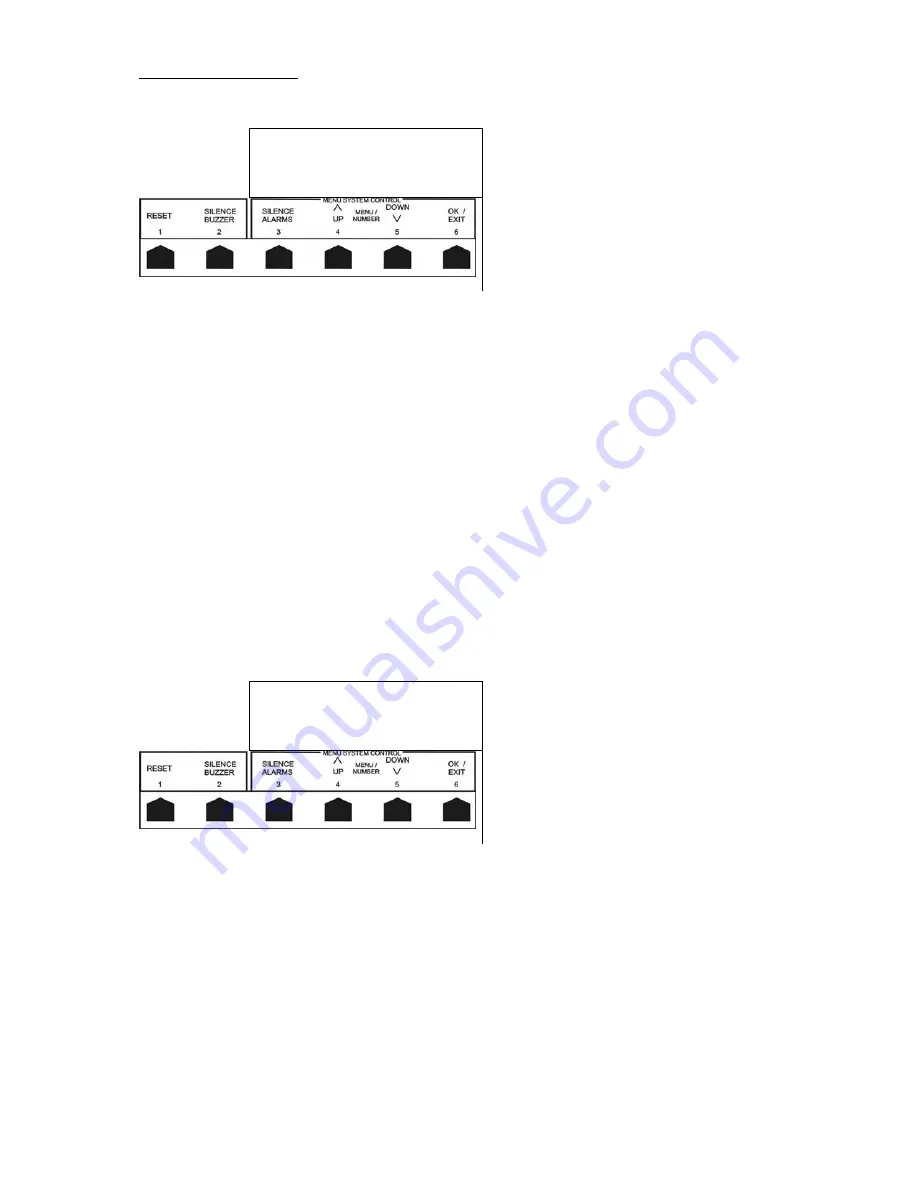
When entering the User menu system, the LCD should display as shown below:-
11 Evacuate
→
12 ------EXIT------
13 Top of engineers
Silence Up Dwn Ok
Pressing
button 4 (UP)
or
button 5 (Down)
will take you through the available USER options, these are:-
1 - Software Version -
Shows the version of software that is controlling the Fire panel.
2 - Set Clock -
Allows user to set the system clock.
3 - Isolate Sounder -
Disables alarm lines, auxiliary relay and zone powered sounders if installed.
4 - Isolate Zone -
Disables zone/s from the Fire system so a fire or fault is not detected.
5 - Zone Sound Test -
When zone/s are set as 2Wire, allows sounders on individual zones to be momentarily
sounded.
6 - Bell Test -
Alarm lines AL1 to 4 are individually switched on and off. The Alarm line being tested is
continually switched on and off at a rate of 30 seconds until stopped.
7 - Lamp Test -
All LEDs are illuminated for 3 seconds, and the internal buzzer is sounded 2 times.
8 – Walktest -
Allows the user to test the Fire Detectors and Call Points on the system.
9 - Event Log To LCD - Displays details of previous events on the Fire System.
10 - Overide Delays -
Allows users to immediately activate devices if the system ‘DELAY ENABLED’
LED is illuminated during a Fire condition.
11 – Evacuate
This causes the Fire alarm sounders and the internal buzzer to sound as well as illuminating
the ‘General Fire’ LED.
12 – Exit
Returns you from the User menu back to the Fire system.
To select an option from the user menu, simply press
OK (button 6)
, when the indicator is pointing at the desired
function, i.e.
1 Software Version
→
2 SET CLOCK
3 Isolate Sounder
Silence Up Dwn Ok
Pressing
OK (button 6)
would select the function ‘Set Clock’.


