3-2
# Enable the Telnet server function and configure the IP address of the management VLAN interface as
202.38.160.92, and .the subnet mask as 255.255.255.0.
<Sysname> system-view
[Sysname] telnet server enable
[Sysname] interface vlan-interface 1
[Sysname-Vlan-interface1] ip address 202.38.160.92 255.255.255.0
Step 2: Before Telnet users can log in to the switch, corresponding configurations should have been
performed on the switch according to different authentication modes for them. Refer to
Telnet Login
Configuration with Authentication Mode Being None
,
Telnet Login Configuration with Authentication
Mode Being Password
, and
Telnet Login Configuration with Authentication Mode Being Scheme
for
details. By default, Telnet users need to pass the password authentication to login.
Step 3: Connect your PC to the Switch, as shown in
Figure 3-1
. Make sure the Ethernet port to which
your PC is connected belongs to the management VLAN of the switch and the route between your PC
and the switch is available.
Figure 3-1
Network diagram for Telnet connection establishment
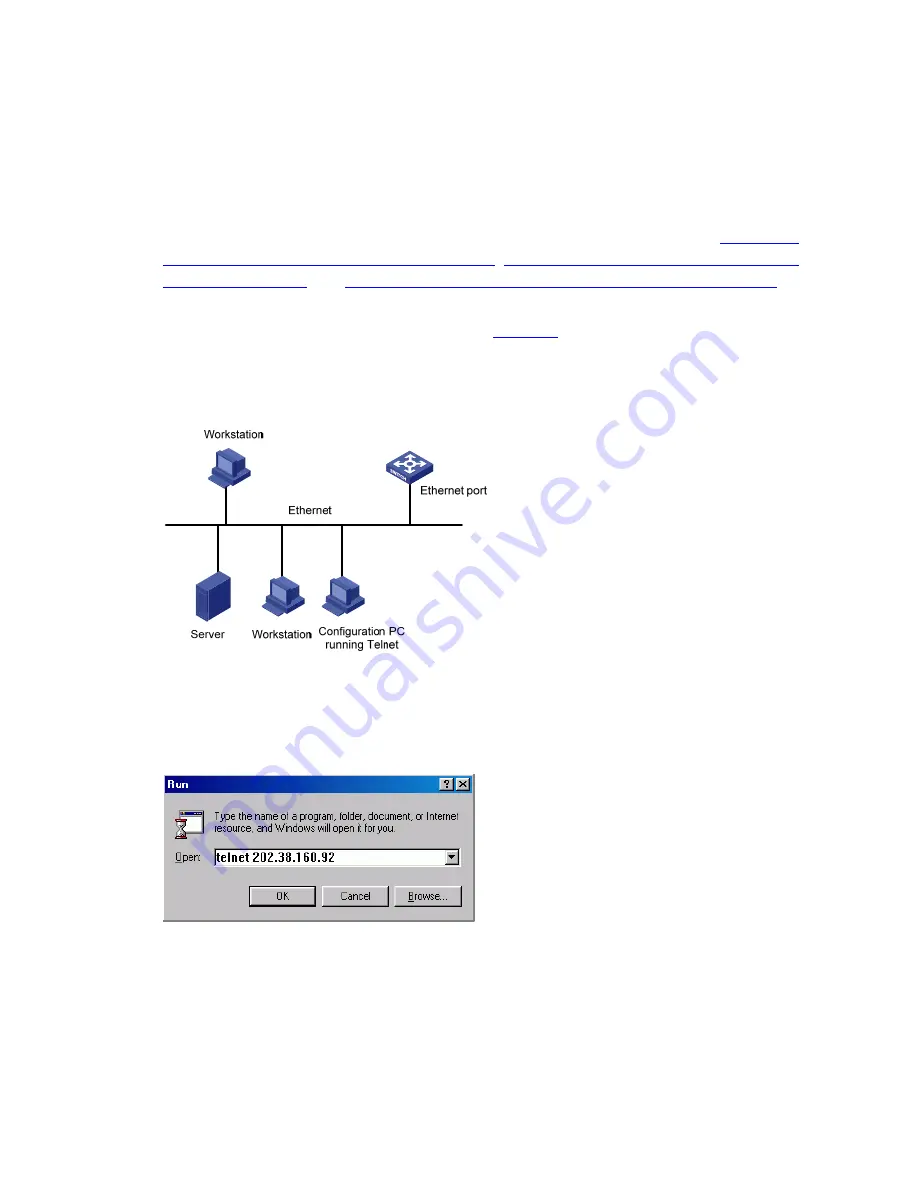
Step 4: Launch Telnet on your PC, with the IP address of the management VLAN interface of the switch
as the parameter, as shown in the following figure.
Figure 3-2
Launch Telnet
Step 5: Enter the password when the Telnet window displays “Login authentication” and prompts for
login password. The CLI prompt (such as <4500G>) appears if the password is correct. If all VTY user
interfaces of the switch are in use, you will fail to establish the connection and receive the message that
says “All user interfaces are used, please try later!” A 3Com Switch 4500G can accommodate up to five
Telnet connections at same time.


