


2N TELEKOMUNIKACE a.s., www.2n.cz
114/377
5.
6.
1.
2.
3.
4.
5.
6.
7.
Fit the audio unit to the wall or structure and lead in the cables leaving a small
reserve inside. Insert the packings into the unused bushings and tighten the
bushing nuts.
Do not complete the mounting procedure until you have connected the audio
unit electrically – refer to
. If the cables lead on the surface,
Electric Installation
use the bushings included in the delivery.
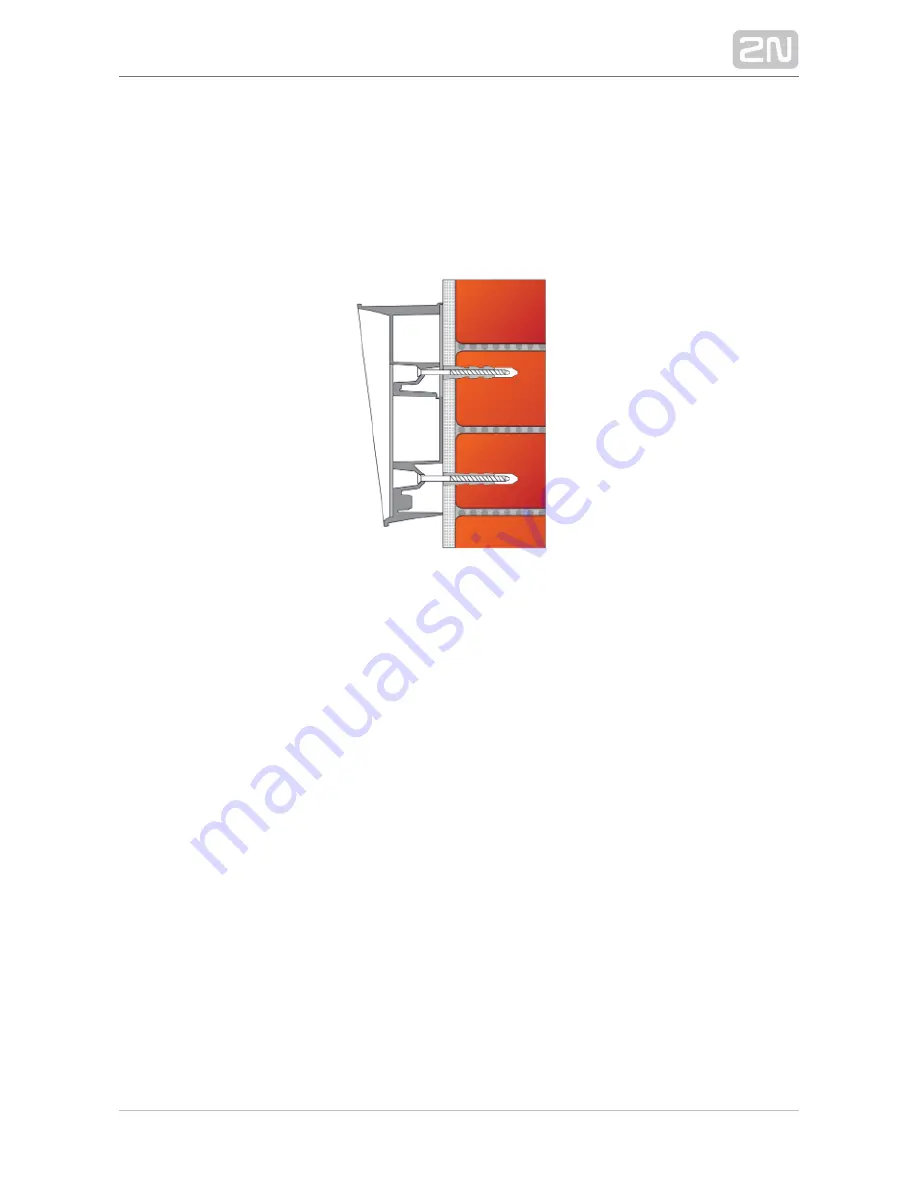
Flush Mounting – Classic Bricks
Follow the instructions for the flush mounting kit if used. Follow the instructions below
if you do not use the flush mounting kit.
Drill a hole using the template included for all the necessary cables. Be careful
while drilling as this type of mounting does not allow to balance rather great
deviations later!
Unpack the frame, put the audio unit onto it and put this set on the hole to test
whether the hole is deep enough and its uneven edge is completely covered by
the frame.
Push or hammer the supplied plugs into the holes. If the plugs are too loose, use
a mounting glue.
Remove the front panel from the audio unit.
Select the holes for the cables. Insert the packings in the other holes. Use the
cable bushings or some sealing to avoid insect or water penetration. Mount a
small bushing into the audio unit bottom hole too.
Put a frame on the audio unit.
Summary of Contents for Lift8
Page 1: ...www 2n cz 2N Lift8 Communicator for lifts User Manual Firmware Version 2 3 1 ...
Page 28: ...2N TELEKOMUNIKACE a s www 2n cz 28 377 Indication Elements ...
Page 40: ...2N TELEKOMUNIKACE a s www 2n cz 40 377 Examples of Connection ...
Page 70: ...2N TELEKOMUNIKACE a s www 2n cz 70 377 ...
Page 95: ...2N TELEKOMUNIKACE a s www 2n cz 95 377 ...
Page 136: ...2N TELEKOMUNIKACE a s www 2n cz 136 377 User name Admin Password 2n ...
Page 202: ...2N TELEKOMUNIKACE a s www 2n cz 202 377 Connection two cabin lift ...
Page 210: ...2N TELEKOMUNIKACE a s www 2n cz 210 377 ...