


Chapter 7 Connection Status
NBG7510 User’s Guide
87
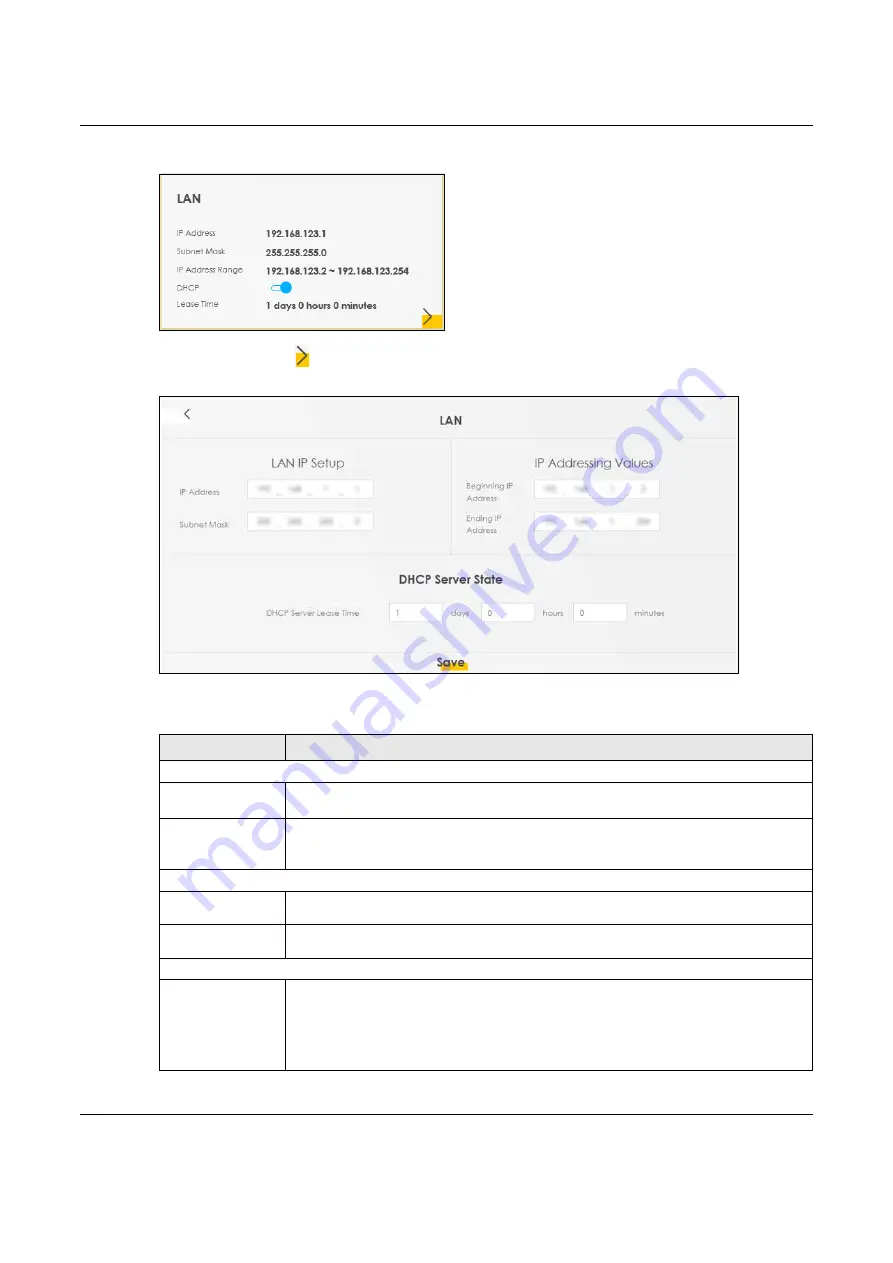
Figure 41
LAN
Click the Arrow icon ( ) to configure the LAN IP settings and DHCP setting for your Zyxel Device.
Figure 42
LAN Setup
Each field is described in the following table.
Table 21 Status Screen
LABEL
DESCRIPTION
LAN IP Setup
IP Address
Enter the LAN IPv4 IP address you want to assign to your Zyxel Device in dotted decimal
notation, for example, 192.168.123.1 (factory default).
Subnet Mask
Type the subnet mask of your network in dotted decimal notation, for example 255.255.255.0
(factory default). Your Zyxel Device automatically computes the subnet mask based on the
IP Address you enter, so do not change this field unless you are instructed to do so.
IP Addressing Values
Beginning IP
Address
This field specifies the first of the contiguous addresses in the IP address pool.
Ending IP
Address
This field specifies the last of the contiguous addresses in the IP address pool.
DHCP Server State
DHCP Server
Lease Time
This is the period of time a DHCP-assigned address is valid, before it expires.
When a client connects to the Zyxel Device, DHCP automatically assigns the client an IP
addresses from the IP address pool. DHCP leases each addresses for a limited period of time,
which means that past addresses are “recycled” and made available for future
reassignment to other devices.
Содержание NBG7510
Страница 13: ...13 PART I User s Guide...
Страница 52: ...Chapter 5 Tutorials NBG7510 User s Guide 52 The 5G VIP WiFi network is now configured...
Страница 78: ...Chapter 6 Rover App Tutorials NBG7510 User s Guide 78...
Страница 79: ...79 PART II Technical Reference...
Страница 130: ...Chapter 10 Home Networking NBG7510 User s Guide 130 Figure 70 Network Setting Home Networking LAN Setup...