11-10
IM AQ1200-01EN
11.3 Performing a Loop-Back Loss Test
Saving Data
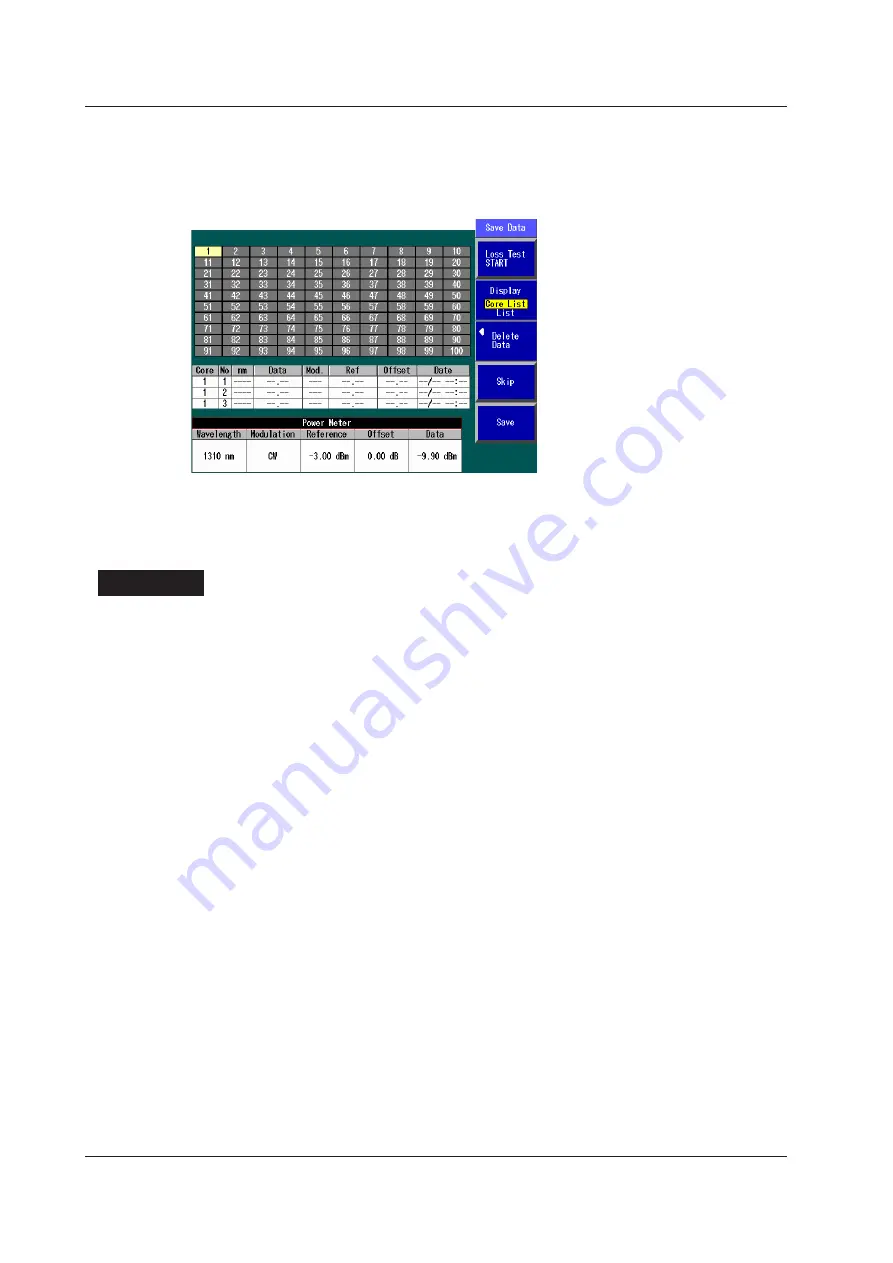
Data Save Screen
In the Power Meter screen of the optical power meter, press the
Save Data
soft key to display the
following screen. Follow the procedure in section 11.2 to save the data.
Saving Data to a File
Press
SETUP
and the
File
soft key. Or, press
SETUP
twice. The file save screen appears. Follow
the procedure in section 18.2 to save the data.
Explanation
This feature is available on models with the /SLT or /HLT option.
You can use the light source and optical power meter features on a single Instrument to perform a
loop-back loss test on an optical fiber or line.
Optical Power Meter
Unit, Reference, Offset, Threshold Values, and Holding of the Display of Measured
Values
For information about the unit, reference, offset, threshold values, and the holding of the display of
measured values, see “Explanation” in section 9.2.
Light Source
Light is emitted at the measurement light wavelength. For details, see “Explanation” in section 11.2.
Executing a Loop-Back Loss Test
To perform loop-back loss testing, configure the optical power meter and light source settings, connect
one end of the optical fiber or line that you need to perform loss testing on to the Instrument optical
power measurement port, and connect the other end to the light source port of the same Instrument.
The optical power meter measures the power of the light that passes through the optical fiber or line
under loss test.
Saving Data
You can save up to three sets of data in the save area of the specified core. For details about saving
the data to a file, see section 18.2.


