


ENGINE
3TNV88F Service Manual
6-51
Crankshaft and Camshaft Components
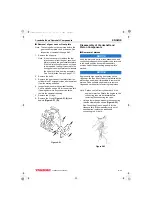
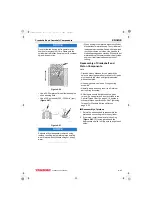
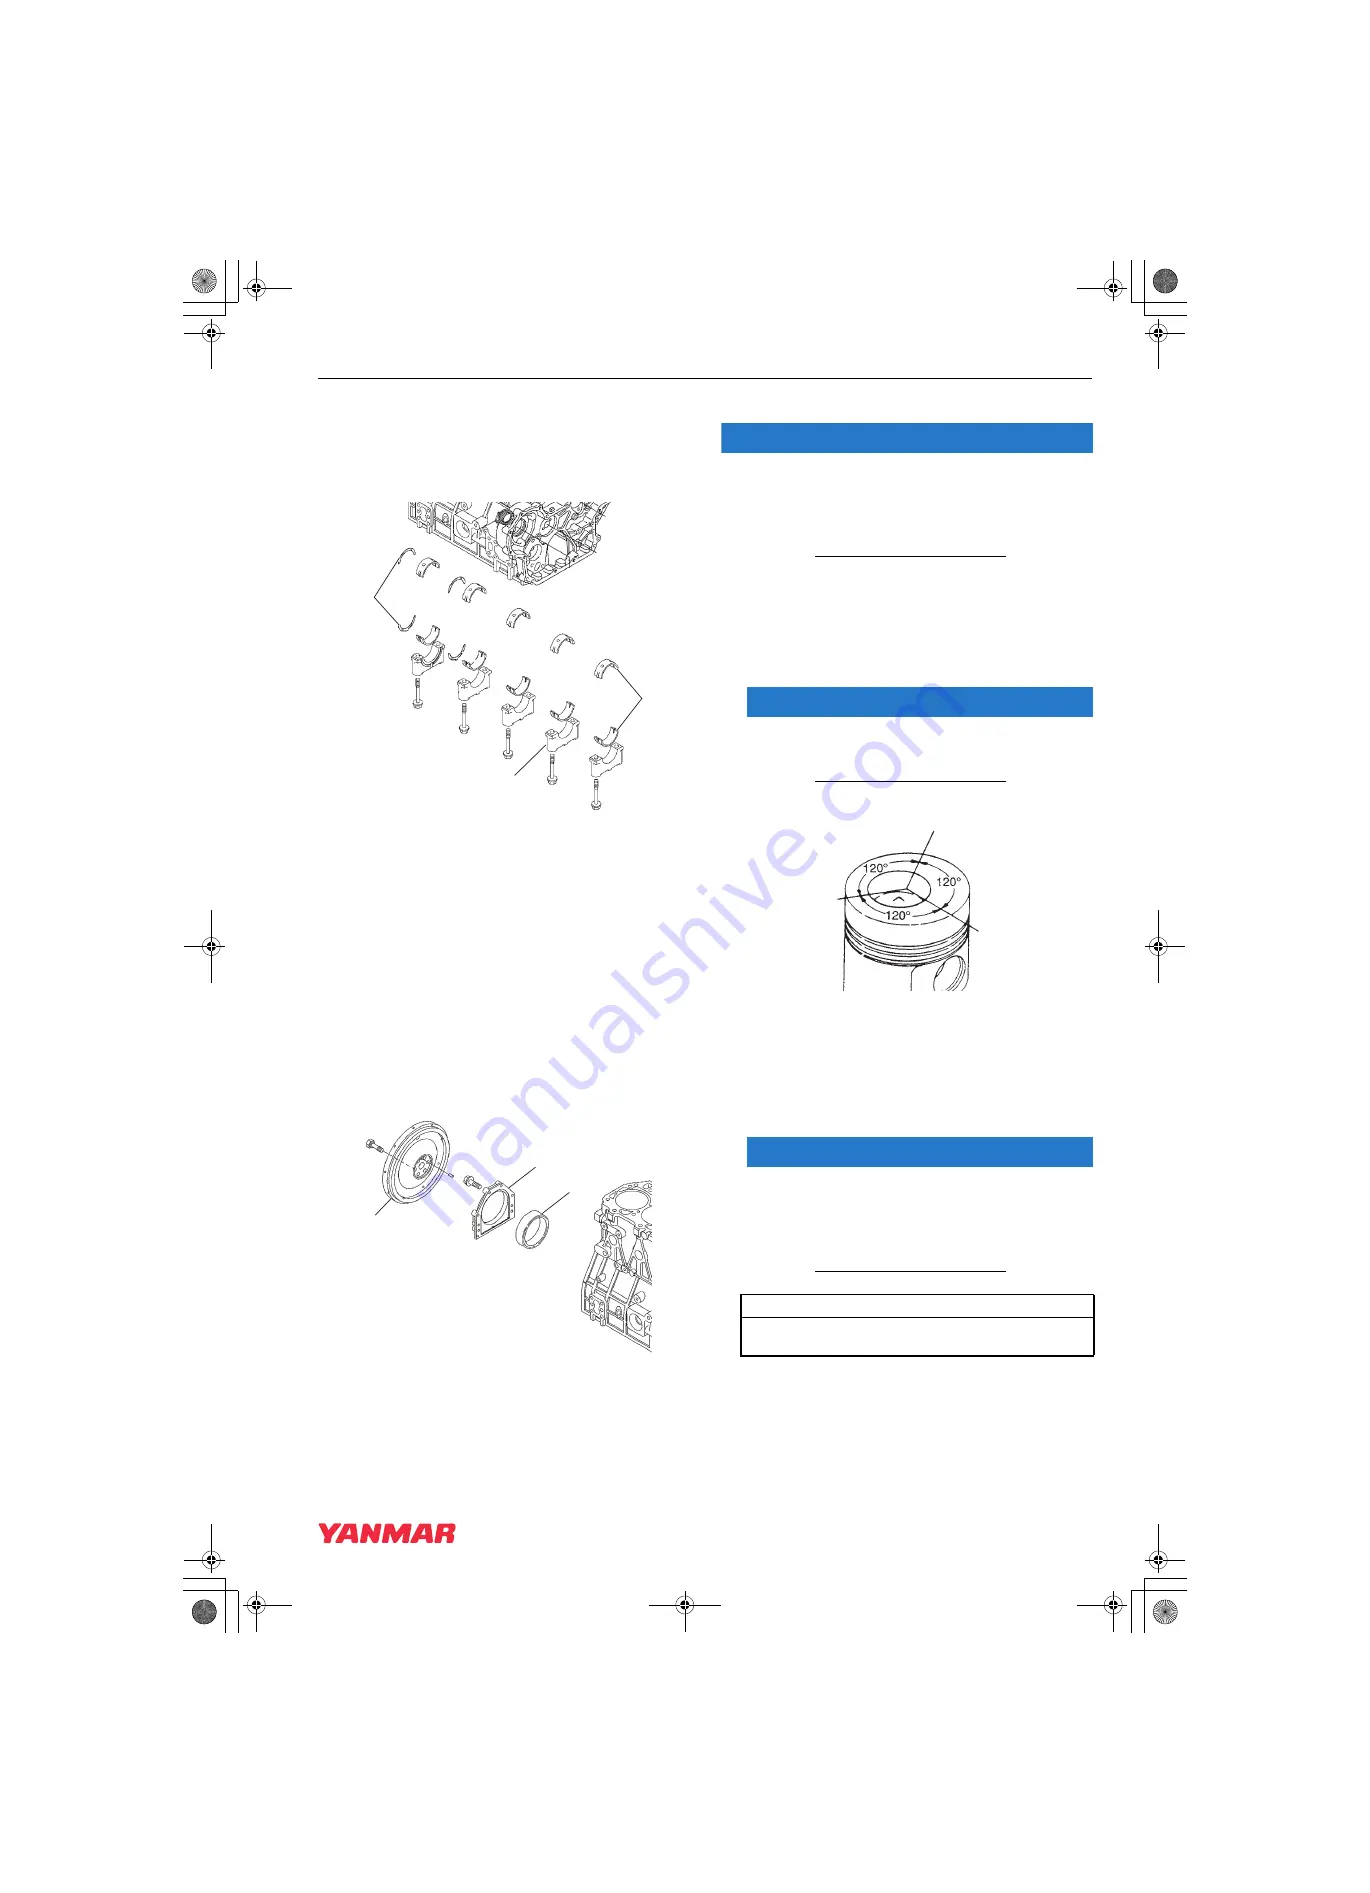
5. Apply a light coat of clean engine oil to the
bearing cap bolts and tighten the bolts to the
specified torque in two stages (1/2 then full
torque).
page 6-10 for specifications.
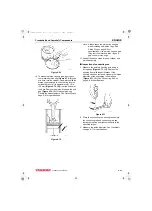
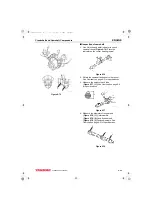
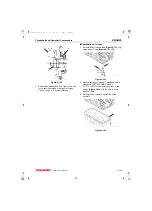
Figure 6-89
6. Rotate the crankshaft to assure it turns freely.
7. Apply ThreeBond Liquid Gasket No. 1207F,
YANMAR Part No. 977770-1207F to the
mounting flange of the seal housing
.
8. Align the seal housing
with the two dowel pins.
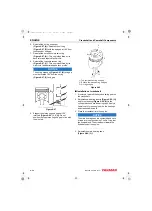
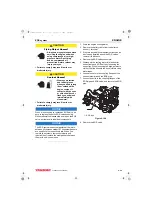
9. Reinstall seal housing and seal assembly.
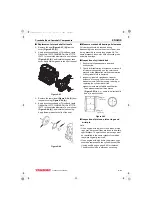
10. Reinstall the flywheel
(Figure 6-90, (1))
and
tighten the bolts to the specified torque.
Special Torque Chart on page 6-10 for
specifications.
Figure 6-90
■
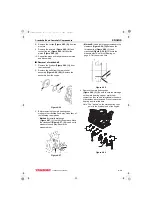
Installation of pistons
NOTICE
Do not allow the connecting rod to contact the
crankshaft journal during piston installation.
Damage to the crankshaft bearing journal may
result.
1. Lubricate the piston, piston rings, and cylinder
with clean engine oil or assembly lubricant.
2. Rotate the crankshaft so the crankpin for the
piston being installed is near bottom dead
center.
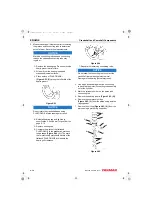
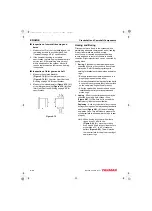
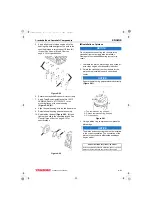
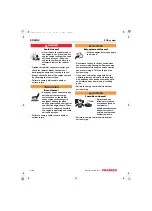
NOTICE
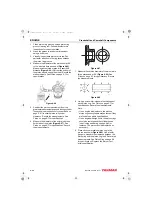
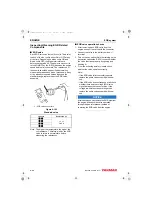
Ensure the piston ring gaps are located correctly
1 – Top compression ring end gap
2 – Second compression ring end gap
3 – Oil ring end gap
Figure 6-91
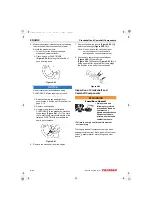
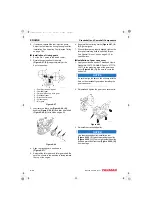
3. Using a piston ring compressor, compress the
piston rings.
NOTICE
The piston and connecting rod must be installed
in the correct orientation. The orientation of the
piston to the cylinder is different depending on
engine model.
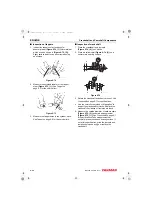
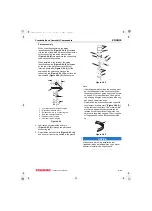
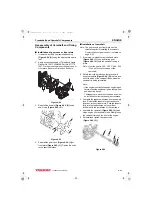
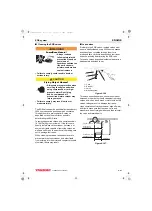
2
K0001752A
1
3
2
K0001707A
1
3
Piston orientation to cylinder - by model
Orient the piston identification mark stamped on top of the
piston on the fuel injection pump side of the engine
3
1
2
3TNV88F_SVM_A4.book 51 ページ 2012年7月26日 木曜日 午後6時4分