ENGINE
6-42
3TNV88F Service Manual
Crankshaft and Camshaft Components
1. Clean piston ring grooves using a piston ring
groove cleaning tool. Follow manufacturer’s
instructions for correct operation.
2. Wash the pistons in an appropriate solvent
using a soft brush.
3. Visually inspect each piston for cracks. Pay
particular attention to the ring lands between
the piston ring grooves.
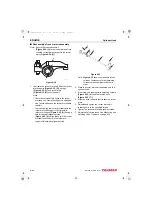
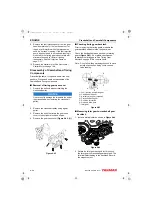
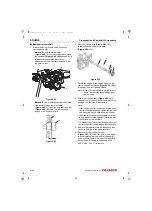
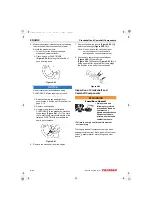
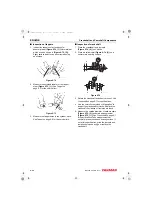
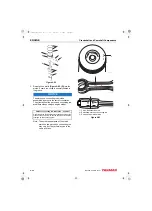
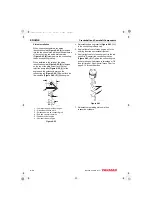
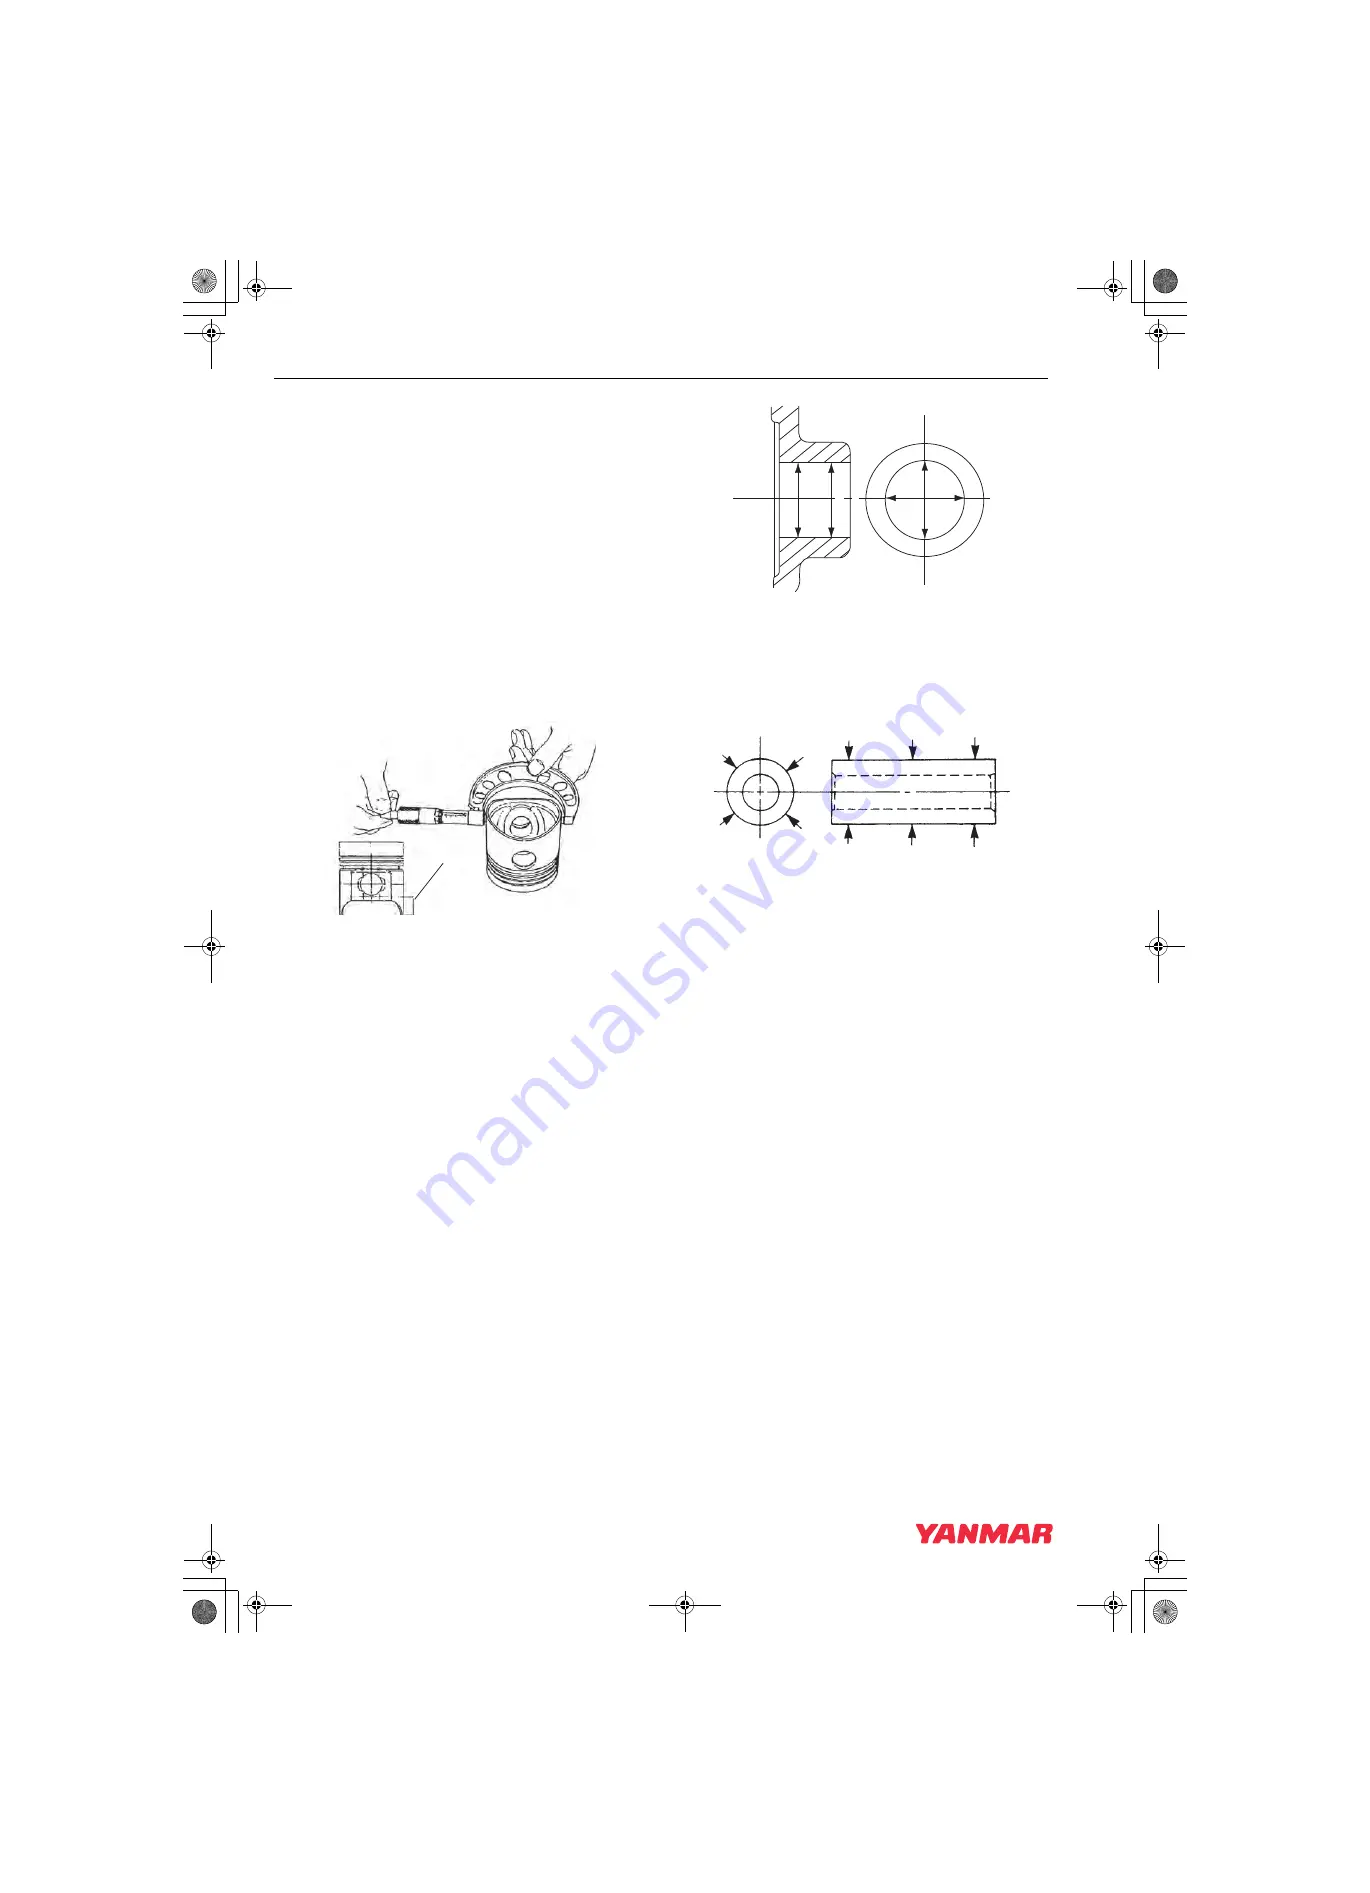
4. Measure the diameter of the piston skirt at 90°
to the wrist pin bore as shown
Measurements must be taken at a specified
distance
from the bottom of
the piston, based on engine model. Record the
measurements.
specifications.
Figure 6-66
5. Subtract the piston measurement from the
greatest measurement acquired during cylinder
inspection
(see Inspection of cylinder block on
to obtain piston-to-cylinder
clearance. Record the measurements.
Piston on page 6-7 for specifications.
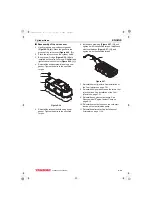
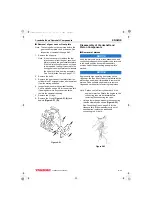
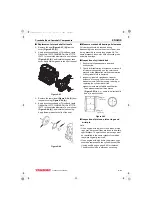
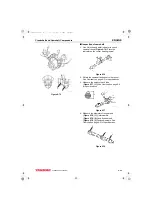
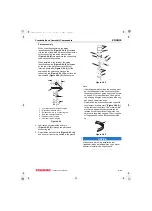
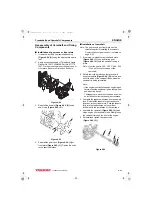
6. Measure the diameter of the wrist pin bore on
Piston on page 6-7 for specifications.
Record
the measurements.
Figure 6-67
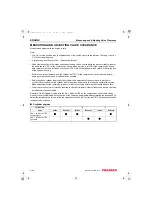
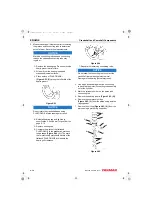
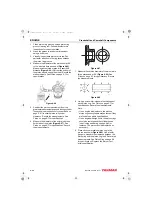
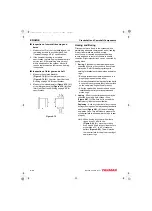
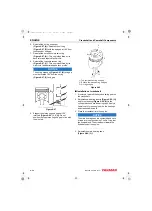
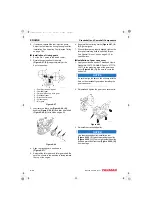
7. Measure the outside diameter of the wrist pin in
three places and at 90°
Piston on page 6-7 for specifications.
Record
the measurements.
Figure 6-68
8. Using a micrometer, measure the thickness of
specifications.
Record the measurements.
Note:
• On an engine with low hours, the pistons,
piston rings and cylinders may be reused if they
are found to be within specifications.
• On an engine with high hours, the pistons rings
should be replaced and the cylinder honed
(see Honing and Boring on page 6-46) or
replaced. The piston should be replaced as
necessary.
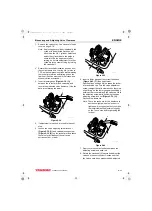
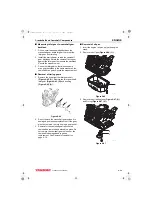
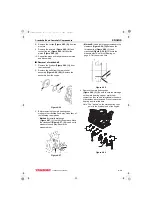
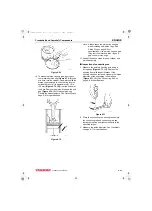
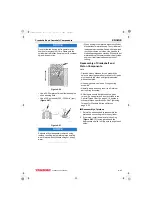
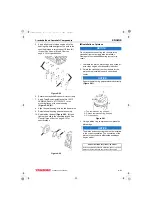
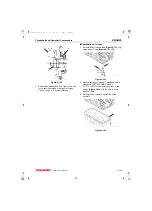
9. Place each compression piston ring in the
groove as shown
. Use a feeler
gauge to measure the clearance between the
piston ring and the piston ring land. Record the
measurements.
for specifications.
Replace the piston if not
within specification.
K0000235
1
K0000237
K0001889
3TNV88F_SVM_A4.book 42 ページ 2012年7月26日 木曜日 午後6時4分

