6
7
CONNECTING THE PROBE/CABLE ASSEMBLY TO THE
INSTRUMENT
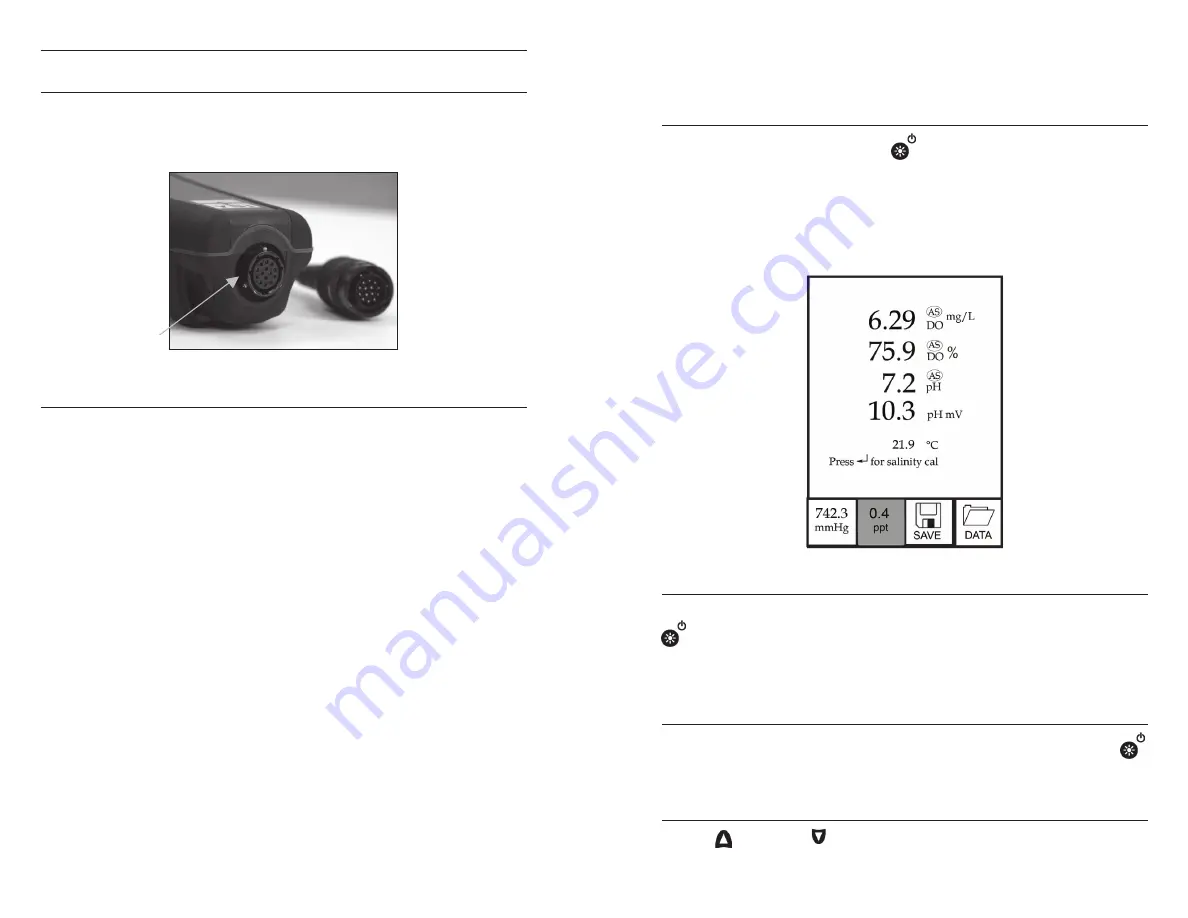
To connect the cable, align the keys on the cable connector to the slots
on the instrument connector. Push together firmly and then twist the
outer ring until it locks into place (figure 4). This connection is water-
proof.
Figure 4, Note the keyed connector.
MEMBRANE INSTALLATION
The sensing end of the dissolved oxygen sensor is shipped with a
protective cap that needs to be removed before using. Additionally, it
is very important to install a new membrane with electrolyte solution
onto the sensor after removing the cap.
Prepare the electrolyte solution according to the instructions on the
bottle. After mixing, allow the solution to sit for 1 hour. This will help
prevent air bubbles from later developing under the membrane.
Ensure you are using the correct electrolyte solution for your sensor.
Galvanic sensors utilize electrolyte with a light blue label on the bottle
and polarographic sensors utilize electrolyte with a white label on the
bottle. The dissolved oxygen sensor is supplied with cap membranes
specific to the sensor type ordered (polarographic or galvanic). 5913
and 5914 membrane kits are for Galvanic sensors and the 5908 and
5909 membrane kits are for Polarographic sensors.
Remove and discard or save the protective cap from the dissolved
oxygen sensor by pulling it straight off. Thoroughly rinse the sensor
tip with distilled or deionized water. Fill the cap membrane 3⁄4 full
of electrolyte solution, then tap the cap with a finger to release any
trapped air. Be careful not to touch the membrane portion of the cap.
Thread the membrane cap onto the sensor, moderately tight. Do not
use a tool. It’s typical for some of the electrolyte solution to spill over. It
is best to allow the new cap to remain on the sensor overnight before
calibrating. For detailed instructions on changing a cap membrane,
see the
Care, Maintenance and Storage section of this manual.
RUN SCREEN
Press the power/backlight key
to turn the instrument on. The
instrument will run through a self test and briefly display a splash screen
with system information before displaying the main Run screen (figure
5). A language, dissolved oxygen sensor and membrane selection
menu will display the first time the Pro1020 is powered on. See the
First Power On section of this manual for more information.
Figure 5, Run screen.
BACKLIGHT
Once the instrument is powered on, pressing the power/backlight key
will turn on the display backlight. The backlight will remain on until
the key is pressed again or after two minutes of not pressing any key
on the keypad.
POWERING OFF
To turn the instrument off, press and hold the power/backlight key
for three seconds.
NAVIGATION
The up and down arrow keys allow you to navigate through the
functions of the Pro1020.


