Security
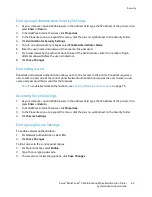
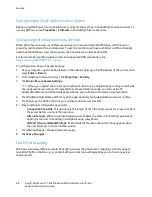
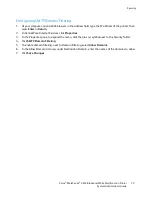
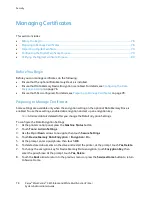
Enabling Network Authentication
Before you begin, enable panel lock. For details, see
Setting Panel Lock
on page 74.
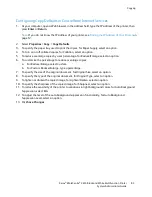
1.
At the printer control panel, press the
Machine Status
button, then touch the
Tools
tab.
2.
Touch
Admin Settings
>
Secure Settings
>
Network Authentication
.
3.
Touch
On
.
4.
Touch
OK
.
5.
Touch the
Back
arrow to return to the previous menu, or press the
Services Home
button to return
to Service Home.
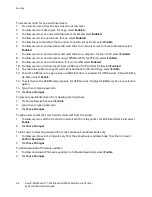
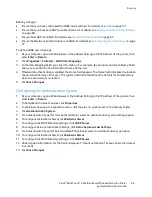
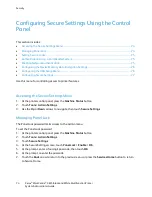
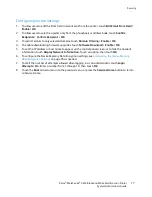
Configuring the Device Memory Data Encryption Settings
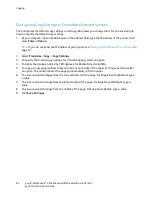
1.
At the printer control panel, press the
Machine Status
button.
2.
Touch
Tools
>
Admin Settings
.
3.
Use the
Up
or
Down
arrows to navigate, then touch
Secure Settings
.
4.
Touch
Device Memory Data Encryption
>
Encryption
>
On
.
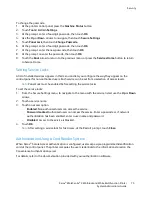
5.
At the prompt, enter a passphrase, then touch
OK
.
6.
To delete stored documents on the drive and restart the printer, at the prompt, touch
Yes, Delete
.
7.
To change the encryption key for Device Memory Data encryption, touch
Encryption Key
, then
enter the passphrase. At the prompt, touch
Yes, Delete
.
8.
Touch the
Back
arrow to return to the previous menu, or press the
Services Home
button to return
to Service Home.
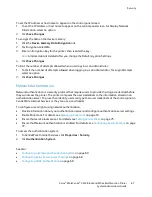
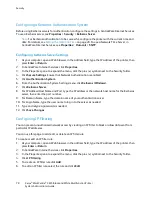
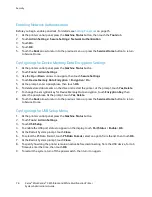
Configuring the USB Setup Menu
1.
At the printer control panel, press the
Machine Status
button.
2.
Touch
Tools
>
Admin Settings
.
3.
Touch
USB Setup
.
4.
To enable the USB port status to appear on the display, touch
Port Status
>
Enable
>
OK
.
5.
At the Restart System prompt, touch
Close
.
6.
To select the PS Data Format, touch
PS Data Format
, select an option from the list, then touch
OK
.
7.
At the Restart System prompt, touch
Close
.
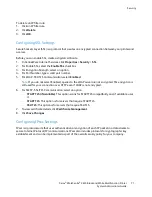
8.
To specify how long the printer remains inactive before disconnecting from the USB device, for Job
Timeout, enter the time, then touch
OK
.
9.
To restart the system, turn off the power switch, then turn it on again.
76
Xerox
®
WorkCentre
®
3615 Black and White Multifunction Printer
System Administrator Guide


