Faxing
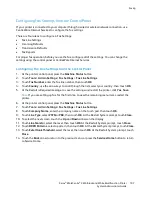
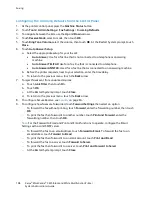
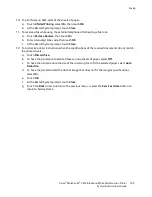
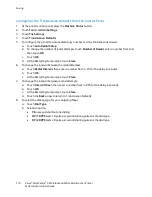
Configuring Fax Settings from the Control Panel
If your printer is connected to your computer through a wired or wireless network connection, use
CentreWare Internet Services to configure the fax settings.
There are four areas to configure in Fax Settings:
•
Fax Line Settings
•
Incoming Defaults
•
Transmission Defaults
•
Fax Reports
For proper fax operation, before you use the fax, configure all of the settings. You can change the
settings using the control panel or CentreWare Internet Services.
Configuring Fax Line Settings from the Control Panel
1.
At the printer control panel, press the
Machine Status
button.
2.
Touch
Tools
>
Admin Settings
>
Fax Settings
>
Fax Line Settings
.
3.
Touch
Fax Number
, enter the fax line number, then touch
OK
.
4.
Touch
Country
, use the arrow keys to scroll through the lists, select your country, then touch
OK
.
5.
At the Restart is Required message, to save the settings and restart the printer, click
Yes, Save
.
Note:
If you are setting up fax for the first time, to view the remaining menu items, restart the
printer.
6.
At the printer control panel, press the
Machine Status
button.
7.
Touch
Tools
>
Admin Settings
>
Fax Settings
>
Fax Line Settings
.
8.
Touch
Company Name
, enter the company name on the touch pad, then touch
OK
.
9.
Touch
Line Type
, select
PSTN
or
PBX
, then touch
OK
. At the Restart System prompt, touch
Close
.
10.
To select the next screen, touch the
Up
and
Down
arrows on the display.
11.
Touch
Line Monitor
, select the level, then touch
OK
. At the Restart System prompt, touch
Close
.
12.
Touch
DRPD Patterns
, select a pattern, then touch
OK
. At the Restart System prompt, touch
Close
.
13.
Touch
Extel Hook Threshold
, select the level, then touch
OK
. At the Restart System prompt, touch
Close
.
14.
Touch the
Back
arrow to return to the previous menu, or press the
Services Home
button to return
to Service Home.
Xerox
®
WorkCentre
®
3615 Black and White Multifunction Printer 107
System Administrator Guide

