Network Connectivity
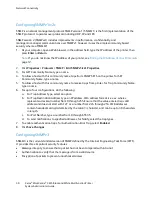
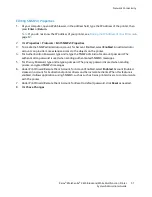
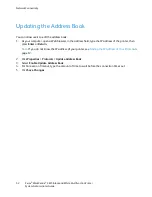
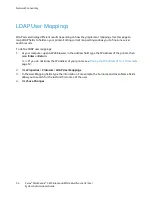
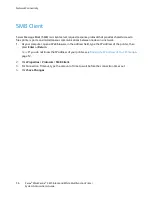
Editing SNMPv3 Properties
1.
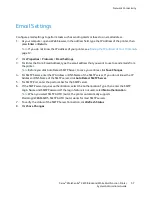
At your computer, open a Web browser, in the address field, type the IP address of the printer, then
press
Enter
or
Return
.
Note:
If you do not know the IP address of your printer, see
Finding the IP Address of Your Printer
on
page 12.
2.
Click
Properties
>
Protocols
>
Edit SNMPv3 Properties
.
3.
To create the SNMP administrator account, for Account Enabled, select
Enabled
. An administrator
account can provide more extensive access to the objects on the printer.
4.
For Authentication Password, type and retype the SNMP administrator account password. The
authentication password is used when sending authenticated SNMPv3 messages.
5.
For Privacy Password, type and retype a password. The privacy password is used when sending
private, encrypted SNMPv3 messages.
6.
Under Print Drivers/Remote Client Account, for Account Enabled, select
Enabled
. Account Enabled
creates an account for bi-directional printer drivers and Xerox remote clients. When this feature is
enabled, it allows applications using SNMPv3, such as such as Xerox printer drivers, to communicate
with the printer.
7.
Under Print Drivers/Remote Client Account, for Reset to default password, click
Reset
as needed.
8.
Click
Save Changes
.
Xerox
®
WorkCentre
®
3615 Black and White Multifunction Printer
51
System Administrator Guide

