3-42
Sending a Fax
6
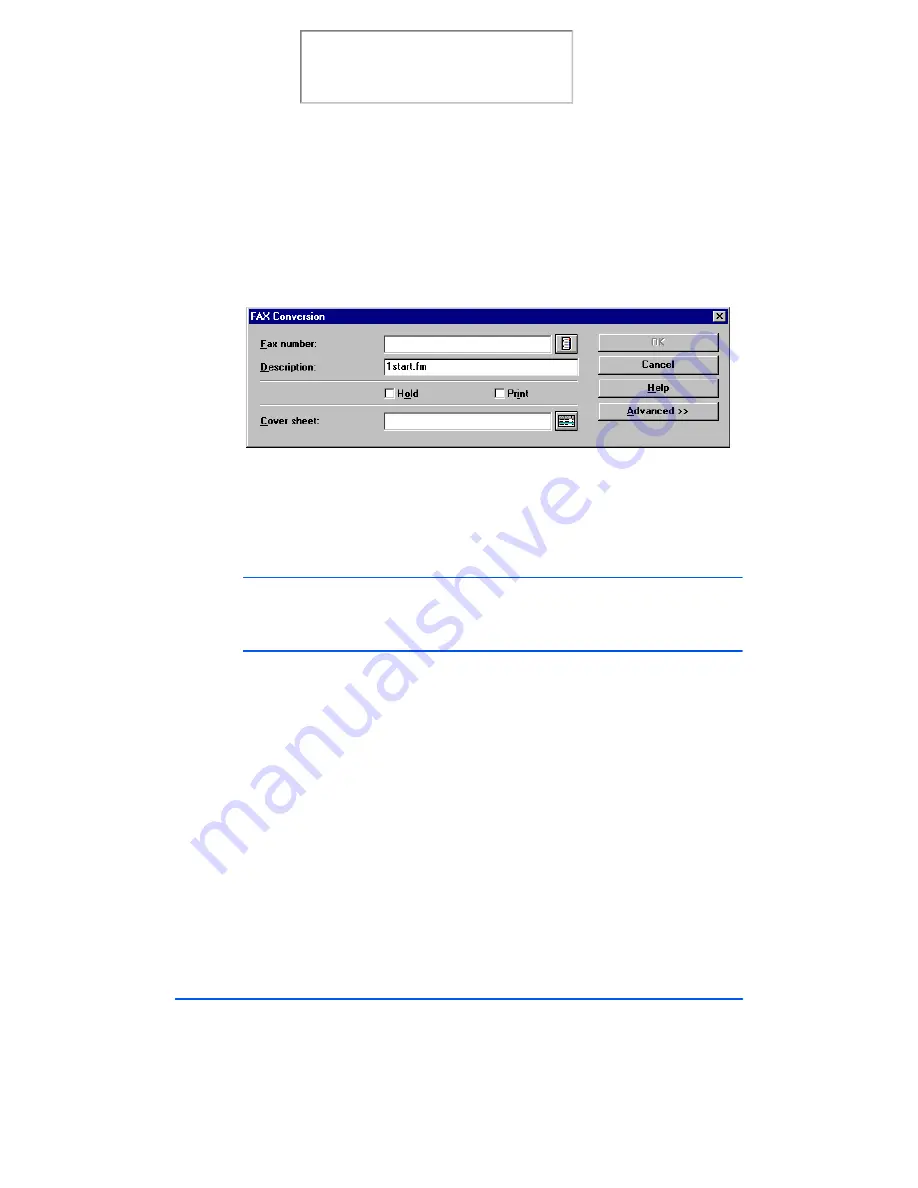
After the document has been converted to a fax image, the Fax
Conversion dialog will be displayed. This dialog prompts you for
details of the transmission.
7
Enter the fax number manually or click the Phonebook button to select
from your LaserFAX Phonebook. If you have already defined entries in
the Phonebook you can type a key name assigned to a Phonebook entry
and LaserFAX Lite will look up the associated fax number.
Note: For information on the LaserFAX phonebook refer to
The LaserFAX
Phonebook on page 3-55. You can also select the Help button and review
the on-line help topics for this feature.
8
(Optional) Enter a description of the fax job. While this is an optional
step, it can be very useful when searching All Jobs Pending or Jobs
Completed for your fax job.
Print the 480cx User Guide
Содержание Document WorkCentre 480cx
Страница 1: ...XEROX WorkCentre 480cx Color All in One Print the 480cx User Guide Display the Online User Guide...
Страница 12: ...xii Print the 480cx User Guide...
Страница 72: ...1 60 Getting Started Print the 480cx User Guide...
Страница 132: ...3 56 Sending a Fax Print the 480cx User Guide...
Страница 178: ...5 30 Printing Print the 480cx User Guide...
Страница 226: ...7 4 Troubleshooting 4 Adjust the paper guide to match the width of the paper Print the 480cx User Guide...
Страница 248: ...7 26 Troubleshooting Print the 480cx User Guide...
Страница 262: ...8 14 Maintenance 3 Remove the Print Cartridges Print the 480cx User Guide...
Страница 302: ...9 32 Appendix Print the 480cx User Guide...


