


Required tools and materials
• Chemical-resistant, powder-free gloves
• Protective eyewear
• Cotton swabs
• Nonabrasive, lint-free wipes
To restore the leak sensor to service:
1.
In the console, select
System
from the system tree.
2.
Click
Control
>
Leak Sensors
.
3.
Determine which of the system's leak sensors detected a leak.
4.
If the message reads
Leak Detected (Column)
, power-off the sample manager.
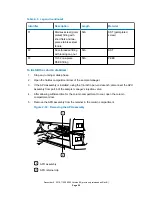
5.
After allowing sufficient time for the column compartment to cool, open the column
compartment door.
6.
Locate the source of the leak and make the repairs necessary to stop it.
7.
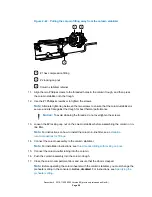
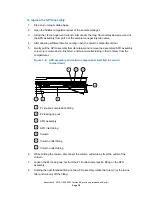
Locate the leak sensor that triggered the alarm according to the CH-A configuration.
• For a standard, stack-mounted CH-A configuration with leak detection, the leak sensor
is located behind the sample manager door, in the upper drip tray.
• For an extended CH-A configuration with leak detection, the leak sensor is located in
the MS-bracket drip tray, mounted beneath the column-heater housing.
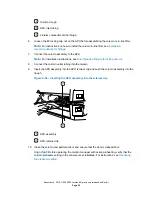
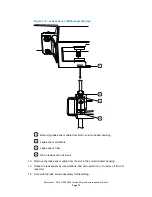
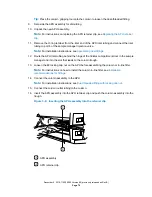
8.
Remove the leak sensor from its reservoir by grasping it by its serrations and pulling
upward.
Figure 2–45: Leak-sensor assembly
Serrations
Leak-sensor prism
9.
Use a nonabrasive, lint-free wipe to dry the leak-sensor prism.
December 4, 2019, 715005052 Version 02 (previously released as Rev.B)
Page 66


