3.4.2 Adding New Wireless Devices or Wired Sensors
Part A - Enrollment
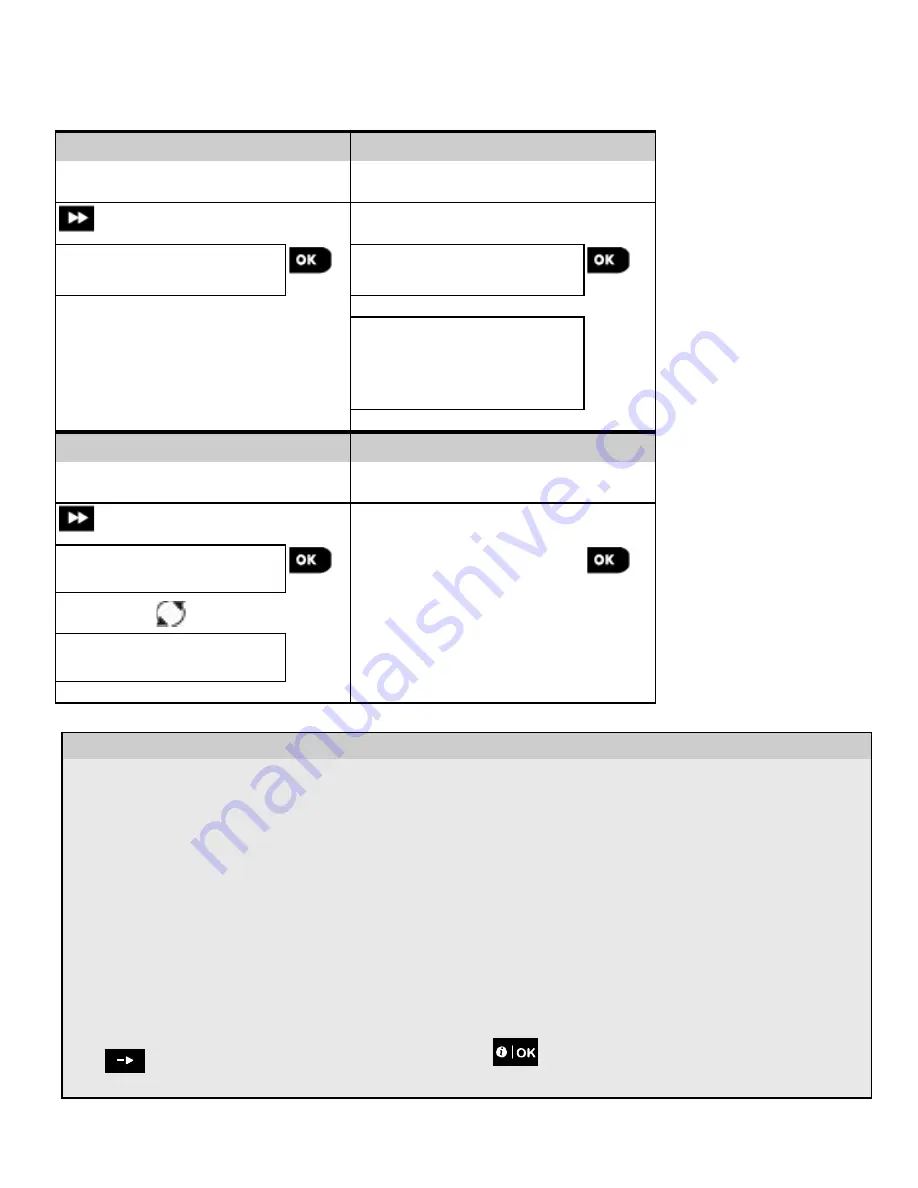
To enroll and configure a device, follow the instructions in the following chart:
Step 1
Step 2
Select "ADD NEW DEVICE"
Option
[1]
Enroll the device or Enter the
device ID
[2]
ADD NEW DEVICES
ENROLL NOW or
ENTR ID:xxx-xxxx
Press the enrollment button or
enter the device ID or, type
050-0001 for wired sensors.
Refer to the detailed instructions
below
Step 3
Step 4
Select a Zone number
[3]
Configure zone & device
Parameters
[4]
DEVICE ENROLLED
ID No. 100-1254
Continue to the 2
nd
diagram in
Part B below
DEVICE ENROLLED
Z02:Contact sens
- Adding New Devices
[1] Enter "
INSTALLER MODE
", select "
02:ZONES DEVICES
" (see section 3.2) and then select "
ADD NEW
DEVICE
".
Because of encryption, PowerG devices (including Keyfobs) cannot be used on more than one system at one
time. Remember to verify panel and device compatibility.
[2] See enrollment by button or device ID below. If enrollment is successful, the display reads "
DEVICE
ENROLLED
"
(or
"
ID ACCEPTED
")
and then shows the device details - see [3]. However, if the enrollment
fails, the display will advise you the reason for failure, for example:
"
ALREADY ENROLLED
" or "
NO FREE
LOCATION
".
If the enrolled device is adapted to operate as another device that the panel recognizes, the display then reads
“
ADAPTED TO <OK>
”.
[3] The display shows the device details and the first available free Zone number for example: "
Z01:Motion
Sensor
>
ID No. 120-1254
" (
or
"
K01:Keyfob
/
S01:Siren
etc. depending on the type of the enrolled device).
Both Wireless and wired detectors can be enrolled in any zone number. To change the zone number, click the
button or type in the zone number, and then press
to confirm.
[4] Continue to Part B to configure the device – see diagram below
14
D-306919 KP-250 PG2 Installer’s Guide


