


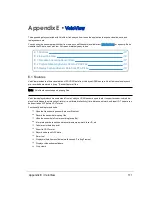


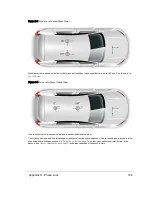

Figure E-5 VeloView Open Capture File
2. An Open File dialog will pop up. Navigate to a pcap file, select it, and click the Open button. The Sensor Con-
figuration dialog will pop-up.
3. Select your sensor type and click OK.
VeloView should display frame 0.
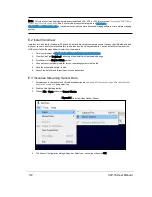
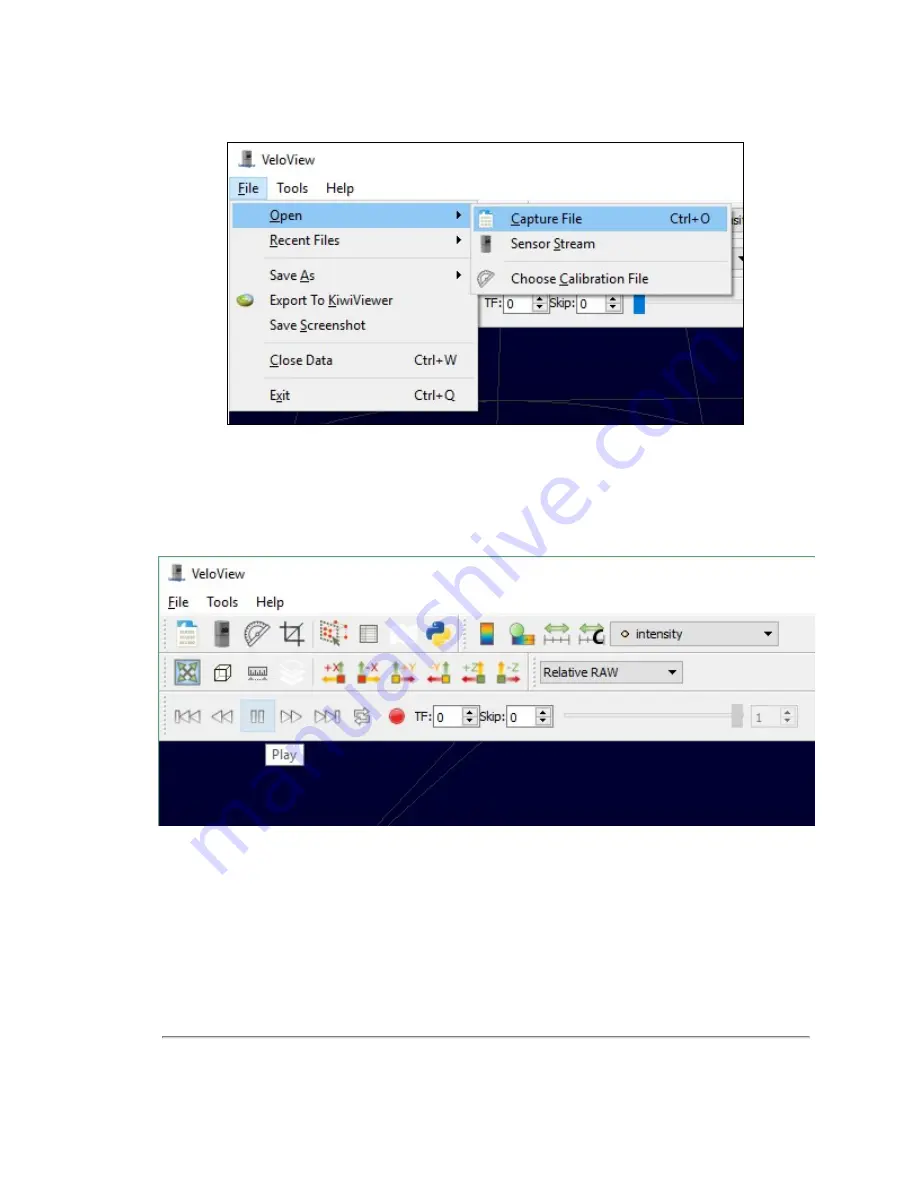
Figure E-6 VeloView Play Button
4. Press Play to replay/pause the data stream. Use the Scrub slider tool (it looks like an old-fashioned volume slider)
to move back and forth through the data frames. Both controls are in the same toolbar as the Record button.
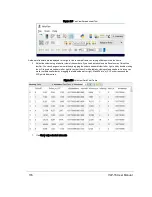
5. To take a closer look at some data, scrub to an interesting frame and click the Spreadsheet button.
Appendix E • VeloView
115
Содержание VLP-16
Страница 1: ...VLP 16 User Manual 63 9243 Rev D ...
Страница 64: ...Figure 9 9 Single Return Mode Timing Offsets in µs 64 VLP 16 User Manual ...
Страница 86: ...http 192 168 1 201 cgi setting laser on 204 OK Sensor laser is On motor rpm is 301 86 VLP 16 User Manual ...
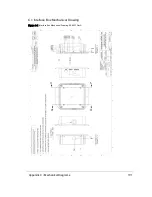
Страница 106: ...C 6 Puck Hi Res Optical Drawing Figure C 6 Puck Hi Res OpticalDrawing 86 0129 Rev A 106 VLP 16 User Manual ...
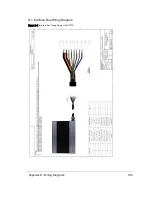
Страница 109: ...D 1 Interface Box Wiring Diagram Figure D 1 Interface Box Wiring Diagram 86 0107A Appendix D Wiring Diagrams 109 ...
Страница 110: ...D 2 Interface Box Schematic Figure D 2 Interface Box Schematic 69 8230A 110 VLP 16 User Manual ...