ControlCenter makes using your ISDN TA easier than ever by allowing
you to configure many of its settings with a point-and-click graphical
interface.
1
Close any open applications.
2
Insert the Connections CD. If Connections is already in your CD-
ROM drive, remove it and reinsert it.
3
The Connections installer starts automatically.
If it does not start, click Windows Start, then Run. When the
“Run” screen appears, type D:\setup.exe.
If it does not start and you are using a Macintosh, double-click the
icon for your CD-ROM drive on your desktop.
Follow the onscreen instructions to install the Connections CD.
4
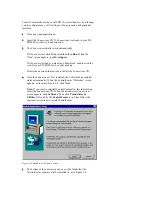
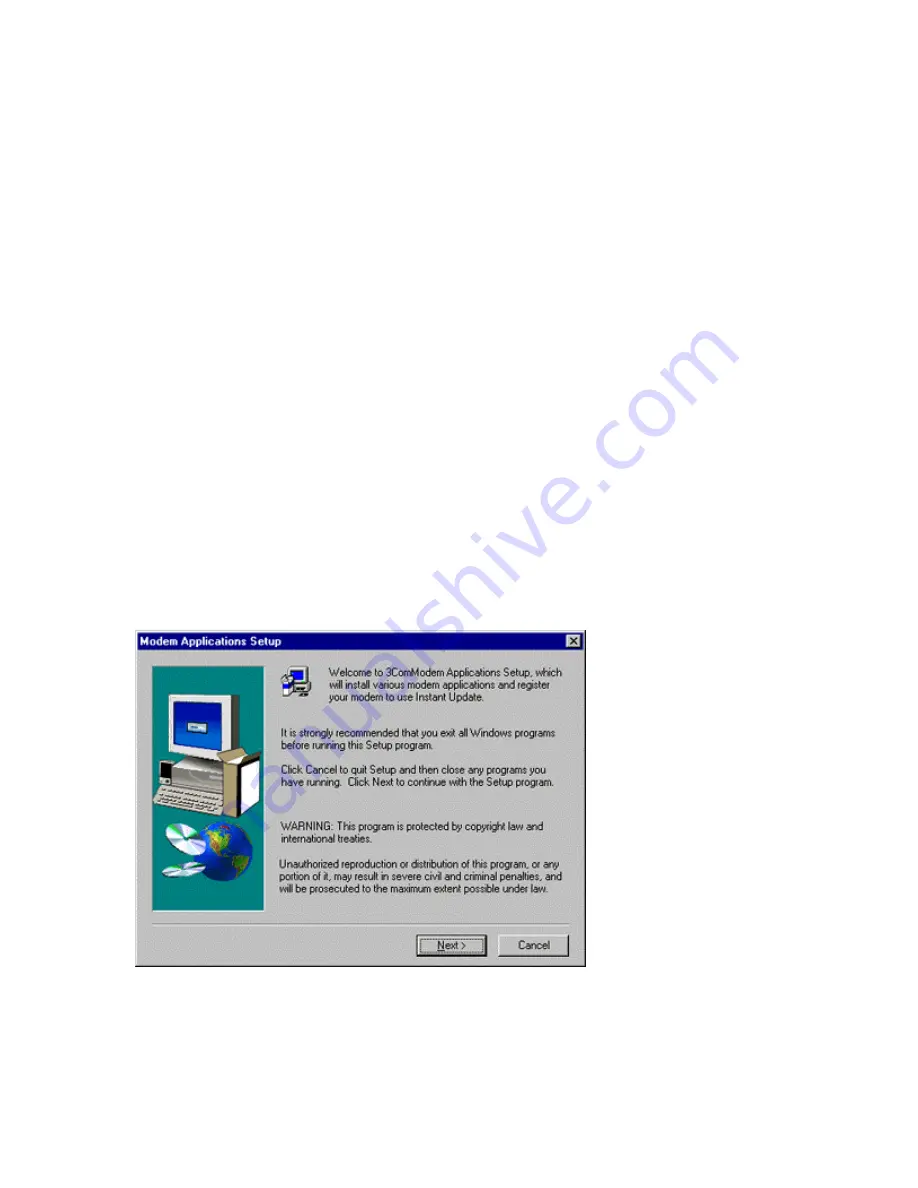
Once the Connections CD is installed, the ControlCenter installer
starts automatically. When the ControlCenter “Welcome” screen
appears, as shown in Figure 3-8, click Next.
Note: If you want to reinstall ControlCenter after this initial setup,
insert the Connections CD. When the introductory Connections
screen appears, click Software. Then click Productivity &
Utilities, followed by the ControlCenter icon. Then follow the
onscreen instructions to install ControlCenter.
Figure 3-8 ControlCenter “Welcome” screen
5
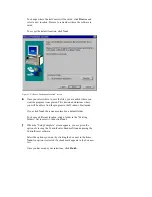
The bottom of the next screen shows you the folder that the
ControlCenter software will be installed to, as in Figure 3-9.


