


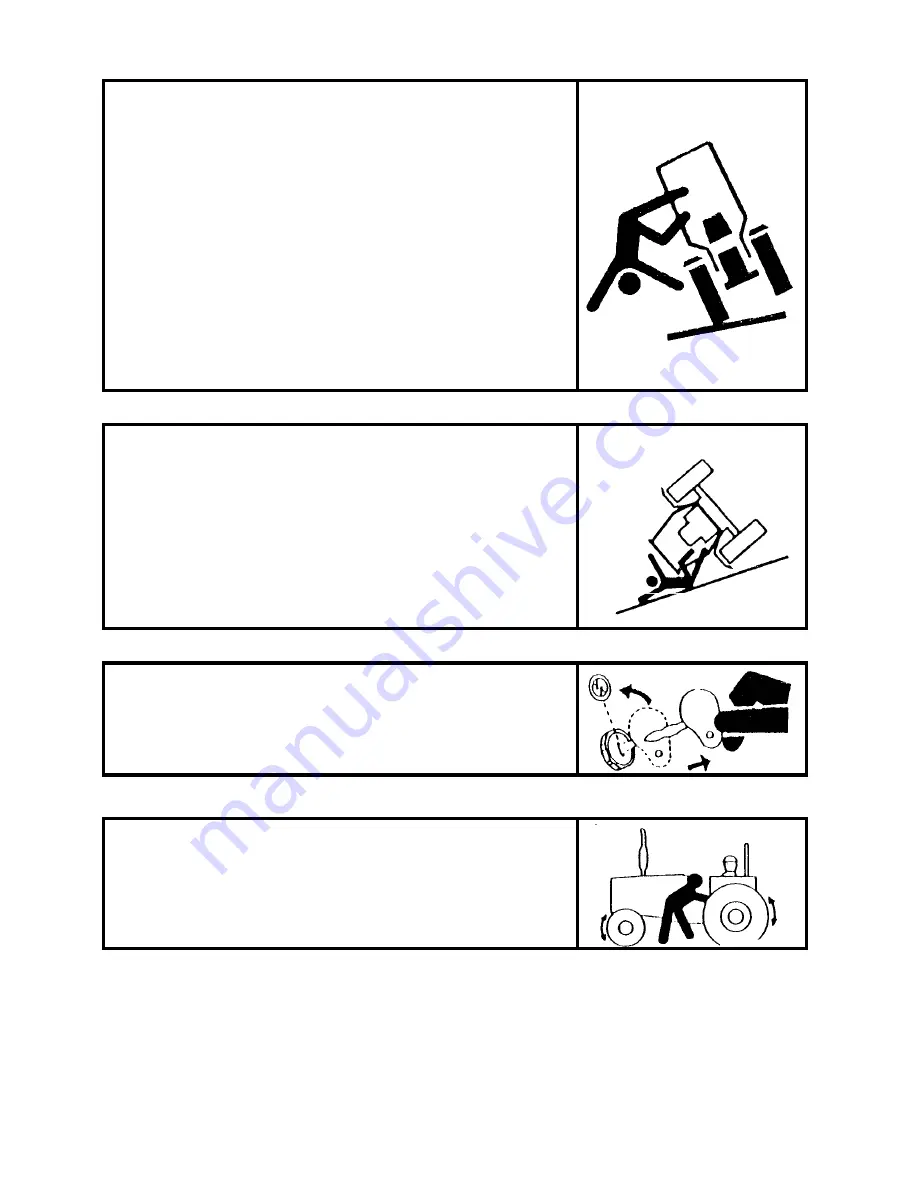
USE OF ROPS AND SEAT BELT
The Roll Over Protective Structure(ROPS) has been certified to
industry and/or government standards. Any damage or alternation
to the ROPS, mounting hard-ware, or seat belt voids the
certification and will reduce or eliminate protection for the
operator in the event of a roll-over. The ROPS, mounting
hardware, and seat belt should be checked after the first 100 hours
of Tractor and every 500 hours thereafter for any evidence of
damage, wear or cracks. In the event of damage or alteration, the
ROPS must be replaced prior to further operation of the Tractor.
The seat belt must be worn during machine operation when the
machine is equipped with a certified ROPS.
Failure to do so will reduce or eliminate protection for the
operator in the event of a roll over.
PRECAUTION TO AVOID TIPPING
Do not drive where the Tractor could slip or tip.
Stay alert for holes and rocks in the terrain, and other hidden
hazards.
Slow down before you make a sharp turn.
Driving forward out of a ditch or mired condition could cause
Tractor to tip over backward. Back out of these situations if
possible
1-6
possible
PARK TRACTOR SAFELY
Before working on the Tractor ;
Lower all equipment to the ground.
Stop the engine and remove the key
KEEP RIDERS OFF TRACTOR
Do not allow riders on the Tractor.
Riders on Tractor are subject to injury such as being stuck by
foreign objects and being thrown off of the Tractor
Содержание T233 HST
Страница 14: ...1 11...
Страница 15: ...1 12...
Страница 22: ...SECTION 3 GEAR TRAIN DIAGRAMS FIG 1 3 GEAR TRAIN DIAGRAM 1 19...
Страница 33: ...SECTION 2 OPERATION CHART FOR DISASSEMBLY AND REASSEMBLY BY MAJOR BLOCKS 2 4...
Страница 60: ...3 HST main pump case 4 5...
Страница 64: ...6 Hydrostatic system schematic 4 8...
Страница 100: ...3 Rear transmission case 5 15 Fig 5 23...
Страница 121: ...Power Train Diagram Fig 5 60 5 36...
Страница 210: ...SECTION 6 WIRING DIAGRAM 10 12...


