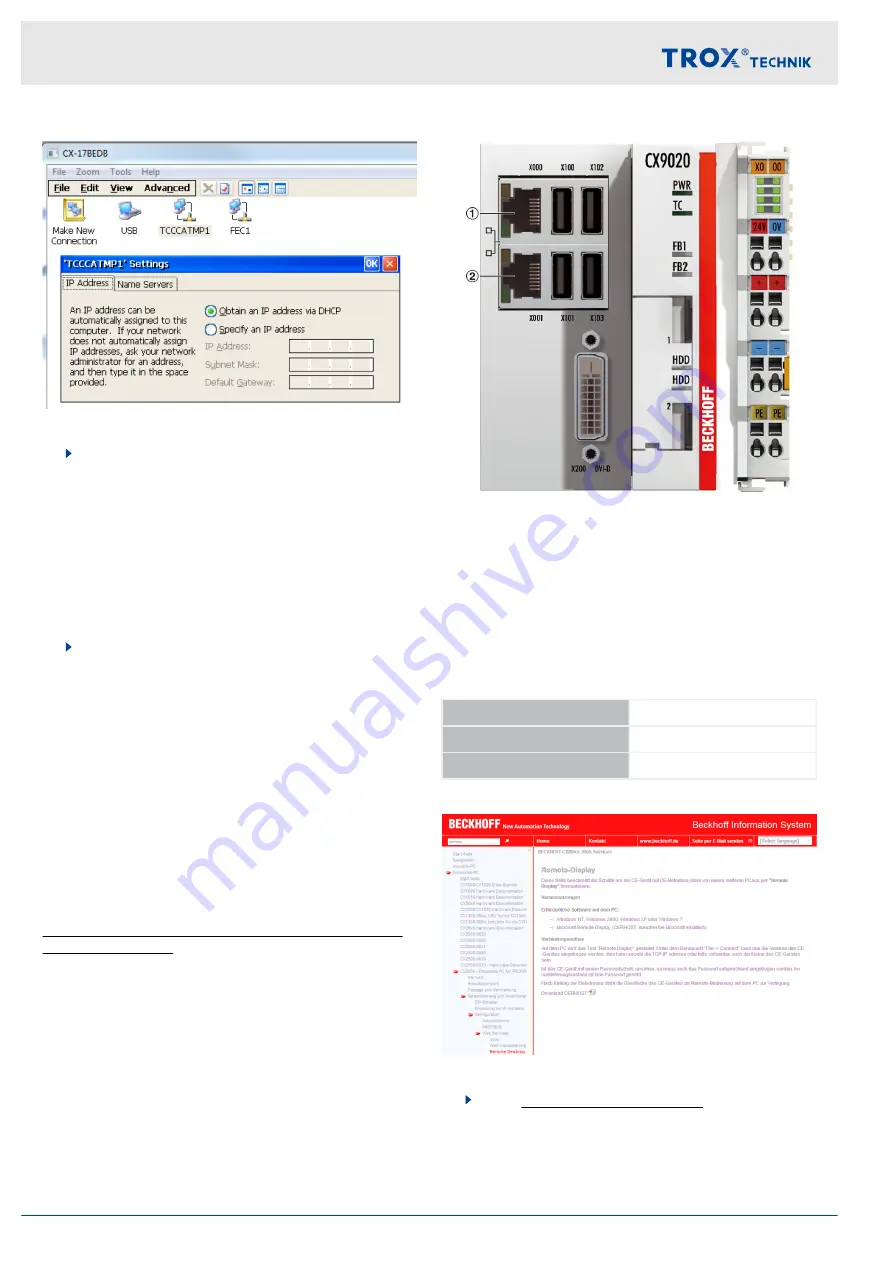
Fig. 46
8.
In the next window select
‘TCCCAMTMP1’
.
The
‘'TCCCAMTMP1 Ethernet Driver' Setting’
window opens.
Select
‘Specify an IP address’
and enter the
required network settings.
Confirm your entries with
‘OK’
and close the
‘Control Panel’
window.
The new settings are immediately active; you
need not restart the computer.
9.
Remove the network cable from port X001 and
connect the touch panel again.
Connect the BMS computer to port X101.
You can use port X102 as described above.
5.9.2 X-CUBE controller CX9020
Integration with the network, setting the IP address
Personnel:
HVAC technician
Skilled qualified electrician
Network administrator
For more information refer to
https://infosys.beckhoff.com/content/1031/cx9020_hw/
index.html?id=1759
Fig. 47: X-CUBE controller CX9020, network connec-
tions
①
X000 - Port for the touch panel
②
X001 - Port for a BMS computer or for another X-
CUBE unit (e.g. daisy chain)
Connection: Use network cables with RJ45 plugs (at
least cat. 5).
Factory set network address – X000 / X001
IP address
192.168.0.200
Subnet mask
255.255.255.0
Standard gateway
192.168.0.1
Setting the IP address for X000 and X001
Fig. 48: Cerhost software download
1.
Go to
http://infosys.beckhoff.com/
and search for
cerhost
, then download the software and install
it on a PC or notebook.
Installation
Connecting the controls to your PC or local network > X-CUBE controller CX9020
Air handling unit X-CUBE
50


