e-STUDIO2020C/2330C/2820C/2830C/3520C/3530C/4520C
© 2008 - 2011 TOSHIBA TEC CORPORATION All rights reserved
REPLACEMENT OF PC BOARDS/HDD
7 - 26
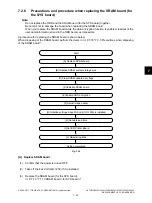
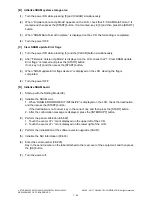
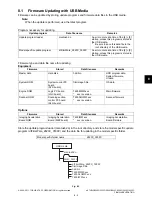
[B] Initialize SRAM system storage area
(1)
Turn the power ON while pressing [3] and [CLEAR] simultaneously.
(2)
When “Firmware Version Up Mode” appears on the LCD, check that “4: SRAM Data Format.” is
marked and then press the [START] button. If not marked, key in [4] and then press the [START]
button
(3)
When “SRAM Data Format Complete.” is displayed on the LCD, the formatting is completed.
(4)
Turn the power OFF.
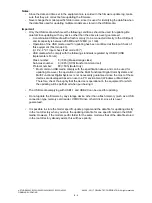
[C] Clear SRAM update Error flags
(1)
Turn the power ON while pressing [3] and the [CLEAR] button simultaneously.
(2)
After “Firmware Version Up Mode” is displayed on the LCD, check that “1: Clear SRAM update
Error flags.” is marked and press the [START] button.
if not, key in [1] and then press the [START] button.
(3)
When “SRAM update Error flags cleared.” is displayed on the LCD, clearing the flag is
completed.
(4)
Turn the power OFF.
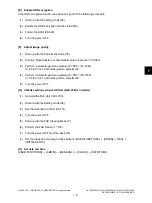
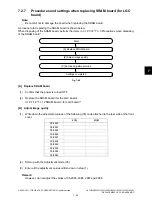
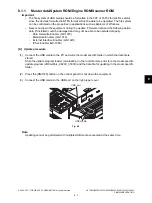
[D] Initialize SRAM board
(1)
Start up with the Setting Mode (08).
(2)
Initialize the SRAM error.
1. When “SRAM ERROR DOES IT INITIALIZE” is displayed on the LCD, check the destination
and then press the [START] button.
If the destination is not correct, key in the correct one and then press the [START] button.
2. After the confirmation message is displayed, press the [INTERRUPT] button.
(3)
Perform the panel calibration (08-692).
1. Touch the center of “+” mark displayed on the upper left of the LCD.
2. Touch the center of “+” mark displayed on the lower right of the LCD.
(4)
Perform the initialization at the software version upgrade (08-947).
(5)
Initialize the NIC information (08-693).
(6)
Enter the serial number (08-995).
Key in the serial number on the label attached to the rear cover of the equipment, and then press
the [OK] button.
(7)
Turn the power off.

