3. REPLACING THE IMPORTANT PARTS
EO18-33030
3.1 Replacing the Parts for B-FV4T-GS/TS
3-2
3.1 Replacing the Parts for B-FV4T-GS/TS
3.1.1 Replacing the Top Cover and the Mid Cover
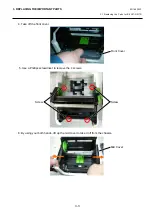
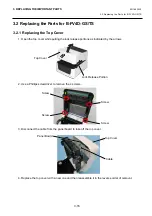
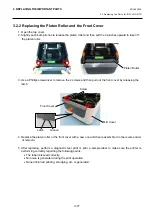
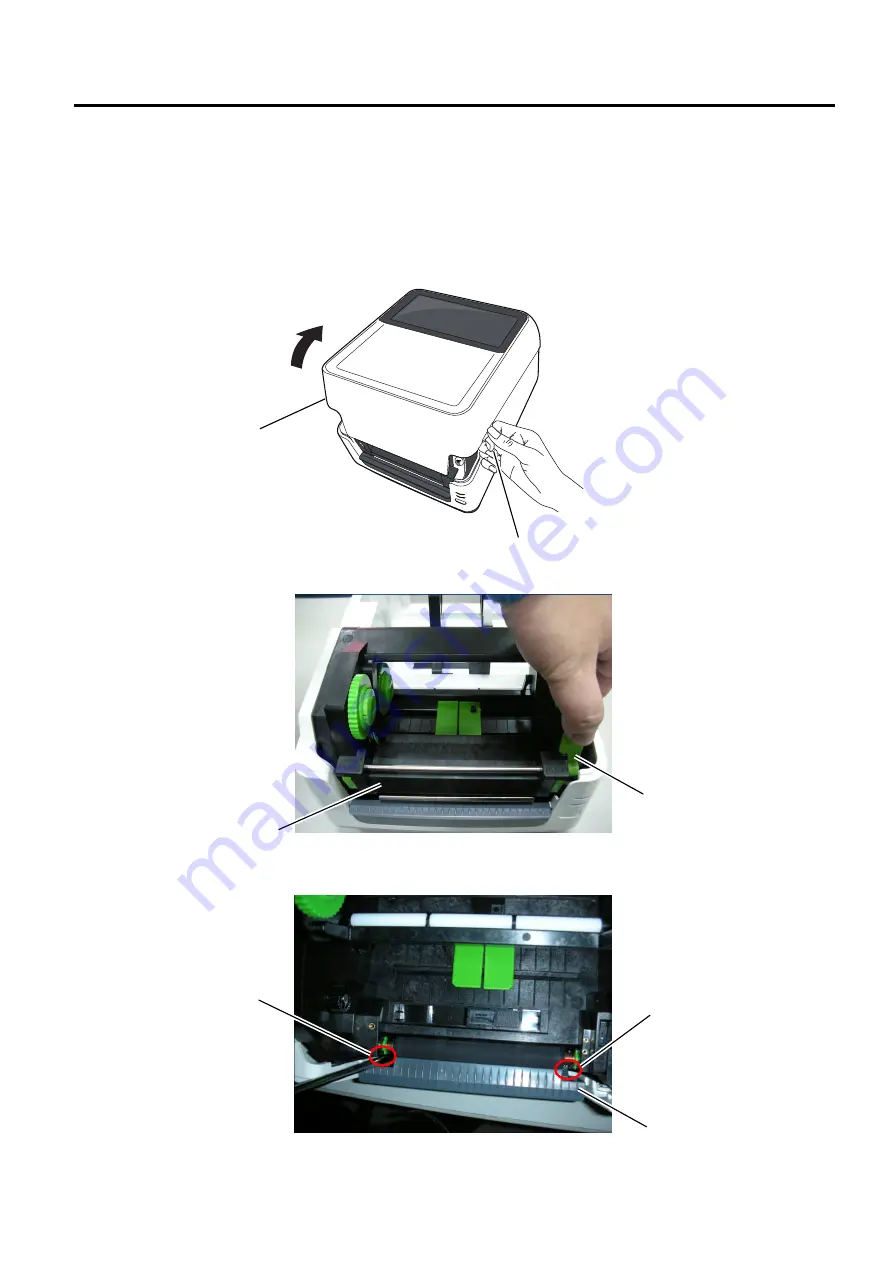
1. Holding the tabs on both sides of the top cover, lift the cover in the direction indicated by the arrow to
fully open it.
2. Push the print head release latch to open the print head block.
3. Use a Phillips screwdriver to remove the 2 screws from the front cover.
Top Cover
Tab
Print Head Release Latch
Screw
Front Cover
Screw
Print Head Block
Содержание B-FV4 Series
Страница 41: ...2 ELECTRONICS SPECIFICATIONS EO18 33030 2 2 Main PC Board Layout 2 4 B FV4D GH B FV4D GL ...
Страница 301: ...APPENDIX EO18 33030 APPENDIX Establishing a Bluetooth connection with B FV4D and B FV4T A 8 ...
Страница 302: ...1 11 1 OSAKI SHINAGAWA KU TOKYO 141 8562 JAPAN E PRINTED IN JAPAN EO18 33030H ...


