


CHAPTER 2 |
27
INSTALLATION AND CONFIGURATION
If extensions and shows referencing them are already configured in your VX, your SIP Server page will look like the one
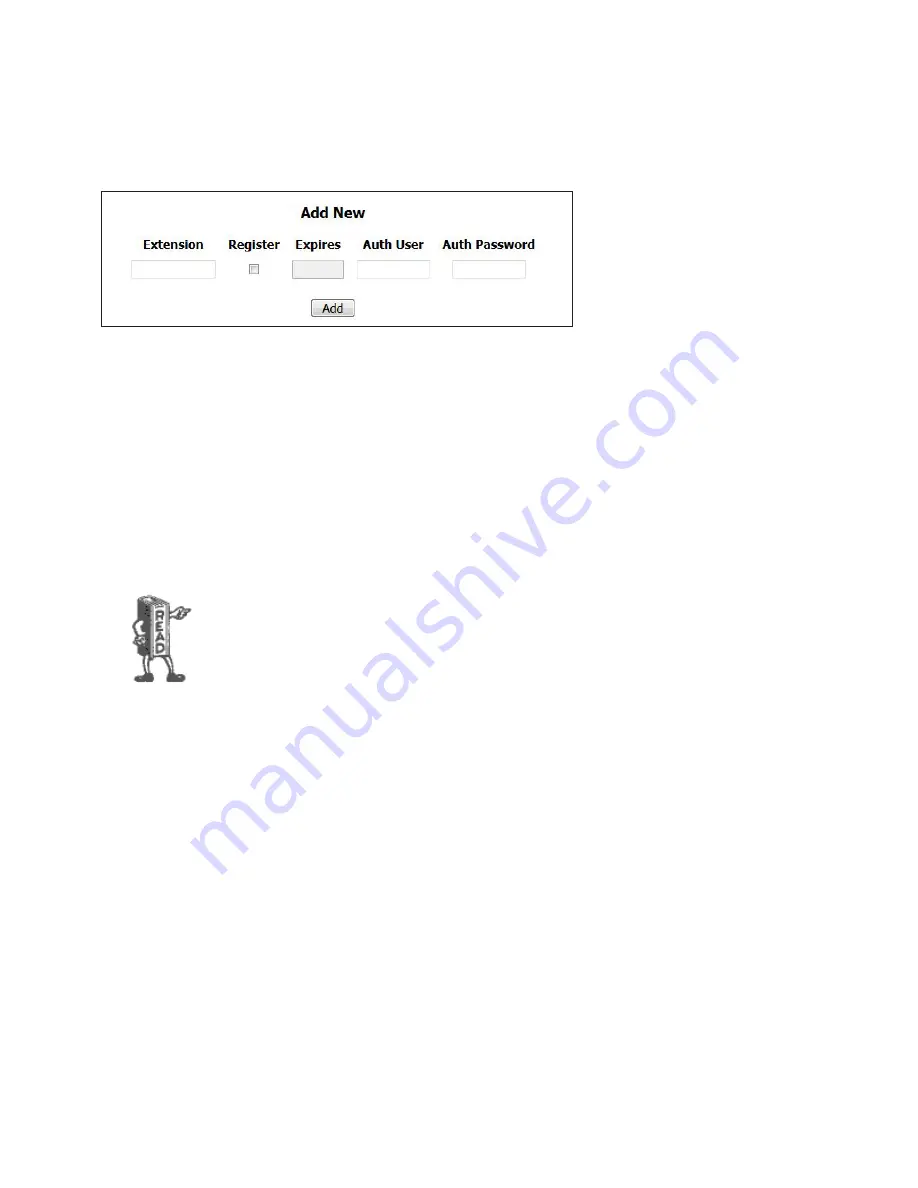
pictured here with the extensions and shows listed. Otherwise, you will be greeted with the
Add New
fields. The information
entered into these fields is determined by the configuration of the SIP server or PBX. Check the appendix for setting up an
extension in Asterisk. There you can see how we set up extensions 5001, 5002, and 5003.
Enter the credentials for a generic (or third party) SIP extension into the
Extension
field. In our example, we are using an
Asterisk PBX which handles extensions as numbers. Depending on your service, extensions could be numerical as well as
alphabetical.
Check the
Register
checkbox to allow the VX to register to the extension.
The data entered into the remaining
Expires
,
Auth User
, and
Auth Password
are determined by the SIP Server or PBX. Auth
Password is sometimes (and in the case of Asterisk) called “Secret” in their configurations.
We recommend configuring SIP extensions as Endpoints that use registration. This makes network
troubleshooting easier and tests the entire IP connection to the SIP server. Be sure to tick the
Register
checkbox. This will make the VX register with the server (meaning essentially, log in)
whenever a show referencing this line is active, The
Expires
field lets you to change the interval (in
seconds) in which the VX will refresh its registration. When left empty, the server and VX will
negotiate for a reasonable default, usually one hour. As a general rule, don’t populate the
Expires
field unless Telos support recommends it to solve a specific problem. The other two fields allow
you to set the password and change the “Auth” user name used for authentication.
Auth User
, is
generally the same as the extension number on most PBX’s. (and in our example)
For quick access to the configuration, you can use the
Config
link in the Show configuration page. Each position with correct
configuration has a link marked ‘»’ next to it. Clicking on it will bring you to the corresponding server configuration page, with
the matching line configuration highlighted. In case the line is not configured, the extension field for adding it will be filled in
from the show.


