Tutorial–Simple recording session
Tutorial T–7
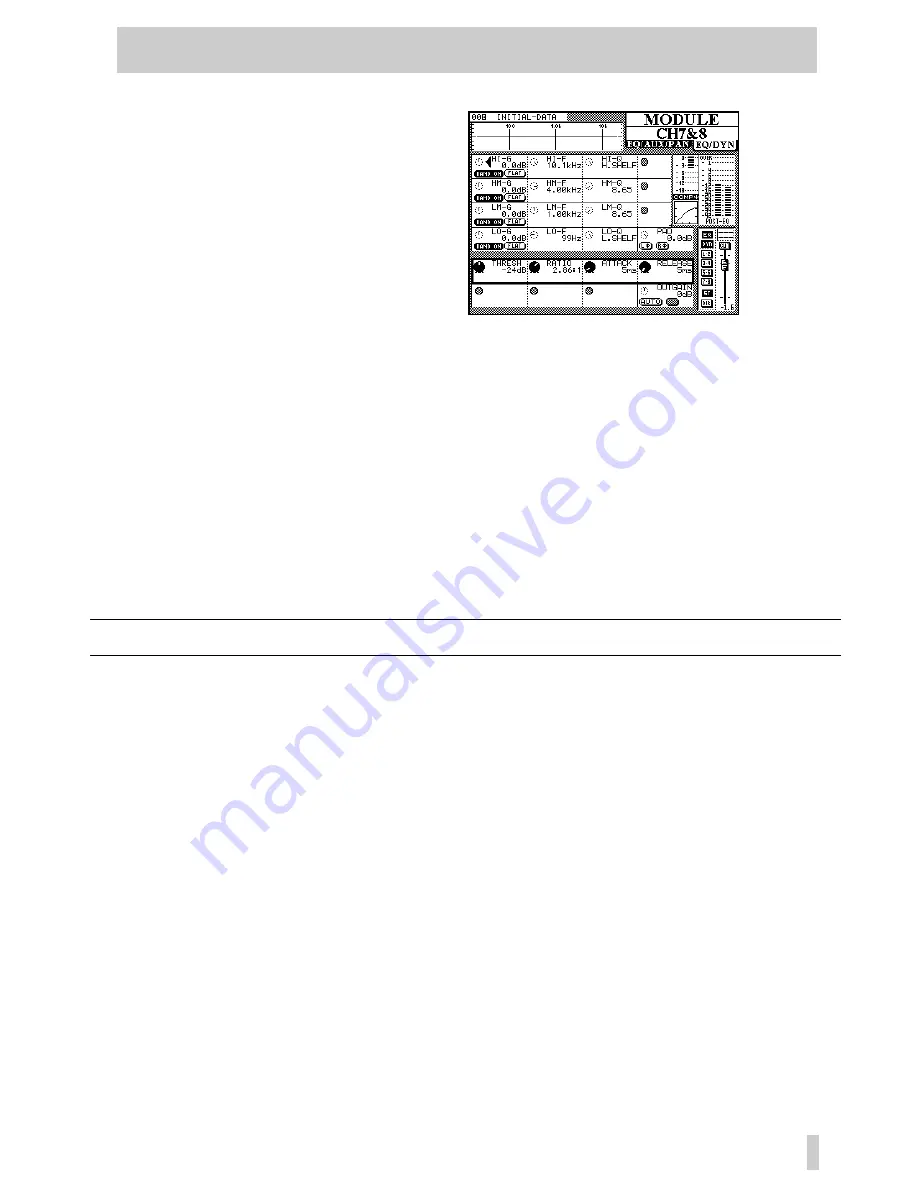
6. Go back to the MODULE screen and press the
DYNAMICS button in the assign section to the
right of the LCD to turn on the compressor. You
can press the MODULE button to toggle the
LCD display until you see compression controls
on the bottom of the screen instead of Auxiliary
Sends. From this screen you can adjust the
compression settings but for now let’s use the
preset.
7. Use the ROW CURSOR buttons under the
LCD to highlight the four different bands of EQ.
The four trim pots of the POD directly under the
screen will adjust the highlighted row of controls
on the LCD. Go ahead and experiment with the EQ.
Notice how the level on the DA-38 and the compression meter on the LCD change as you boost or cut with
the EQ. The on-screen PAD control can be used to compensate if the amount of EQ boost has caused too
much level to go to the DA-38 or if you can hear the compressor working too hard.
8. Finally, experiment with the on-screen OUTGAIN control and AUTO feature. This allows you to raise the
volume after the compressor to get a loud signal on tape. The AUTO feature is directly connected to the
amount of compression being used and can be a good place to start before adjusting OUTGAIN.
9. Now record!
Using the steps above go ahead and record more tracks. Notice that we never moved the fader away
from unity gain. Our main level adjustments were made with the trim pot while minor adjustments
were made with compression or the digital pad. In this way we can keep optimal headroom without
distortion.
T8 Snapshots
Using the techniques you’ve learned for navigating the TM-D4000 to access EQ, dynamics processing,
panning and effects, experiment with your mix until you like what you hear. Once you have a mix that you
like, let’s save it as a snapshot. A snapshot stores all your settings… effects, EQ, auxiliary send levels,
fader levels, stereo links, all of it!
Use the - and + keys in the LIBRARY section to select an empty snapshot location in the upper left corner
of the LCD. An empty location is indicated by a number with an empty bar where a name would be.
Press STORE. A box will appear on the screen confirming your action. This is a quick way to store and
recall snapshots.
To name your snapshots or to more visually scroll through them, press the SNAPSHOT button in the
LIBRARY section. The screen that appears works exactly the same way as the other library screens for
effects, EQ and dynamics.


