5 – Channel modules : Aux and buss setup
68
TASCAM DM-3200
User’s Manual
Aux and buss setup
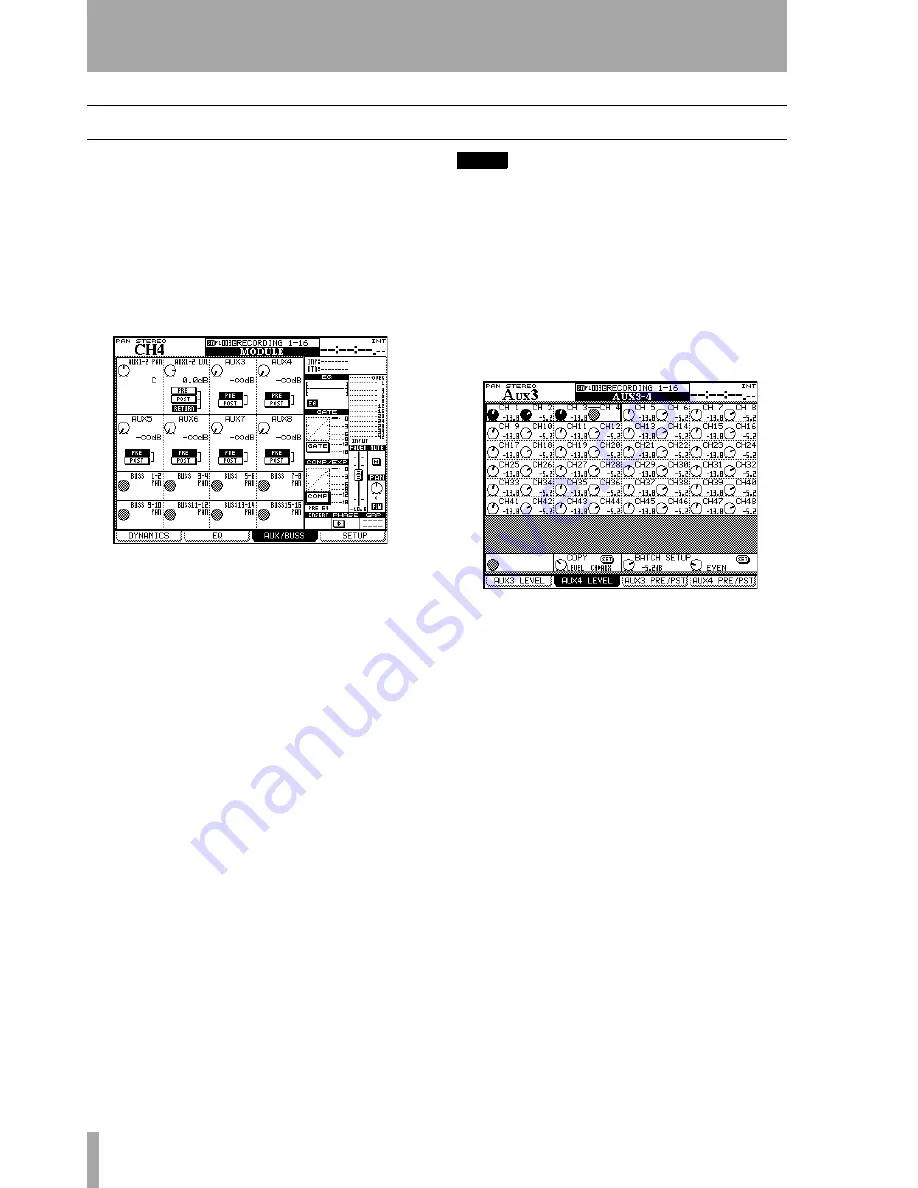
The third page of the
MODULE
screens provides a way
to view and make the aux send settings and the buss
panning between odd- and even-numbered busses
(channel modules only in stereo mode, not surround
mode when the buss pan follow mode is off—see
“BUSS PAN Follows ST PAN” on page 34). Note
also the on-screen
FLW
button below the pan pot on
the right of the screen, which links buss and stereo
panning.
Use the cursor keys to move the “control box” of four
PODs up and down.
For unlinked aux sends, the four POD encoders are
used to set the aux send levels for the individual aux
sends.
For linked aux sends, the PODs are paired, with the
left encoder being used to set the pan (or balance in
the case of linked channels) position between the two
aux sends, and the right encoder setting the level.
Use the cursor keys and
ENTER
key to set the pre/
post aux send position.
NOTE
Aux 1-2 have an extra option here. In addition to being
able to select the pre- and post-fader aux send position,
channels 1 through 32 can also use the “return” signal
(“Input routing” on page 47) as an aux send, allowing
recorder returns to be used as a cue feed to the studio,
etc.
Aux send screens (unlinked)
Pressing the
dedicated
AUX
function keys brings up appropriate
screens which allow the viewing and setting of aux
sends for all channels:
Moving the cursor around the screen highlights four
on-screen controls where the POD encoders are used
to set the values. In the case of linked channels, the
left POD of the pair is used to set the level.
The POD 2 key is used to select the screen for the
even-numbered aux send level setting.
Copying settings between aux sends and
channel levels
At the bottom of the
screen is a facility that allows the copying of channel
levels to the aux sends, or the other way round. This
is useful when setting up a studio cue monitor mix
based on the channel settings.
Use POD 2 to select between
CH>AUX
and
AUX>CH
,
and press
ENTER
. A popup appears to confirm this
setting (
ENTER
to confirm, cursor keys to cancel).
Figure 5.13: Module aux and buss screen
Figure 5.14: Aux send screen (unlinked)
Содержание DM-3200
Страница 1: ...Digital Mixing Console OWNER S MANUAL D001865710A...
Страница 116: ...9 Specifications Block diagram 116 TASCAM DM 3200 Owner s Manual Block diagram Figure 9 3 Block diagram...
Страница 117: ...9 Specifications Level diagram TASCAM DM 3200 Owner s Manual 117 Level diagram Figure 9 4 Level diagram...
Страница 118: ...Notes 118 TASCAM DM 3200 Owner s Manual...
Страница 119: ...Notes TASCAM DM 3200 Owner s Manual 119...


