Troubleshooting
Testmodes and Troubleshooting
4-4
4.2
Troubleshooting
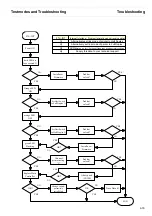
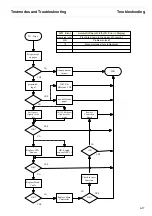
Many errors and problems that occur during printer operation have a simple cause
and can be easily solved. So if you have a few problems with your printer, you do not
need to phone the manufacturer right away. The following chapter will help you to
differentiate between real printer defects and simple operating errors.
4.2.1
Error Messages in the
LCD Display
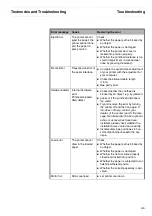
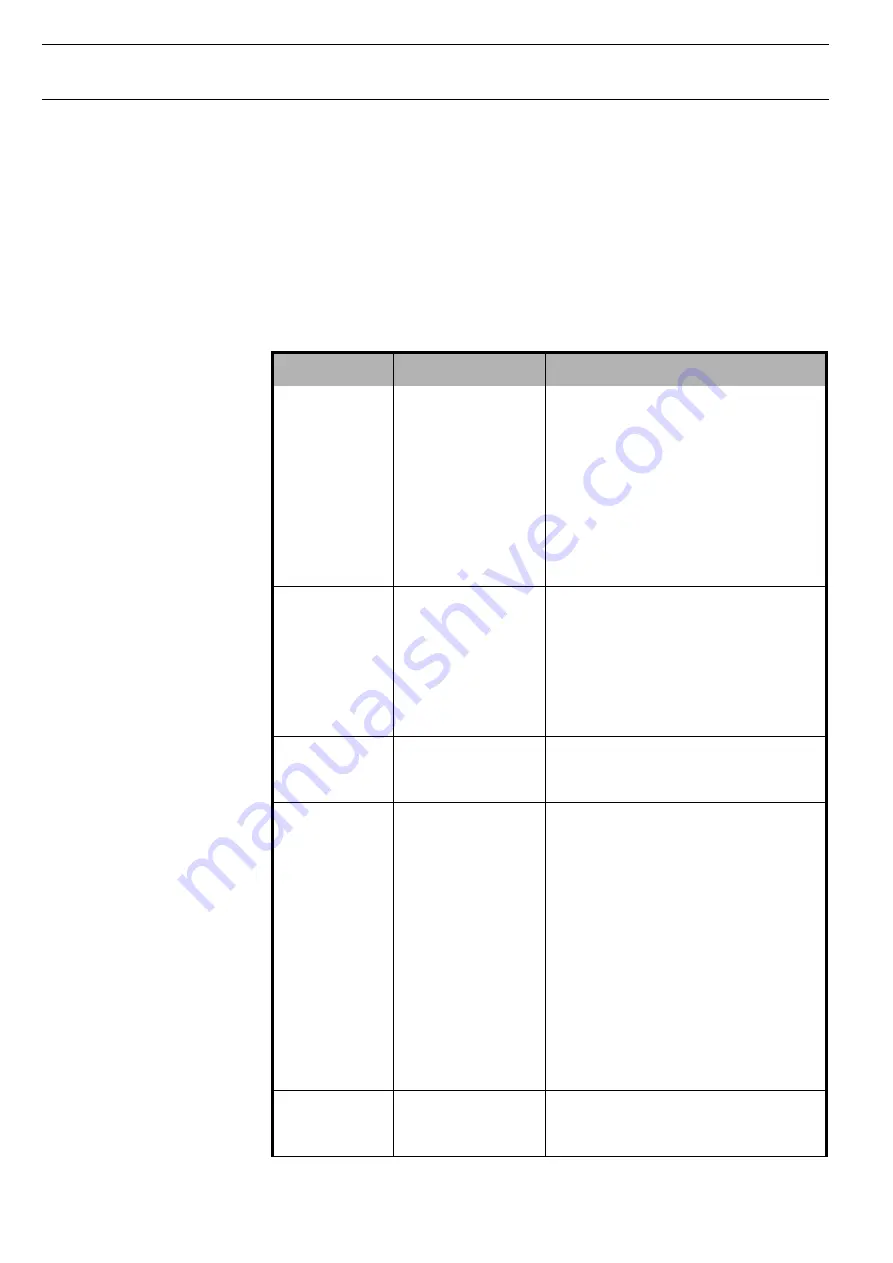
The table on the following page lists all errors reported by the printer via the LCD
display.
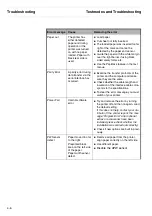
Error message
Cause
Removing the error
AED Error
Only if an automatic
cutting device is
installed.
No standard paper,
transport holes are
not like standard.
Paper moved too far
to the right.
Paper width sensor
defect.
Remove all paper from the printer,
align paper correctly on the left side.
Use different paper.
Load paper to a different Top of Form
(TOF).
Disable the AED sensor.
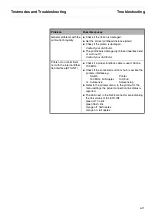
Buffer Overflow
Received data which
have not yet been
printed is overwrit-
ten from new data.
Check:
If the correct replay signal
(e.g. X-ON/X-OFF) is set in the menu.
The interface cable.
The handshake (DTR / Ready / Buffer
Mode / Block Mode).
Is DTR=Ready switched on?
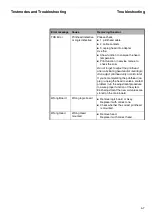
Buffer Overrun
Format of serial
transmission is not
correct.
Check format e.g. 7/8 Bit, 1/2 Stop bit.
Check Ribbon
Ribbon drive:
No Ribbon or
carriage moves too
tight
A sensor checks during power on if a rib-
bon exists, and during printing perma-
nently the motion of the ribbon.
If no ribbon is detected (which is also the
case when you use obsolete ribbons) or
the ribbon is jamming, a message
"Check Ribbon" will be displayed and the
printer goes offline. It can be set to
online again by pressing the "Online"
key, and will then print one line before
the next "Check Ribbon" message
appears.
Substitute ribbon.
Make sure to use the correct ribbon
(ID: 62471)
Cover Open
Upper cover is open.
Close upper cover.
Hall sensor defective or cables at inter-
connection board disconnected
Содержание 2365
Страница 1: ...Maintenance manual Matrix printer 2365 2380...
Страница 2: ...This page intentionally left blank...
Страница 8: ...This page intentionally left blank...
Страница 10: ...This page intentionally left blank...
Страница 20: ...This page intentionally left blank...
Страница 32: ...Mechanical Functions Functional Description 3 12 right mark mark mark...
Страница 35: ...Functional Description Electronic Functions 3 15 2365 2380 Electronic groups...
Страница 128: ...This page intentionally left blank...
Страница 134: ...Mechanical Adjustments Adjustments 6 6...
Страница 136: ...Electrical Adjustments Adjustments 6 8...
Страница 142: ...Housing Spare Parts and Schematics 7 2 7 1 Housing 7 1 1...
Страница 144: ...Basic Printer Spare Parts and Schematics 7 4 7 2 1 Basic Printer 1 3 36...
Страница 145: ...Spare Parts and Schematics Basic Printer 7 5 Basic Printer 2 3 462646...
Страница 146: ...Basic Printer Spare Parts and Schematics 7 6 Basic Printer 3 3...
Страница 147: ...Spare Parts and Schematics Basic Printer 7 7 7 2 2 Carriage RMS and Platen 72 125 138 139 136 62 11 137...
Страница 151: ...This page intentionally left blank...
Страница 152: ...Standard Tractor Assy Spare Parts and Schematics 7 12 7 3 Standard Tractor Assy 462646 134 140 17...
Страница 162: ...PMS Double Sensor Spare Parts and Schematics 7 22 7 8 PMS Double Sensor T R T R T Transmit R Receive...
Страница 164: ...Option Recognition Spare Parts and Schematics 7 24 7 10 Option Recognition...
Страница 168: ...This page intentionally left blank...
Страница 170: ...Tractor Complete Rear Tractor 2T Model 8 2 8 2 Tractor Complete 4 1...
Страница 172: ...This page intentionally left blank...
Страница 174: ...Cutting Device Option Specifications 9 2 14 6 4 12 1 5 6 11 7 13 7 8 17 2 9 3 16 15 4...
Страница 176: ...This page intentionally left blank...
Страница 177: ...2nd Front Tractor option 10 1 10 2nd Front Tractor option...
Страница 179: ...Printer Stand Overview 11 1 11 Printer Stand 11 1 Overview...
Страница 180: ...Installing the Printer Stand Printer Stand 11 2 11 2 Installing the Printer Stand 1 2 3 4...
Страница 181: ...Printer Stand Installing the Printer Stand 11 3 6 8 7 5...
Страница 182: ...Installing the Printer Stand Printer Stand 11 4 9 10...


