74
Every
SD3-A1
is factory-equipped with the maximum safety parameters. For this reason,
first the device settings and then the detection zones must be adapted to the
requirements of the application before the scanner is put into operation. After configuring
the scanner, remove the PC interface cable from position X2, put on the dummy cap
provided with delivery, and screw it tight.
For a list of parameters, please see the instruction manual (software operation) for the
SD3SOFT
.
Please observe Chapter 11, Maintenance and Testing.
x
When the connection between the
SD3-A1
and the PC was successful, you can
enter the appropriate password and then change the parameters and zone pairs of
the
SD3-A1
to meet the needs of the particular application.
The standard password to be entered in the access level “Authorized User” of
the SD3-A1 is: “SD3SUNX”.
Please note that the password must be changed
following the initial configuration of the scanner, and that the data carrier must be
kept locked up in a secure location.
x
The
SD3-A1
is ready for operation once the scanner settings and detection zone
configurations have been transferred.
Содержание SD3-A1
Страница 1: ......
Страница 12: ...12...
Страница 40: ...40 Fig 5 4 5 Considering the maximum measurement distance when safeguarding an area...
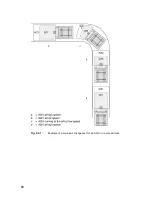
Страница 60: ...60 Fig 6 2 1 Example of a zone pair changeover for an AGV on a curved route...
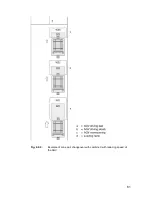
Страница 61: ...61 Fig 6 2 2 Example of zone pair changeover with combined with reducing speed of the AGV...
Страница 101: ...101 13 13 Dimensional drawings of the SD3 A1...
Страница 102: ...102 13 14 Dimensional drawings of the mounting system...
Страница 106: ......

