background image

© 2014 SPX CORPORATION

9

Form No. 1000773 

Rev. 0  August 12, 2014

SAFETY PRECAUTIONS CONTINUED

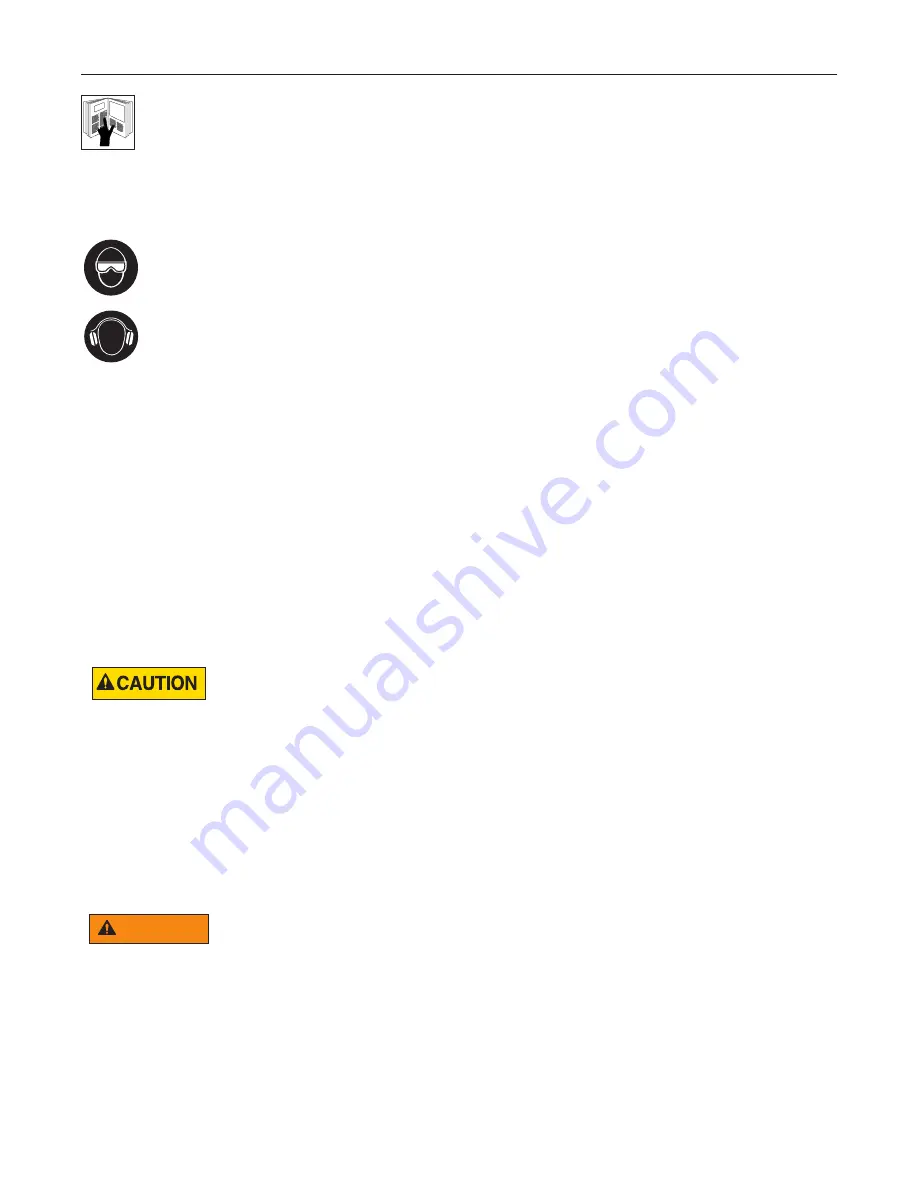
•  Read and understand the Operating Manual before operating this equipment.  For 

the latest version of the instruction please visit the “Resources” page on our Web

-

site (www.PowerTeam.com)

• 

IMPORTANT: 

For instructions specific to the various system components refer to 

the related individual manufacturer’s instructions that have been included with the 

MCS.

• 

IMPORTANT:

 The following procedures must be performed by qualified, trained 


personnel who are familiar with this equipment. Operators must read and under

-

stand all safety precautions and operating instructions included with the MCS Mo

-

tion 


Control System. If the operator cannot read these instructions, operating instruc

-

tions and safety precautions must be read and discussed in the operator's native 

language.

•  The motion control system is designed for general use in normal environments. 

These products are not designed for lifting and moving in special work environ

-

ments such as: explosive, flammable, or corrosive. Only the user can decide the 

suitability of this 


system for use in these conditions or extreme environments. Power Team will 


supply information necessary to help make these decisions. Consult your nearest 

Power Team facility.

•  Safety glasses and hearing protection must be worn at all time by the operator and 

anyone within sight of the unit. Additional personal protection equipment may in

-

clude: face shield, goggles, gloves, apron, hard hat, and safety shoes.

•  The owner of this motion control system must ensure that safety-related decals are 

installed, maintained, and replaced if they become difficult to read or understand.

•  Disconnect electrical power prior to opening electrical cabinet.


To prevent operator error, perform all of the following steps to develop a 

lift plan for therequirements including and especially concentrating on the controlled movement 

with an assistant 


operator whose sole task it is to double-check and verify any input and operational action taken 

by the main operator.


IMPORTANT: 

All movements to be performed by the Motion Control System must be 

ordered and approved by the person responsible at the job site. SPX Power Team will assist in 

operating the Motion Control System, but cannot be responsible for static or strength calcula

-

tions of the structure or load to be moved.


After setting up the MCS, the system needs to be tested for correct map

-

ping of circuit number on the screen versus displacement sensors and correlation with the 

2-way valves. Extend each displacement sensor individually for approximately 100 mm and 

verify the displacement 


indication on the screen to show the same change of values. Set the system into “Manual” 

mode and activate each circuit one by one. Verify the function of the related 2-way valve by 

checking the 


movement of the spool-core.

WARNING

Содержание Power Team MCS Series

Страница 1: ...nsure clarity the intent of this document is to provide basic guidance and it is the responsibility of the end user to review each application thoroughly for suitable usage Users should utilize sound...

Страница 2: ...SPORTATION 17 UNPACKING 17 OPERATING INSTRUCTIONS 19 1 Setup 19 2 Components 19 3 Documentation 19 4 Installation 19 5 Cylinders 19 6 Linear Displacement Sensors 20 7 Hydraulic Connections 20 8 Electr...

Страница 3: ...0773 Rev 0 August 12 2014 COMPONENT SPECIFIC DATA SHEETS 43 ANNEX 44 1 SPX cylinder size and square centimeter aera table 44 2 Motion Control System Checklist 44 3 Declaration of Conformity 46 POWER T...

Страница 4: ...tion of forces generated by hydraulic cylinders Forced zero Starting point of the controlled load movement achieved by pressing the Reset button For Displacement mode only Hydraulic circuit Hydraulic...

Страница 5: ...t against a maximum pressure value There is NO control of the actual movement of the load in this mode Pressure sensor Device to measure the oil pressure within the hydraulic circuit one per hydraulic...

Страница 6: ...elected valves only small units of oil are directed to the selected hydraulic cylinders at any given moment With this partitioning of the hydraulic oil the hydraulic system becomes a virtual digital h...

Страница 7: ...synchronized within the preset tolerance range regardless of the actual load distribution within the hydraulic circuit One hydraulic setup suits both single and double acting cylinders under different...

Страница 8: ...r over a long period of time WARNING SAFETY SYMBOLS AND DEFINITIONS SAFETY PRECAUTIONS In order to take the necessary actions to avoid an accident with or any damage to the MCS motion control system o...

Страница 9: ...rn at all time by the operator and anyone within sight of the unit Additional personal protection equipment may in clude face shield goggles gloves apron hard hat and safety shoes The owner of this mo...

Страница 10: ...electrical circuit Never use an ungrounded power supply with this unit Changing the voltage is an involved and if incorrectly performed hazardous procedure Consult the manufacturer for specific infor...

Страница 11: ...pressure may result in personal injury Cylinders should be arranged as much as practical to evenly distribute the load to each cylinder Avoid off center loads that could damage the cylinder and or ca...

Страница 12: ...the coupler and broken off inside the pipe end Any loose pieces of tape could travel through the system and obstruct the flow of fluid or cause jamming of precision fit parts Always use protective cov...

Страница 13: ...er This value shall be calcu lated based on the cylinder capacity and the expected predicted load at the referring Lifting point On the HMI set the operation mode to Auto NOTE It is suggested that for...

Страница 14: ...op the operation close all valves and display an alarm on the screen of the HMI Check all data and settings Take notes of your settings in a Log file as shown in Annex 1 of this instruction sheet The...

Страница 15: ...back to tank To select a specific cylinder to raise touch the numbered blue box at the top of the screen that corresponds to the cylinder you wish to move Using the up and down buttons on the touchscr...

Страница 16: ...e system stops operating Reattach the cable and touch re set button on home page to continue testing CYLINDER APPROACH TO LOAD Set the system into Manual mode There is NO control of the actual movemen...

Страница 17: ...hipment UNPACKING When unpacking make sure the MCS is located on a stable flat leveled surface that will sup port the weight of the MCS Carefully open the shipping container and arrange for its storag...

Страница 18: ...PACKING CONTINUED Check and confirm that the following items are undamaged and in good condition A Pressure Gauges B Electrical Plug Outlet C HMI Tough Screen D External Cabinet Vents E Door Switch F...

Страница 19: ...to document the performance of each opera tional step it is recommended that the operator fills in a checklist as shown in Annex 1 of this instruction sheet during the Motion Control System operation...

Страница 20: ...s a regular occurrence moving heavy loads is typically performed during night time with limited visibility Make sure that each lifting point and especially the location of the electrical control unit...

Страница 21: ...protective covers and clean all connectors with a dry cloth Affix the screw connections to the displacement sensors A power cord connector is provided with the MCS unit Attach the connector to an ap p...

Страница 22: ...ipants have knowledge of the safety plan Confirm that there are no obstructions i e overhead power cables trees other structures etc that may interfere with the lift lower cycle FILL WITH OIL Begin by...

Страница 23: ...P CONTINUED There is one 25599 male quick disconnect coupler and one 25600 1 female quick disconnect coupler for each Motion Point Lift point Left Side Displacement sensor cable connector Center 25600...

Страница 24: ...e easy to assemble If not check for bent pins in the connector on the cable end Installation groove mates with tab in mating connector Attach the five pin connector on the sensor cable to the mating c...

Страница 25: ...each lift motion point to be tested Install the retract hoses from the rod end of cylinder to the male quick disconnect 25599 at each lift motion point to be tested SET UP AND START UP CONTINUED This...

Страница 26: ...s to the displacement sensor s cord and affix it to the cylinder foundation Make sure that the displacement sensor s cord is pulled out several mm with the chain under slight tension in order to set a...

Страница 27: ...ins in the receptacle While installing it will take a small clockwise turn to get the plug oriented correctly After slight clockwise turn and pins start to enter push firmly on the plug to get it to l...

Страница 28: ...he plug and cable assembly simply press the RED button The connector latch is spring loaded and will quickly release the plug Open the top cover to the MCS by gently pressing down on the cover latch P...

Страница 29: ...POWER to the electrical control unit C GREEN power ON light D RED light indicating E stop is activated E BLACK button for re setting system after E stop button disengaged The Power Switch is in the f...

Страница 30: ...the SPX page At this point the MCS controller is running through its diagnostics This may take up to a minute or more Once completed the program will switch to the next page the WARNING screen This p...

Страница 31: ...iddle bottom of the HOME page This will take you directly to the alarm message page The alarm message page will list all of the alarms present since starting the MCS unit The following diagnostics pag...

Страница 32: ...performed before all of the alarms are re set On the first SETTINGS page you enter the solenoid ON time solenoid OFF time and the Release Quick Discharge pressure the Quick Discharge can be activated...

Страница 33: ...n the screen you will get the keypad that will allow you to enter the quick discharge pressure Press ENTER to have the value placed into the program Once the initial parameters are entered you will be...

Страница 34: ...TER key when complete in order to store this data in the program Continuing down the screen enter the pressure at four milliamps This would be equal to zero bar Enter the pressure at 20 milliamps and...

Страница 35: ...of the data for each of the cylinders you will be using for the lift You can advance page by page by touching the screen in the bottom right hand corner where it says NEXT PAGE If you go to the next c...

Страница 36: ...this alarm Check to ensure that the wire is attached to the sensor and the face plate attachment point for the appropriate cylinder number If okay press the blue RESET button on bottom right of home p...

Страница 37: ...hat there is no visible leakage If leaking replace the hose If not leaking press the blue RESET button on the HOME page If alarm still exists contact SPX Hydraulic Technologies for assis tance With ea...

Страница 38: ...operator or other designated personnel should visually inspect for the following conditions Excessive wear bending damage or insufficient thread engagement Leaking hydraulic fluid Loose bolts cap scr...

Страница 39: ...r cause interference of precision fit parts 6 STORAGE The original shipping crate is a convenient storage container for the MCS Prior to placing the MCS back into the shipping crate replace all dust c...

Страница 40: ...arts list or to locate a Power Team Authorized Hydraulic Service Center contact your nearest Power Team facility PROBLEM CAUSE SOLUTION PLC unit does not power up 1 Control system not Powered 1 Turn k...

Страница 41: ...If problem persists disconnect from power supply contact authorized Power Team service center 6 Cold fluid or fluid too heavy Hydraulic fluid is of a higher viscosity than necessary 6 Drain flush and...

Страница 42: ...leeding procedure 2 Internal leakage in attached components 2 Refer to manufacturer s information for attached component 3 Attached component sticking or binding 3 Refer to manufacturer s information...

Страница 43: ...2014 SPX CORPORATION 43 Form No 1000773 Rev 0 August 12 2014 SCHEMATICS...

Страница 44: ...1 4 A BSPP DIN 3852E ELECTRICAL CONNECTON PLUG CONFORMING TO EN 175 301 803A 1 5mm EXTERNAL CABLE 6 8mm OUTPUT CURRENT 4 20 mAmp POSITION SENSORS MEASUREMENT RANGE 0mm to 500mm ELECTRICAL CONNECTION M...

Страница 45: ...ate sequence for uncrating with care for re use b The electrical 1 Power cable 2 Use of generator c The Hydraulics 1 Adding oil d The sensors 1 Magnets 2 Cable attachment 3 Position of sensors e Cable...

Страница 46: ...Bringing the cylinders up to structure plates for stability manual mode c Consider lift in stages d Use of mechanical supports e Safeties in the system f Emergency E Stop do not wander too far g If a...

Страница 47: ...2014 SPX CORPORATION 47 Form No 1000773 Rev 0 August 12 2014 ANNEX CONTINUED 3 DECLORATION OF CONFORMITY...

Страница 48: ...48 Form No 1000773 Rev 0 August 12 2014 California Proposition 65 Warning This product contains or may contain chemical s known to the state of California to cause cancer or other reproductive effects...

Отзывы: