1-11(E)
SX-M700
20
Setting Up the System
Preparing the Control Unit
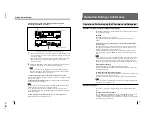
Adjusting the audio level
Adjust the audio signal output to the chairman’s/delegate’s unit from external
equipment connected to EXT IN-1/2 before the conference.
Adjusting the output level of the audio signal to the chairman’s unit/
delegate’s unit
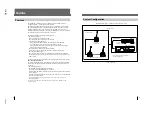
1
Select several chairman’s units/delegate’s units placed in the hall and set their
MIC ON/OFF buttons to turn on their indicators.
2
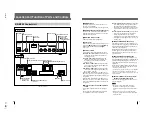
Adjust the speaker volume on the chairman’s units/delegate’s units so that the
level meter indicates around 0 VU using the D/C UNIT MIC volume control on
the control unit, while an assistant in the conference hall is speaking into the
microphone.
3
If howling occurs, rotate the D/C UNIT SP volume control counterclockwise to
reduce the volume until the howling stops.
If howling does not stop even if you rotate the D/C UNIT SP volume control
counterclockwise, it is recommended to use the howling suppressor or filter
unit (not supplied).
Note
The person speaking into the microphone should bring his/her mouth close to the
microphone.
3
2
Chairman’s unit/delegate’s unit
Control unit
Level meter
MIC ON/OFF
VOL
CH
4
6
VU
I
O
POWER
PHONE
ON
OFF
MONITOR
MIN
MAX
1
2
3
4
5
6
7
8
9
MONITOR
ORIGINAL
INTRT[TRYRT
CHANNEL
1
2
3
4
5
6
0
10
1
2
3
4
5
6
7
8
9
MIC/LINE 1
MIC/LINE 2
MIC/LIMIT
ON/OFF
DIRECT ACCESS
ON/OFF
SEAT ASIGN
START/END
D/C UNIT SP
0
10
1
2
3
4
5
6
7
8
9
0
10
1
2
3
4
5
6
7
8
9
0
10
1
2
3
4
5
6
7
8
9
D/C UNIT MIC
ORIGINAL
1
21
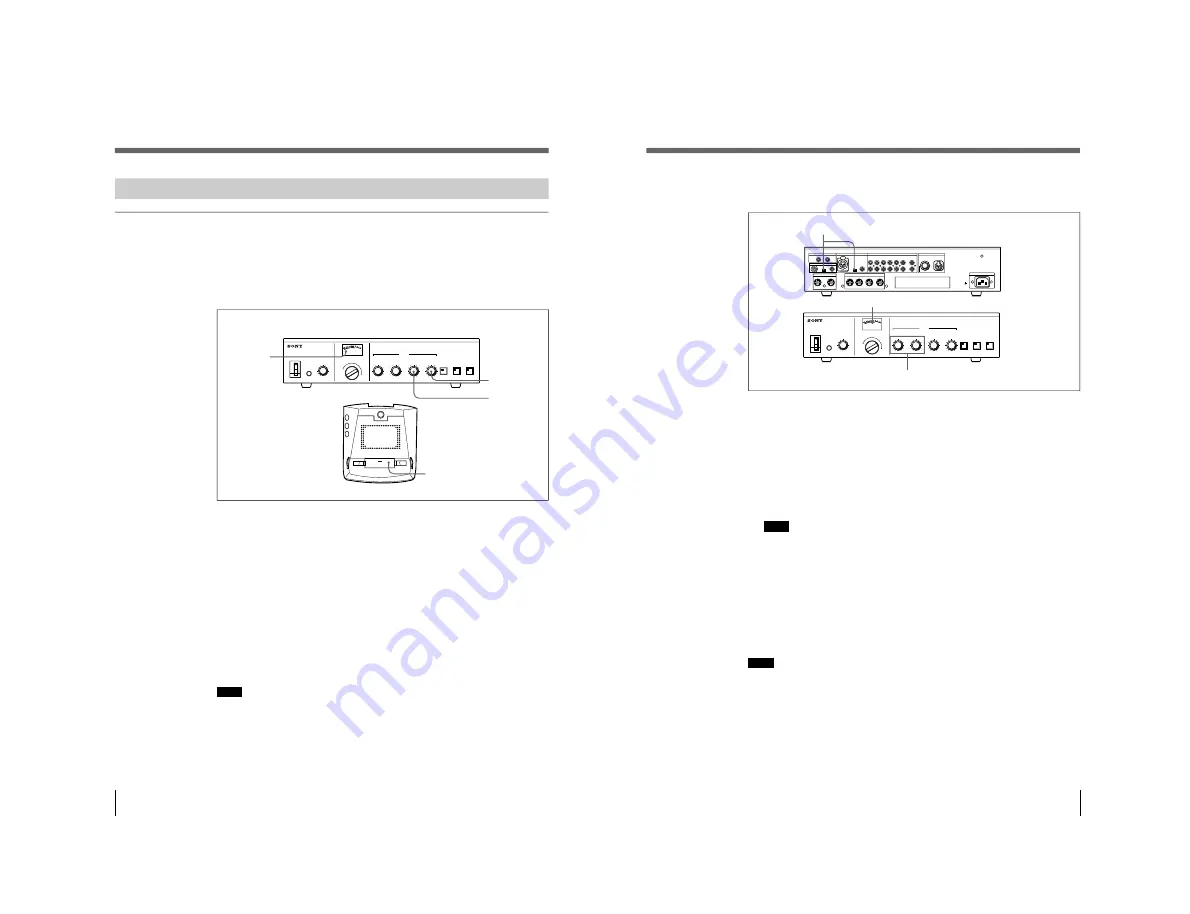
Adjusting the input level of the audio signal from equipment
connected to EXT IN-1/2 connectors
1
• To adjust the output of the conference microphone, set the MIC/LINE switch
of the EXT IN connector, to which the conference microphone to be adjusted
is connected, to MIC.
• To adjust the output of external equipment, set the MIC/LINE switch of the
EXT IN connector, to which the external equipment to be adjusted is
connected, to LINE.
2
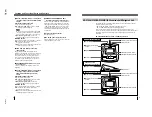
Adjust either MIC/LINE 1 or MIC/LINE 2, corresponding to the equipment to
be adjusted, so that the level meter pointer indicates about 0 VU.
Note
In this case, do not rotate the D/C UNIT SP control and D/C UNIT MIC
control because they have already been adjusted as described in “Adjusting the
output level of the audio signal to the chairman’s unit/delegate’s unit”
(previous page).
To select the microphone mode of the chairman’s unit/delegate’s units
Select the microphone mode (whether the number of speakers is limited) according
to the conference type.
To limit the number of speakers to five: Press the MIC LIMIT ON/OFF button
such that the button indicator lights.
Note
When the power of the control unit is turned off, the MIC LIMIT ON/OFF button
is automatically reset to OFF even if it has been set to ON.
To set the mode to limit the number of speakers to five after the power of the
control unit is turned on again, press the MIC LIMIT ON/OFF button such that the
button indicator lights.
To allow all speakers to participate freely: Press the MIC LIMIT ON/OFF
button such that the button indicator goes out.
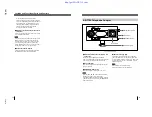
Level meter
Front of the control unit
Rear of the control unit
VU
I
O
POWER
PHONE
ON
OFF
MONITOR
MIN
MAX
1
2
3
4
5
6
7
8
9
MONITOR
ORIGINAL
INTRT[TRYRT
CHANNEL
1
2
3
4
5
6
0
10
1
2
3
4
5
6
7
8
9
MIC/LINE 1
MIC/LINE 2
MIC/LIMIT
ON/OFF
DIRECT ACCESS
ON/OFF
SEAT ASIGN
START/END
D/C UNIT SP
0
10
1
2
3
4
5
6
7
8
9
0
10
1
2
3
4
5
6
7
8
9
0
10
1
2
3
4
5
6
7
8
9
D/C UNIT MIC
ORIGINAL
MIC
LINE
EXT UNIT
EXT IN-1
LINE OUT
CH6
CH5
CH4
CH3
CH2
CH1
ORG
TELEPHONE COUPLER
AC IN
94B
1
2
3
4
DELEGATE'S/CHAIRMAN'S UNIT
INTERPRETER'S UNIT
1
2
LINE
MIC
LINE
MIC
LINE
1
2
1
2
3
4
5
ORG
OUT
IN
EXT IN-2
1
2
Содержание SX-M100
Страница 75: ...SX M700 6 12 TMP68301AFR 16 TOSHIBA http getMANUAL com ...
Страница 110: ...8 1 8 1 SX M700 SX M700 M100 BLOCK SX M700 M100 BLOCK SX M700 M100 DIGITAL SECTION 8 BLOCK DIAGRAMS DIGITAL BLOCK ...
Страница 111: ...8 2 8 2 SX M700 SX M700 AUDIO SX M700 BLOCK SX M700 BLOCK AUDIO BLOCK ...
Страница 112: ...8 3 8 3 SX M700 SX M100 BLOCK SX M100 BLOCK SX M100 AUDIO AUDIO BLOCK ...
Страница 113: ...8 4 8 4 SX M700 SX E120 DIGITAL SX E120 BLOCK SX E120 BLOCK DIGITAL BLOCK ...
Страница 114: ...8 5 8 5 SX M700 SX E120 BLOCK SX E120 BLOCK SX E120 AUDIO AUDIO BLOCK ...
Страница 115: ...8 6 8 6 SX M700 SX T100 AU 202 SX T100 BLOCK SX T100 BLOCK AU 202 BLOCK http getMANUAL com ...
Страница 116: ...8 7 8 7 SX M700 SXA 120 BLOCK SXA 120 BLOCK SXA 120 AUDIO CPU 188 BLOCK ...
Страница 120: ......
Страница 126: ......
Страница 128: ......
Страница 130: ......
Страница 132: ......
Страница 136: ......


