26
Exporting Files
Normally, when no files are in the selected directory,
the export of clip files cannot be started. Note,
however, that in this case, exporting can be done
through automatic execution using a job file
Checking the clip list and transposing
clips
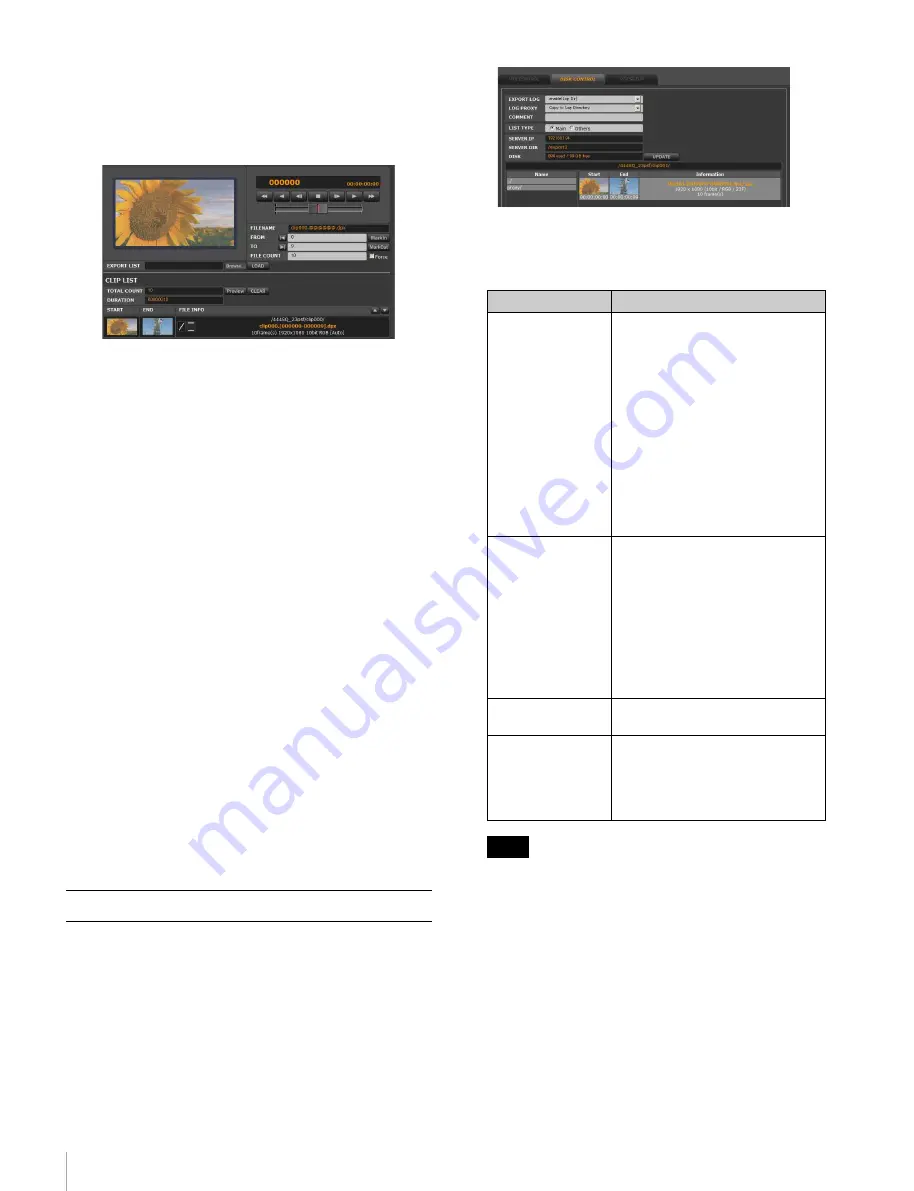
After specifying the FROM/TO points, double-click the
proxy to register the section between the FROM and TO
points in the clip list. Registered clips can be viewed in the
CLIP LIST area of the DISK CONTROL tag display.
Registered clips can be transposed through drag-and-drop
operations.
When multiple clips are registered, exporting starts from the
top of the list and continues to the bottom of the list.
To preview the selected clip
Click the Preview button in the CLIP LIST area to preview
a clip. The downconverter preset setting that is applied to
main picture files
is applied to the preview
picture.
When multiple clips are registered to the clip list, you can
preview the previous and next clips in the list by clicking
the
c
/
C
buttons while holding down the Shift key on
the keyboard.
In preview mode, a clip cannot be added to the clip list by
double-clicking the proxy. Preview mode is canceled
when you re-select another clip.
To clear the contents of clip list
Click the CLEAR button in the CLIP LIST area of the
DISK CONTROL tag display.
To remove a specific clip, double-click the clip.
Clip selection
The DISK CONTROL tag display opens as shown below.
1
Set the following items in the DISK CONTROL tag
display.
Uncompressed DATA 29PsF and uncompressed
DATA 25PsF are different formats. For this reason, if
the frame rate setting of the VTR as of export and as of
import differs, the files cannot be imported.
2
Do steps
3
and
4
of
in
“Selecting the Clip To Be Exported.”
Checking the clip list and transposing
clips
The procedure is the same as
in
For uncompressed data
Item
Function/settings
EXPORT LOG
Specifies whether or not an export
log file is created.
The settings for this parameter are
the same as those for exporting
compressed data
To view created export log files,
click the Export LOG button in the
lower right of the DISK CONTROL
tag display.
For details on export log files, see
“Export log display” on page 28.
For details on how to manage
export log files, see “Log File
Management” on page 36.
LOG PROXY
These settings are for the
thumbnails used with the export
log file.
The settings for this parameter are
the same as those for exporting
compressed data
For details on the “Copy to Log
Directory” setting, see “About the
“Copy to Log Directory” setting in
LOG PROXY” on page 25.
COMMENT
Enter a comment to be written to
the export log file.
LIST TYPE
Specifies the type of the files to be
displayed.
Main
*
: Picture files (DPX, CIN,
TIFF, and MXF)
Others: Files other than pictures
Note


