38
Other Functions
Automatic Execution Using a Job
File
Operations such as importing and exporting can be
automatically carried out by loading an XML-format job
file that you create with an external editor.
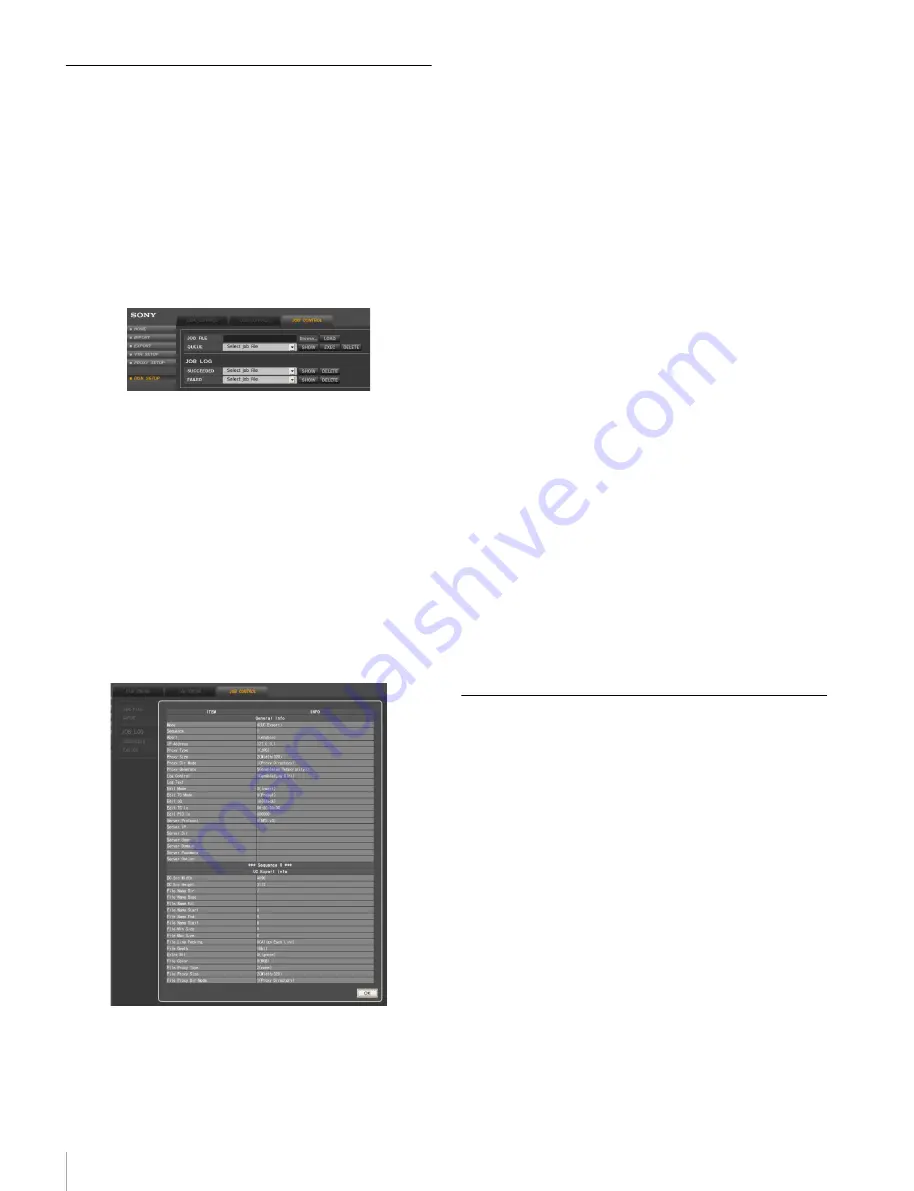
Click the DISK SETUP menu select button on the web
application, and then click the JOB CONTROL tab.
You can load or delete a job file, check its contents,
execute it, and check the results in the JOB CONTROL tag
display.
Loading a job file
Click the Browse... button to the right of the JOB FILE box
in the JOB CONTROL tag display, specify the job file
stored on the web client disk or external media, and then
click the LOAD button.
Job files that have been loaded can be selected in the
QUEUE box.
Checking the contents of a job file
In the QUEUE box, select the job file that you want to
check, and then click the SHOW button.
The contents of the selected job file are displayed.
Executing a job file
In the QUEUE box, select the job file that you want to
execute, and then click the EXEC button.
The contents of the selected job file are automatically
executed.
Checking the results of an automatic
execution
Log files for job files that have been automatically
executed are stored in the JOB LOG area, each indicated
by the name of job file appended by the date and time of
execution. A log file of a successfully executed job file can
be selected by clicking the SUCCEEDED box, while a log
file of a job file that failed can be selected by clicking the
FAILED box.
After selecting the log file that you want to check its
contents, click the SHOW button to display the contents.
To delete a log file
Select the log file that you want to delete, and then click the
DELETE button.
Deleting a job file
In the QUEUE box, select the job file that you want to
delete, and then click the DELETE button.
About creating a job file
The tasks that can be defined in a job file correspond with
most of the items that can be specified in the menus of the
web application.
For details, see “Job File Samples” on page 42 in
“Appendix”.
Dubbing Uncompressed Data
By connecting two SRW-5800 units installed with the
HKSR-5804, you can carry out tape dubbing through their
AUX connectors.
For details on connectors not described in this manual or
the VTR SETUP menu, refer to the Operation Manual
supplied with the SRW-5800.
Connecting SRW-5800 Units
Two SRW-5800 units installed with the HKSR-5804 are
connected as shown below.


