17
Importing Files
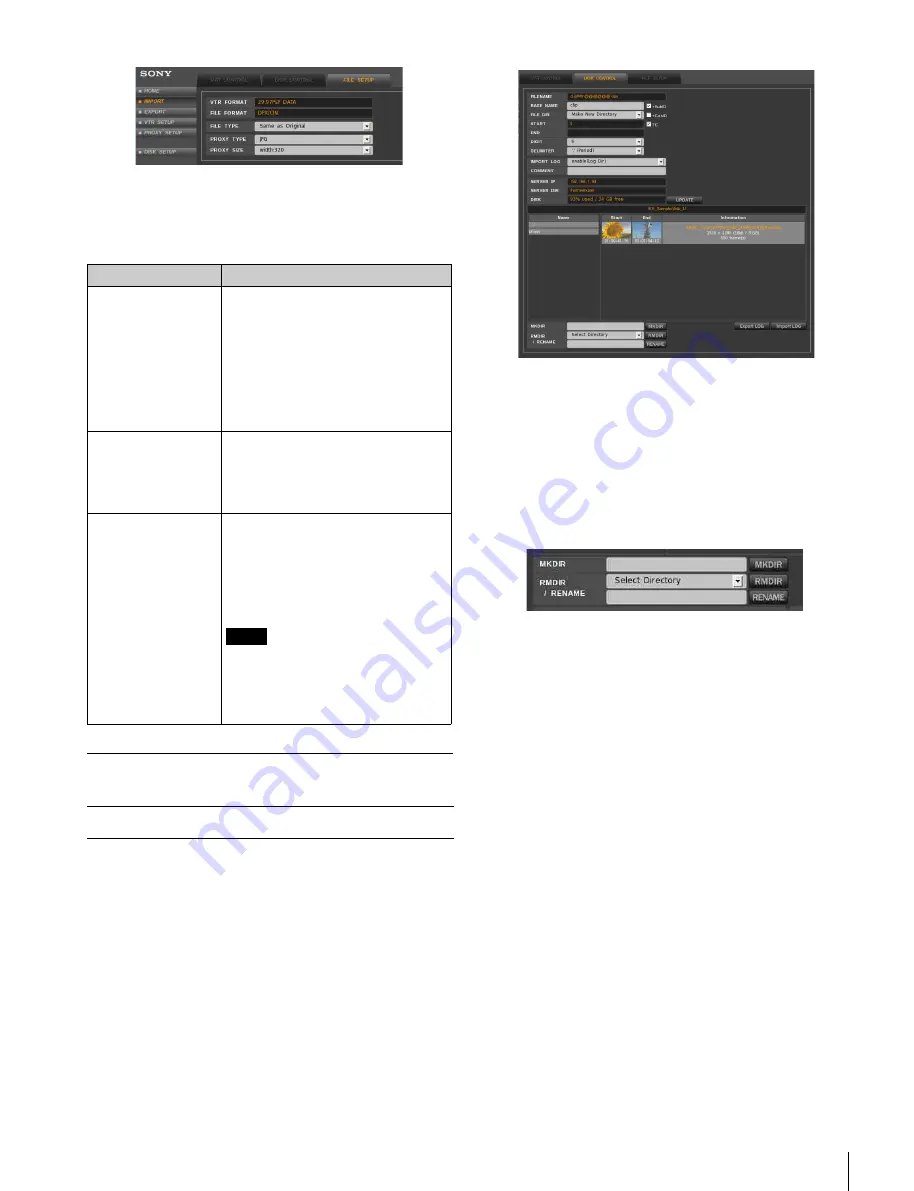
For uncompressed data, the following three items must be
specified.
In the table below, the default setting is indicated by an
asterisk (*).
File Name and Directory Setup
This section explains the settings for file names of main
picture files imported from the VTR to the NFS server and
how to specify the directory (target directory) on the NFS
server where imported files are stored.
1
Access the VTR from the web client to display the web
application, click the IMPORT menu select button,
and then click the DISK CONTROL tab.
The DISK CONTROL tag display opens.
2
Specify the directory where imported files are to be
stored.
The directory that is currently open is specified as the
target directory.
You can use the lower part of the DISK CONTROL
tag display to create or delete a directory. A directory
name can also be changed with this display.
To create a directory
Enter the directory name in the MKDIR box, and then
click the MKDIR button. A new directory is created
right under the directory whose name is currently
displayed in the center of the display.
By entering certain character strings, corresponding
information is automatically obtained from the system
and entered as a new directory name.
The character strings and information obtained are as
follows:
<casid>:
cassette ID
<date>:
date (year, month, day)
<time>:
time (hour, minute, second)
The following is an example of the directory name
when the cassette ID is “0123456789” and
“test<casid>_<date><time>” is entered at 17:42:35 on
February 16, 2009.
test0123456789_20090216174235/
To change a directory name
Click the Select Directory box and select the directory
whose name you want to change. Then enter the new
name in the RMDIR/RENAME box and click the
RENAME button.
Item
Function/settings
FILE TYPE
Selects the file type of main picture
files to be imported from the VTR to
the NFS server.
Same as original
*
: Files of the same
type as the original files on the
tape are imported.
None (Proxy only): Main picture files
are not imported. Only proxies of
picture files are created.
PROXY TYPE
Selects the file type of proxies to be
created.
Selectable settings are the same as
“PROXY TYPE” in “For compressed
data” section
.
PROXY SIZE
Selects the size of proxies to be
created.
Selectable settings are the same as
“PROXY SIZE” in “For compressed
data” section (see page 16)
.
Width:160: 160 pixels in width
Note
Due to system limitations, during the
import of uncompressed data,
proxies are not generated for main
picture files that are greater than
about 62 MB.
For compressed data


