- 45 -
- 45 -
8.2 RUNNING SPEED -C1
Select the channel by means of the central button. The alarm
triggers under the 2.6 Km/h. This alarm can be deactivated
entering in the programming mode 2.
Speed sensor calibration
The theoretical calibration is achieved entering the calibra-
tion factor in the programming mode 2, according to the
value indicated in the following chart.
MACHINE MODEL
6 metres
7 metres
CALIBRATION FACTOR
1,336
1,336
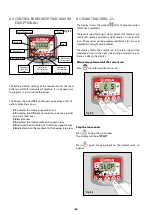
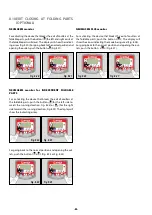
Select the speed channel (C1)
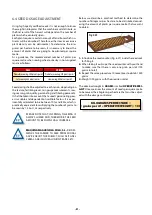
1-
Push
for entering into the mode 1. Keeping it pushed,
push the central button
for changing the digit to
modify.
2-
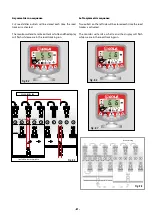
Keep the central button pulsed during various seconds for
modifying the value of the flashing digit.
3-
The monitor will go back to the normal position when
stop pushing the buttons.
NOTE:
THERE IS A MORE PRECISE SELF-CALI-
BRATION MODE FOR THE AMOUNT OF IMPULS-
ES, WHICH REQUIRES A FIELD TEST.
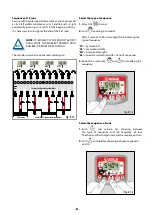
Speed sensor self-calibration
1-
Mark 100 meters.
2-
Select canal 1 (speed).
3-
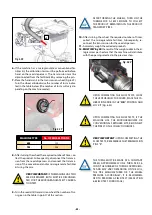
Press
and keep it pressed
.
The indication Auto will appear in the display. Stop
pressing.
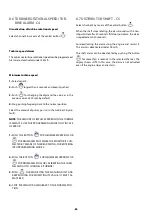
4-
Run until the 100 meters marked. The monitor counts the
sensor impulses.
5-
When finishing, press again
.
The monitor has already memorized the amount of impulses.
8.3 TOTAL AREA /
SEED DRILLER WIDTH - C2
It is possible to mark two total and independent areas.
Visualization of total area.
1-
Select canal 2.
2-
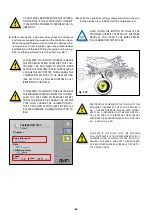
Push
to see the total area 1 and total area 2 «tot.1»
and «tot.2». The screen will show «tot.1» at first and then
its value in Ha.
Resetting the total areas
1-
Select canal 2.
2-
Push
for visualizing.
3-
Push the button longer than 5 seconds
.
Programming works width
1-
Select canal 2 of area.
2-
Push
the button longer than 5 seconds until a width
value appears on the screen and. holding it pressed, push
the central button for modifying the flashing digit.
3-
Push the flashing digit longer than 3 seconds for modify-
ing its value.
4-
Stop pushing the buttons for going back to the normal
position.
Working in micro mode
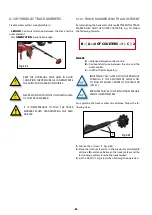
When working with the distributor in micro-dosage mode
(for small hoppers and small quantities) it is necessary to
push the button
longer than 3 seconds until the arrow
indicating the micro mode appears on the screen. In this
case, the monitor will keep the actual work speed and area.
For going back to the normal operation position, once again
push
longer than 5 seconds until the indicating arrow
disappears.

