12-27
12
T
ools
4
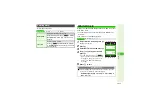
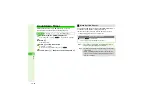
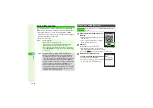
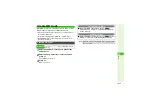
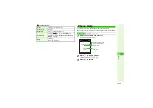
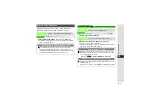
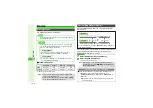
Scan results appear
Handset automatically detects text type; if incorrect, change mode.
^
If text exceeds limit, results appear with overage truncated.
3
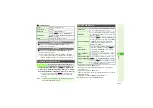
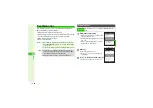
To change mode, press
N
x
A
Select
Chan
g
e Mode
A
Press
b
A
Select a type
A
Press
b
(Scan results and
alternatives list change accordingly.)
3
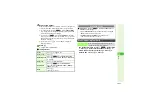
To edit, press
N
x
A
Select
Select/Edit
A
Press
b
A
Use
F
to select the character to edit
A
Use
E
to select
an alternative from the list or enter the correction directly from
Keypad
A
Press
b
3
To start over, press
i
A
Choose
Yes
A
Press
b
A
Repeat from Step 1
5
Press
b
3
3
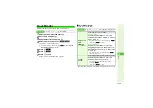
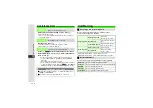
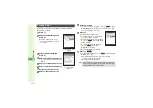
Scan Operations
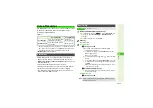
In a text entry window, press
N
x
A
Select
Scan
A
Press
b
A
Select
Text Scanner
A
Press
b
A
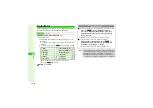
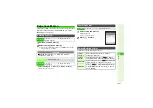
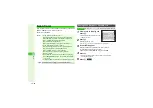
Frame text in the center of Display
A
Press
b
A
Select a line
A
Press
b
A
Press
b
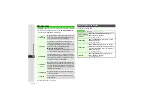
Focus
Press
3
to toggle mode
Focus Lock
Press
f
Reversed Text
Press
N
x
A
Select
Reversed Text
A
Press
b
A
Select
Auto
,
Normal
or
Reversed
A
Press
b
Exposure
Use
F
to adjust brightness
Anti-flicker
Press
N
x
A
Select
Anti-flicker
A
Press
b
A
Select
Mode1: 50Hz
or
Mode2:
60Hz
A
Press
b
Help
Press
0
(Press
b
to return.)
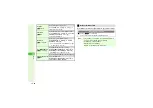
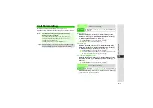
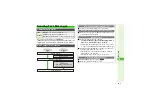
Scanning More Text
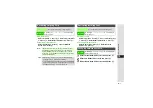
3
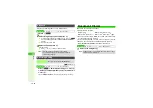
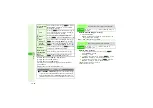
After Step 5, press
N
x
A
Select
Continue Part
or
Scan More
A
Press
b
^
Select
Continue Part
to enter additional text; select
Scan
More
to enter text after a line break.
^
Continue Part
and
Scan More
are disabled once
256 characters have been scanned.
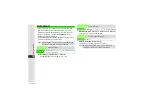
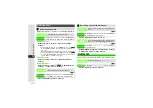
Scanning during Text Entry
Text Scanner
Scan text during text entry and insert scan
results into current cursor position

