8-13
8
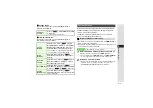
Mana
g
in
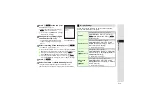
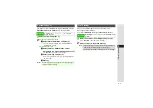
g
Files (Data Folder)
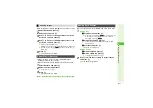
5
Press
b
6
Choose
Yes
and press
b
7
Select a location and press
b
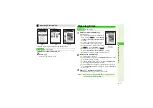
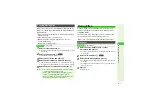
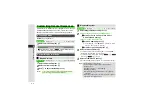
Image is saved to Data Folder as a new entry with Face Arrange
positions adjusted, and Face Arrange menu returns.
^
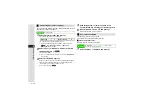
Complete Face Arrange. Face Arrange is applied to the
adjusted positions.
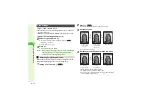
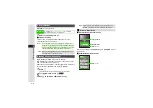
Open Picture Editor window (
) and follow these steps.
^
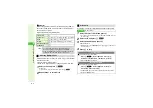
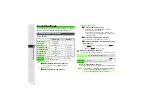
Panorama Image Effects:
^
Use JPEG images between W 48 x H 64 and W 120 x H 160 dots/
W 160 x H 120 dots.
^
Some portions may be cropped to adjust two images to the
same size.
^
The result may not be satisfactory if color tones are different
between two images.
^
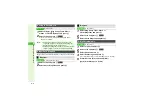
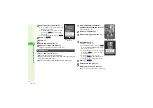
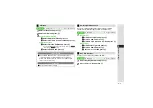
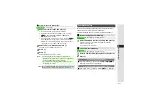
Open Composite window (
) and follow these steps.
1
Select
Mer
g
e Panorama
and press
b
Left image is set.
^
Mer
g
e Panorama
is selectable only for compatible files.
2
Select
2
and press
b
3
Select another image and press
b
Two images are set.
4
Select
EFFECT
and press
b
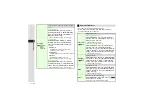
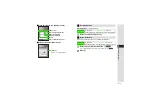
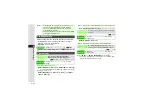
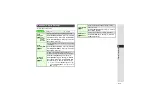
Other Picture Effects
Frame
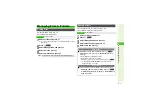
Add Frame to JPEG and PNG images
Select
Frame
A
Press
b
A
Select a frame
A
Press
b
A
Press
b
3
To change the frame, press
i
before assigning it.
3
Saving Edited Images:
Correction
Correct brightness, etc. for W 52 x H 52 dots or larger
JPEG and PNG images
Select
Correction
A
Press
b
A
Select a
Correction type
A
Press
b
A
Press
b
3
To change Correction type, press
i
before
assigning it.
3
Saving Edited Images:
Rotate
Rotate images
Select
Rotate
A
Press
b
A
Select a type
A
Press
b
A
Press
b
3
To start over from type selection, press
i
before
second press of
b
.
3
Saving Edited Images:
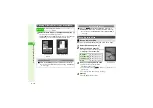
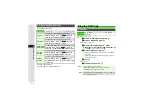
File
Format
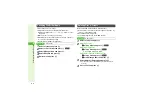
Convert file format and change file size
Select
File Format
A
Press
b
A
Select
File
Format
or
File Size
A
Press
b
A
Select a format/
size
A
Press
b
A
Press
i
3
Saving Edited Images:
^
Changing file format/size may affect file size/image quality.
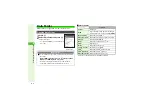
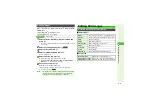
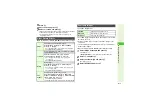
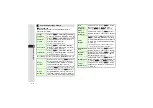
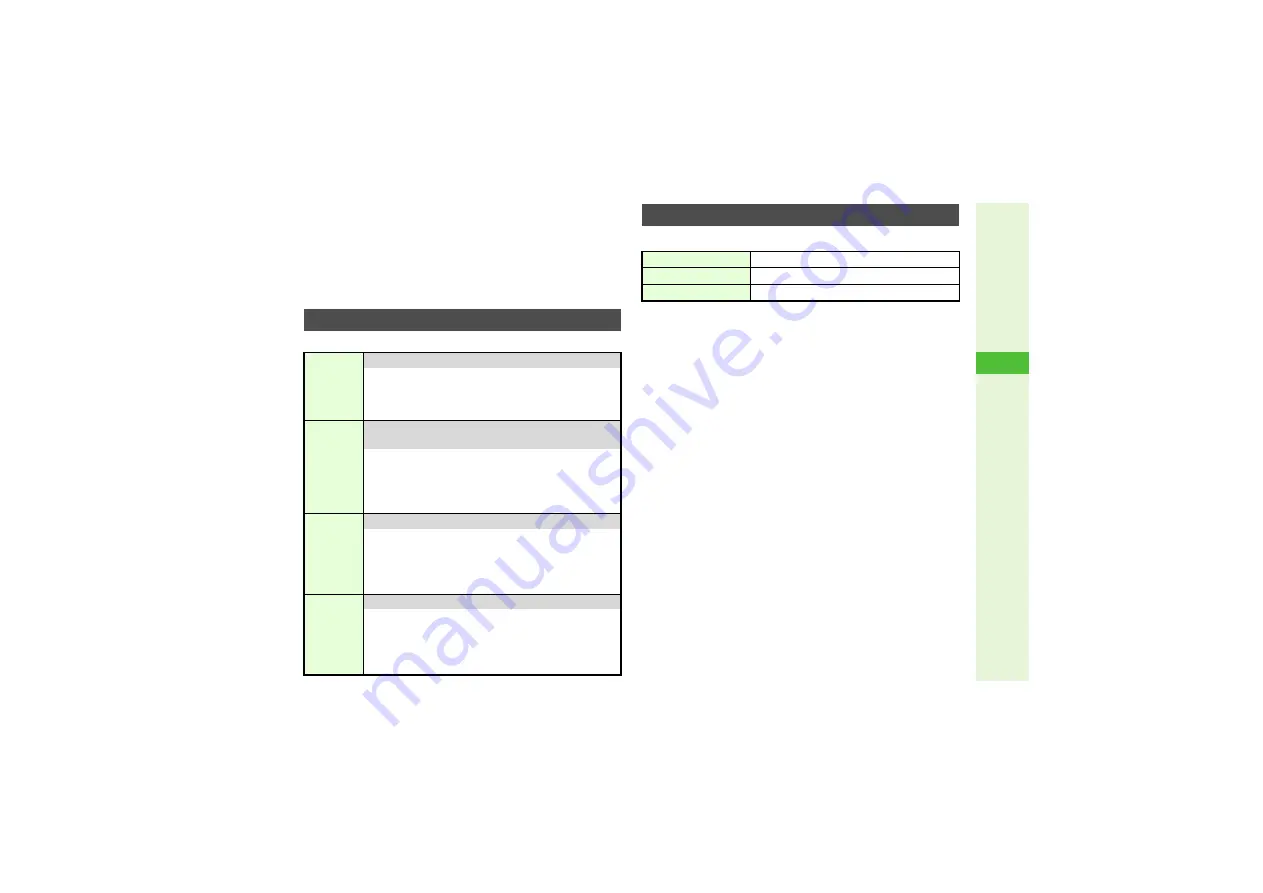
Panorama Images
Standard
Applicable to all kinds of shots
Near View
Best suited for close-up shots
Document
Use for images with text

