


81
Monitor the image via webcam from WAN
Input the WAN IP Address (as you see in above screen) into browser blanks, and you will see
the personal account login screen appear then input your own user account and password.
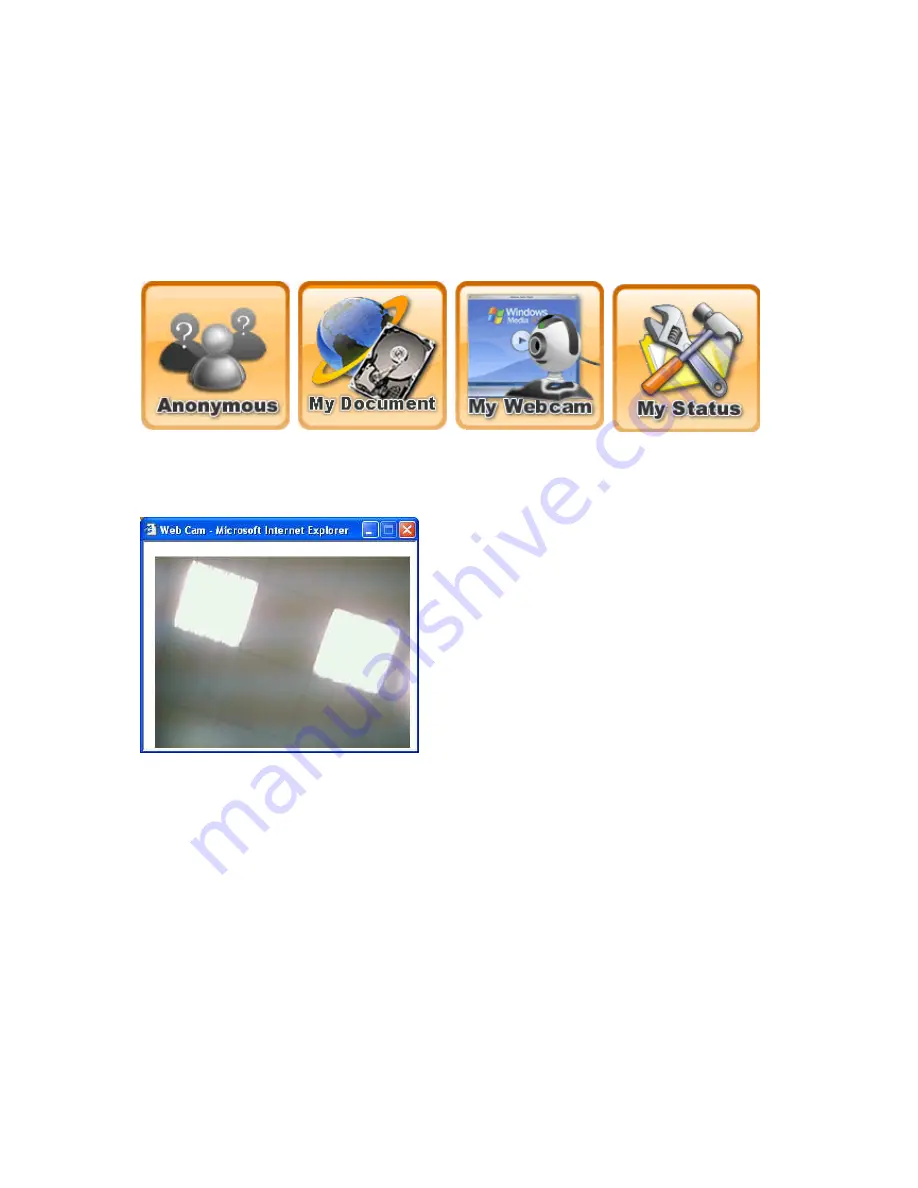
After login by personal, your will see the personal control panel screen as below, please click
on “
My Webcam
”.
There will be a pop-up screen showing the image from web camera as below example.
Содержание we 1110
Страница 1: ...1 ...
Страница 18: ...18 Step2 Click on Properties button Step3 Double click on Internet Protocol TCP IP ...
Страница 23: ...23 If it can t work it will show Request timed out ...
Страница 89: ...89 Step 2 Click Add a printer Step 3 Click Next ...
Страница 91: ...91 Step 6 Click Next Step 7 Input the IP address of WE 1110 192 168 1 1 Router Mode and then click Next ...
Страница 152: ...152 Step 6 Input Username and Password of your own You will see like as below monitor screen ...
Страница 158: ...158 Step 3 Click Next Step 4 Click the Local printer attached to this computer and then click Next ...
Страница 159: ...159 Step 5 Click the Create a new port and select the Standard TCP IP Port and then click Next Step 6 Click Next ...
Страница 224: ...224 Step 3 Click Next Step 4 Click the Local printer attached to this computer and then click Next ...
Страница 225: ...225 Step 5 Click the Create a new port and select the Standard TCP IP Port and then click Next Step 6 Click Next ...
Страница 258: ...258 Step3 Please finish these blank fields Then click on Create Account button ...
Страница 260: ...260 Step5 1 Click on the mail 2 Click on the address https www dyndns org account confirm xxx Step6 Click on login 2 ...
Страница 261: ...261 Step7 Click on the My Services under Account Step8 And then click on Add Host Services ...


