


143
WEP Key:
At most four keys can be set. A WEP key is either 10 or 26 hexadecimal
digits (0~9, a~f, and A~F) based on whether you select 64 bit or 128 bit in the WEP
drop-down list. The WE-1110 must have at least the same default key.
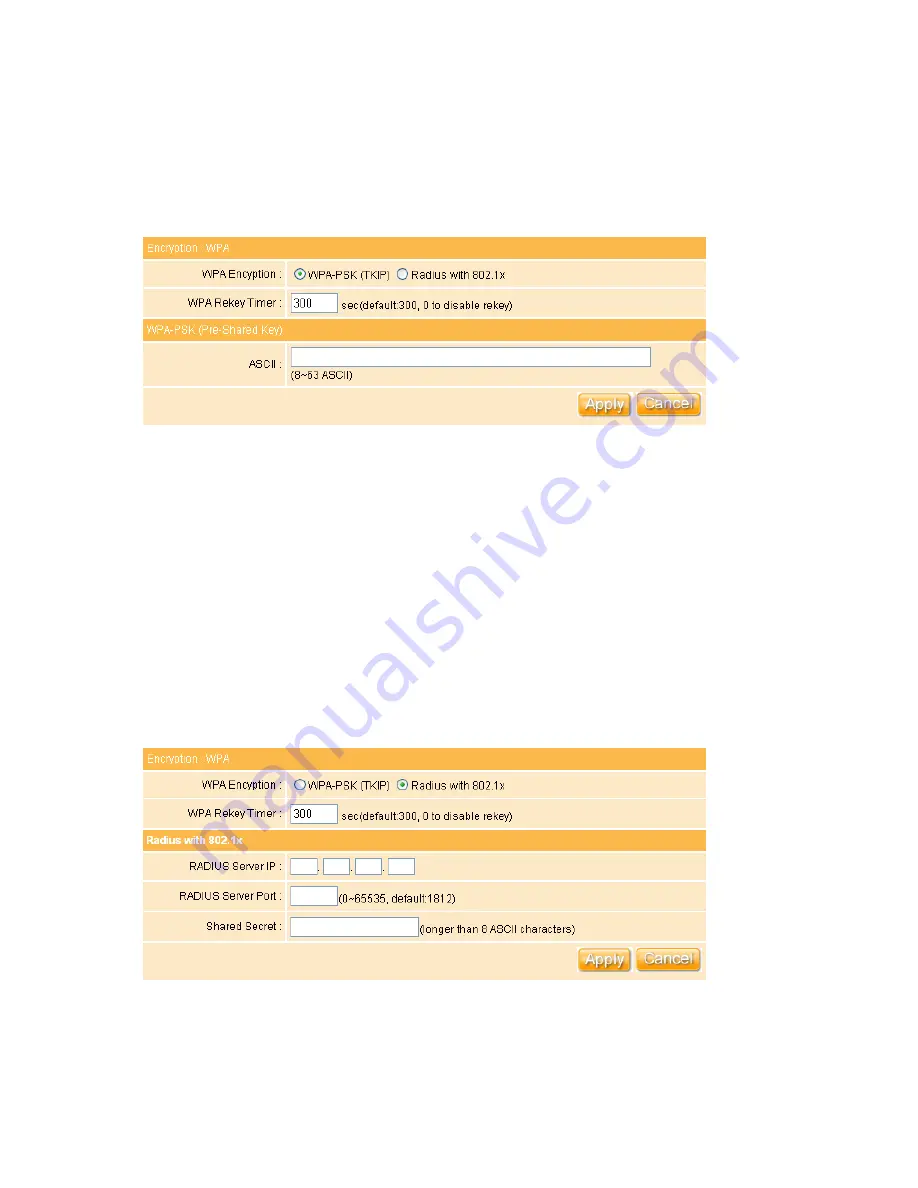
12. Encrypt Type - WPA
The WPA encrypts each frame transmitted from the radio using the pre-shared key (PSK)
which inputed from this panel or a key got dynamically through 802.1x.
WPA-PSK (TKSP)
: Allow the access from WPA clients simultaneously and the
encryption keys are given from PSK respectively.
WPA Rekey Timer
: Allows for the session keys to be refreshed over time, minimizing
the amount of data that is encrypted with the same session key.
ASKII
:
The
8~63
ASCII
characters
can
be
inputed.
For
example
“0123456789ABCD….”
Radius with 802.x:
Check this circle to enable Radius client function.
WPA Rekey Timer
: Allows for the session keys to be refreshed over time, minimizing
Содержание we 1110
Страница 1: ...1 ...
Страница 18: ...18 Step2 Click on Properties button Step3 Double click on Internet Protocol TCP IP ...
Страница 23: ...23 If it can t work it will show Request timed out ...
Страница 89: ...89 Step 2 Click Add a printer Step 3 Click Next ...
Страница 91: ...91 Step 6 Click Next Step 7 Input the IP address of WE 1110 192 168 1 1 Router Mode and then click Next ...
Страница 152: ...152 Step 6 Input Username and Password of your own You will see like as below monitor screen ...
Страница 158: ...158 Step 3 Click Next Step 4 Click the Local printer attached to this computer and then click Next ...
Страница 159: ...159 Step 5 Click the Create a new port and select the Standard TCP IP Port and then click Next Step 6 Click Next ...
Страница 224: ...224 Step 3 Click Next Step 4 Click the Local printer attached to this computer and then click Next ...
Страница 225: ...225 Step 5 Click the Create a new port and select the Standard TCP IP Port and then click Next Step 6 Click Next ...
Страница 258: ...258 Step3 Please finish these blank fields Then click on Create Account button ...
Страница 260: ...260 Step5 1 Click on the mail 2 Click on the address https www dyndns org account confirm xxx Step6 Click on login 2 ...
Страница 261: ...261 Step7 Click on the My Services under Account Step8 And then click on Add Host Services ...


