


64
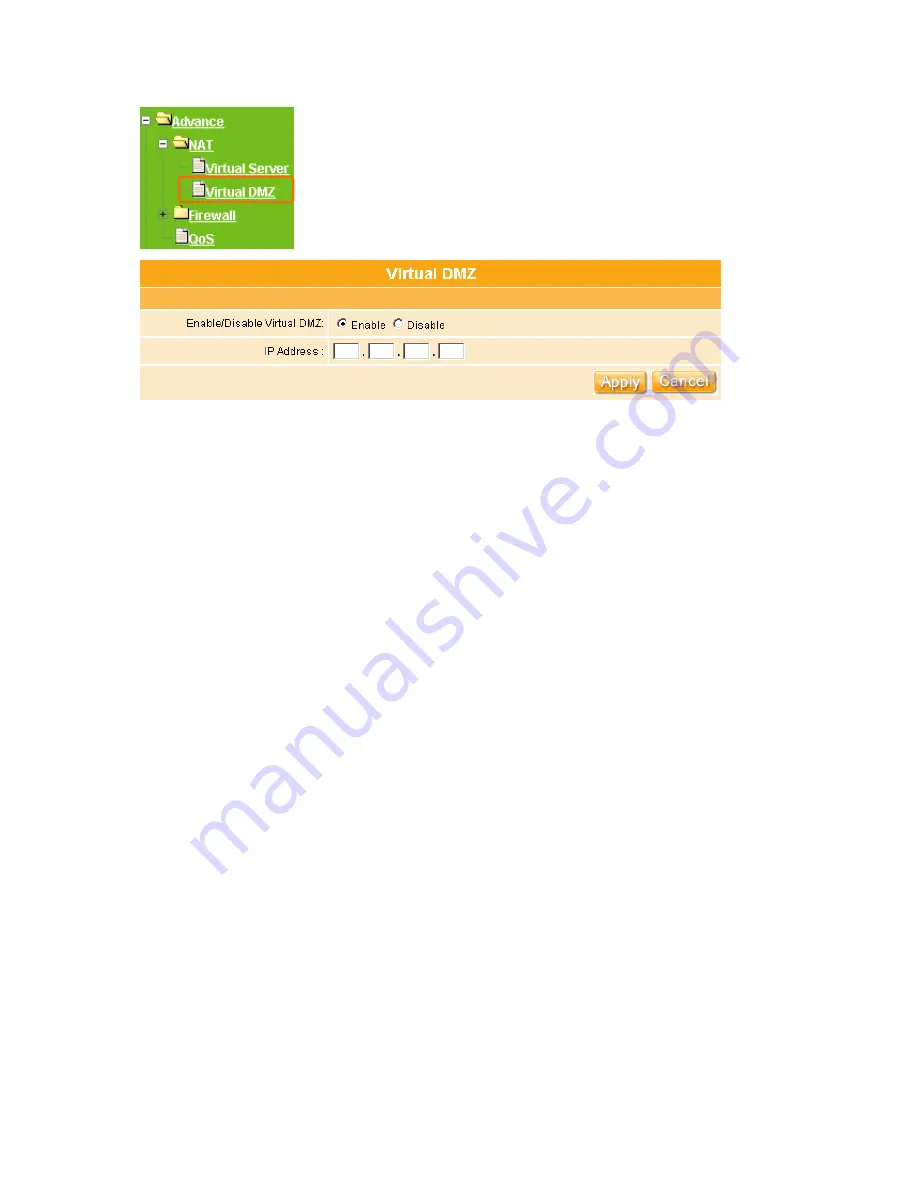
1. Enable/Disable Virtual DMZ:
Check “
Enable
” applies Virtual DMZ for the Router.
2. IP Address:
This field stands for the destination IP address that you like to redirect the
matched packet to.
3. Apply & Cancel
Click on
Apply
button to continue. Click on
Cancel
button to clean the setting on this
page.
3.4.2
Firewall
The Firewall function helps protect your local network against attack from outside. It also
provides a way of restricting users on the local network from accessing the Internet.
Additionally, it can filter out specific packets to trigger the router to place an outgoing
connection.
3.4.2.1 Firewall Configuration
The WE-1110 provides built-in firewall functions, enabling you to protect the system against
denial of service (DoS) attacks and other types of malicious accesses to your LAN while
providing Internet access sharing at the same time. You can also specify how to monitor
attempted attacks, and who should be automatically notified.
Содержание we 1110
Страница 1: ...1 ...
Страница 18: ...18 Step2 Click on Properties button Step3 Double click on Internet Protocol TCP IP ...
Страница 23: ...23 If it can t work it will show Request timed out ...
Страница 89: ...89 Step 2 Click Add a printer Step 3 Click Next ...
Страница 91: ...91 Step 6 Click Next Step 7 Input the IP address of WE 1110 192 168 1 1 Router Mode and then click Next ...
Страница 152: ...152 Step 6 Input Username and Password of your own You will see like as below monitor screen ...
Страница 158: ...158 Step 3 Click Next Step 4 Click the Local printer attached to this computer and then click Next ...
Страница 159: ...159 Step 5 Click the Create a new port and select the Standard TCP IP Port and then click Next Step 6 Click Next ...
Страница 224: ...224 Step 3 Click Next Step 4 Click the Local printer attached to this computer and then click Next ...
Страница 225: ...225 Step 5 Click the Create a new port and select the Standard TCP IP Port and then click Next Step 6 Click Next ...
Страница 258: ...258 Step3 Please finish these blank fields Then click on Create Account button ...
Страница 260: ...260 Step5 1 Click on the mail 2 Click on the address https www dyndns org account confirm xxx Step6 Click on login 2 ...
Страница 261: ...261 Step7 Click on the My Services under Account Step8 And then click on Add Host Services ...


