


66
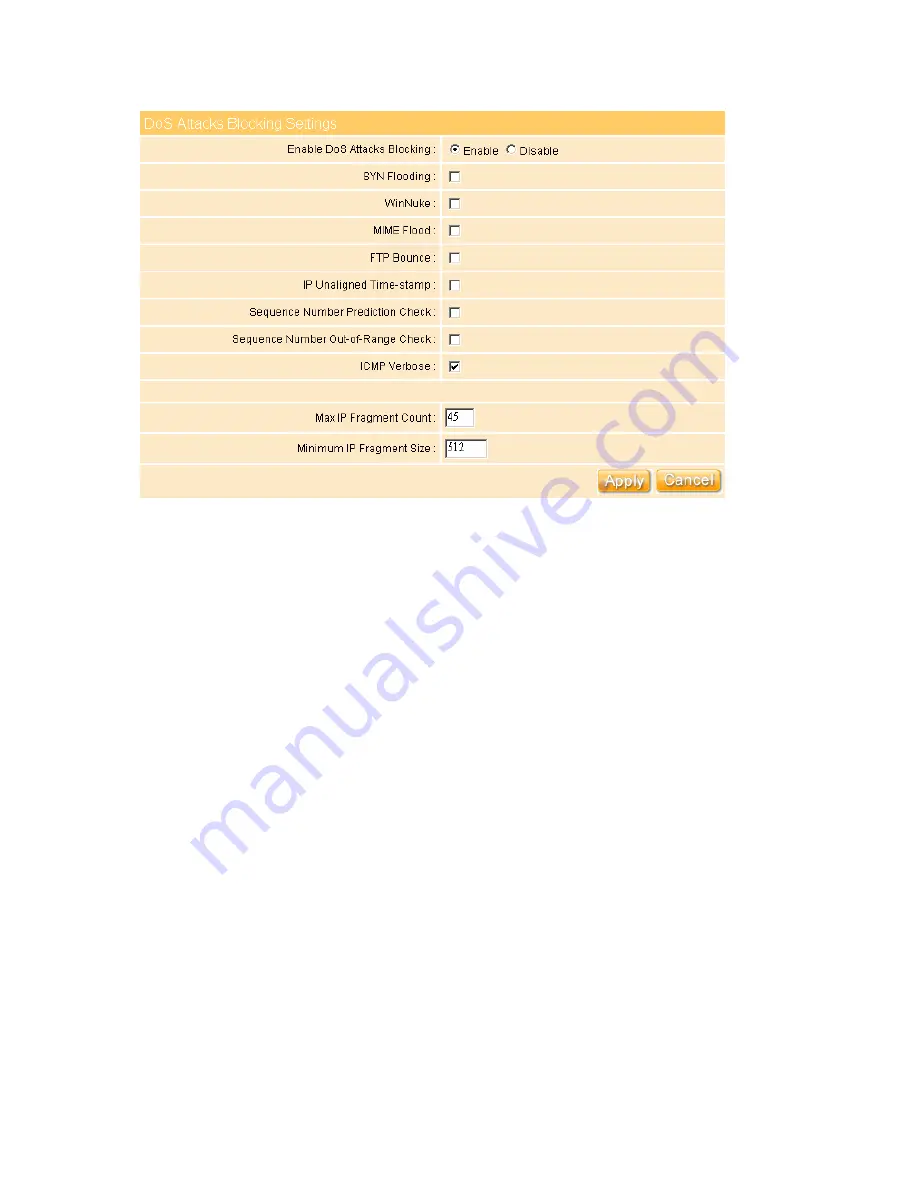
4. DoS Attacks Blocking Settings
Enable DoS Attacks Blocking:
The following sections will explain in more detail
about DoS Defense setup by using the web configurator. There are a total 8 kinds of
defense function for the DoS Defense Setup. By default, the DoS Defense
functionality is disabled. Further, once the DoS Defense functionality is enabled, the
default values for the threshold and timeout values existing in some functions are
set to 300 packets per second and 10 seconds, respectively. A brief description for
each item in the DoS defense function is shown below.
SYN Flooding:
Check or uncheck this option to enable or disable protection
against SYN Flood attacks. This attack involves sending connection requests to a
server, but never fully completing the connections. This will cause some computers
to get into a “suck state” where they cannot accept connections from legitimate
users. (“SYN” is short for SYN chronize”; this is the first step in opening an Internet
connection). You can select this box if you wish to protect the network from TCP
SYN flooding.
WinNuke:
Check or un-check this option to enable or disable protection against
WinNuke attacks. Some older versions of the Microsoft Windows OS are vulnerable
to this attack. If the computers in the LAN are not updated with recent
versions/patches, you are advised to enable this protection by checking this check
box.
Содержание we 1110
Страница 1: ...1 ...
Страница 18: ...18 Step2 Click on Properties button Step3 Double click on Internet Protocol TCP IP ...
Страница 23: ...23 If it can t work it will show Request timed out ...
Страница 89: ...89 Step 2 Click Add a printer Step 3 Click Next ...
Страница 91: ...91 Step 6 Click Next Step 7 Input the IP address of WE 1110 192 168 1 1 Router Mode and then click Next ...
Страница 152: ...152 Step 6 Input Username and Password of your own You will see like as below monitor screen ...
Страница 158: ...158 Step 3 Click Next Step 4 Click the Local printer attached to this computer and then click Next ...
Страница 159: ...159 Step 5 Click the Create a new port and select the Standard TCP IP Port and then click Next Step 6 Click Next ...
Страница 224: ...224 Step 3 Click Next Step 4 Click the Local printer attached to this computer and then click Next ...
Страница 225: ...225 Step 5 Click the Create a new port and select the Standard TCP IP Port and then click Next Step 6 Click Next ...
Страница 258: ...258 Step3 Please finish these blank fields Then click on Create Account button ...
Страница 260: ...260 Step5 1 Click on the mail 2 Click on the address https www dyndns org account confirm xxx Step6 Click on login 2 ...
Страница 261: ...261 Step7 Click on the My Services under Account Step8 And then click on Add Host Services ...


