50_
menu setup
menu setup
M
For the overlapped time when DST expires, play data with the DST time and then, play data after the DST time.
For more information about NTP, refer to
"
NTP
"
in the network setup.
However, if NTP is set to <
On
>, you cannot specify the time.
•
Date Format : Specify the date format. Use the left/right buttons or the mouse wheel to select one from
<
MM/DD/YYYY
>, <
YYYY/MM/DD
> and <
DD/MM/YYYY
>.
•
Time : Use the [◄►] button to move to Year, Month, Day and Hour in order. For time settings, use the [▲▼]
buttons or the mouse wheel.
•
Apply Date/Time : To apply the time settings, you must press the <
Apply Date/Time
> button. If you press
this button, the warning message will be displayed.
J
Other than the
"
Time/Date
"
settings will be saved automatically when you exit the menu. However, the
"
Time/Date
"
setting
may affect HDD recoding file system so it are not saved automatically. To apply your changes, you must press the <
Apply
Date/Time
> button.
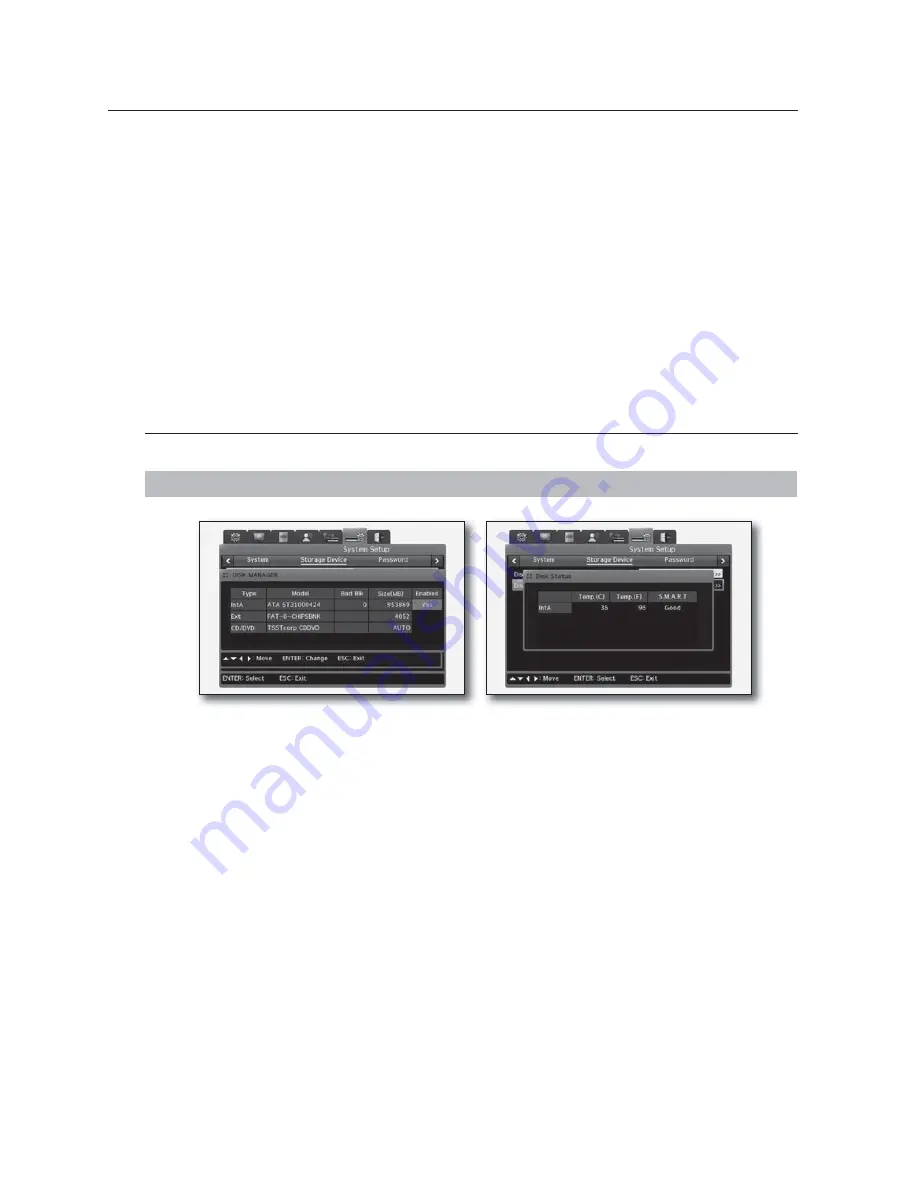
Disk Check
This will check the internal and external HDDs, and enable you to add, remove or format one as you want.
MENU - ► - ► - ► - ► - ► - ENTER - ► - ENTER
•
DISK MANAGER : You can use the disk manager to manage both internal/external HDDs and external
storage devices. You can specify the HDD status, error block, size and use of HDD.
- Type : Display the disk location and type.
IntA (internal HDD A), IntB (internal HDD B), eSATA (external storage), Ext (external storage)
- Model : Show the HDD model name.
- Bad Blk : Show the HDD containing an error block. It is displayed "0" if there is no error. The error bock will
not be displayed for an unused HDD.
- Size(MB) : Display the HDD size in MB.
- Enabled : Enable or disable the HDD.
If you change HDD to Yes
- Enabled : With this set to <
No
>, if you press [
ENTER
] or turn the mouse wheel, you will see a warning
message as below:
"
NOTICE: This disk can be added without format. Nevertheless, do you want to format this disk?
"
- If selecting <
NO
>, the existing data in the HDD will be intact and the HDD will be enabled.
- If selecting <
YES
>, the existing data in the HDD will be removed and the HDD will be enabled.


