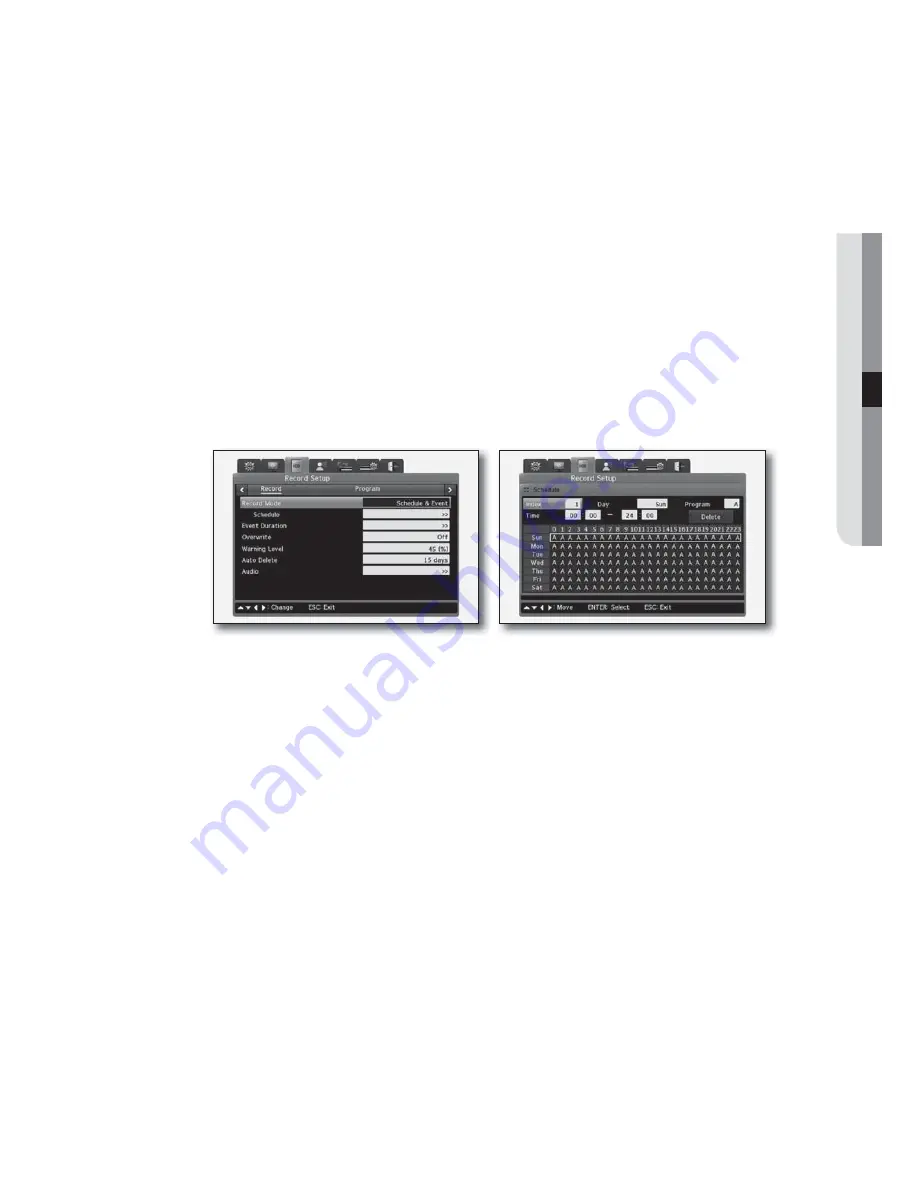
● MENU SETUP
•
Event Duration : Specify the pre- and post-event recording time.
Your setting for <
Pre Event Duration
> and <
Post Event Duration
> apply to the entire channels.
•
Overwrite : Specify the use of overwrite if the HDD's space is full.
•
Warning Level : It checks the usage of all the disks attached or connected to the DVR and warns you if the
usage reaches the specified level.
•
Auto Delete : If you specify the auto deletion period, the recording data before the period will be deleted
automatically.
J
When completing your settings, please be sure to backup the exiting data before saving your settings because they will be
lost.
•
Audio : Audio settings include, audio channel, audio recording, audio gain, sync video channel and audio mix.
For more information about audio settings, refer to
"
To configure the audio settings
"
. (page 37)
To make scheduled recoding
The DVR will start recoding as scheduled and programmed.
1.
Set <
Record Mode
> to <
Schedule & Event
>, and press [
ENTER
].
2.
Use the arrow button [▼] to move to <
Schedule
>, and press [
ENTER
].
You will see the schedule setup screen.
Specify a program for each day or timeline as you want.
3.
Use [▲▼◄►] buttons to specify each item of the schedule menu and press [
ENTER
].
•
Index : Schedule unit between 1 and 50
•
Day : Specify the day
•
Program : Specify the program to record (A~I)
•
Time : Specify the time
•
Delete : Delete by the index unit
4.
If you specify the Index, Day, Program and Time, your settings will be displayed in the table.
If you use the mouse to select the start and end times of recording, details will be displayed in each of
Index, Day, Program and Time.
English
_35


