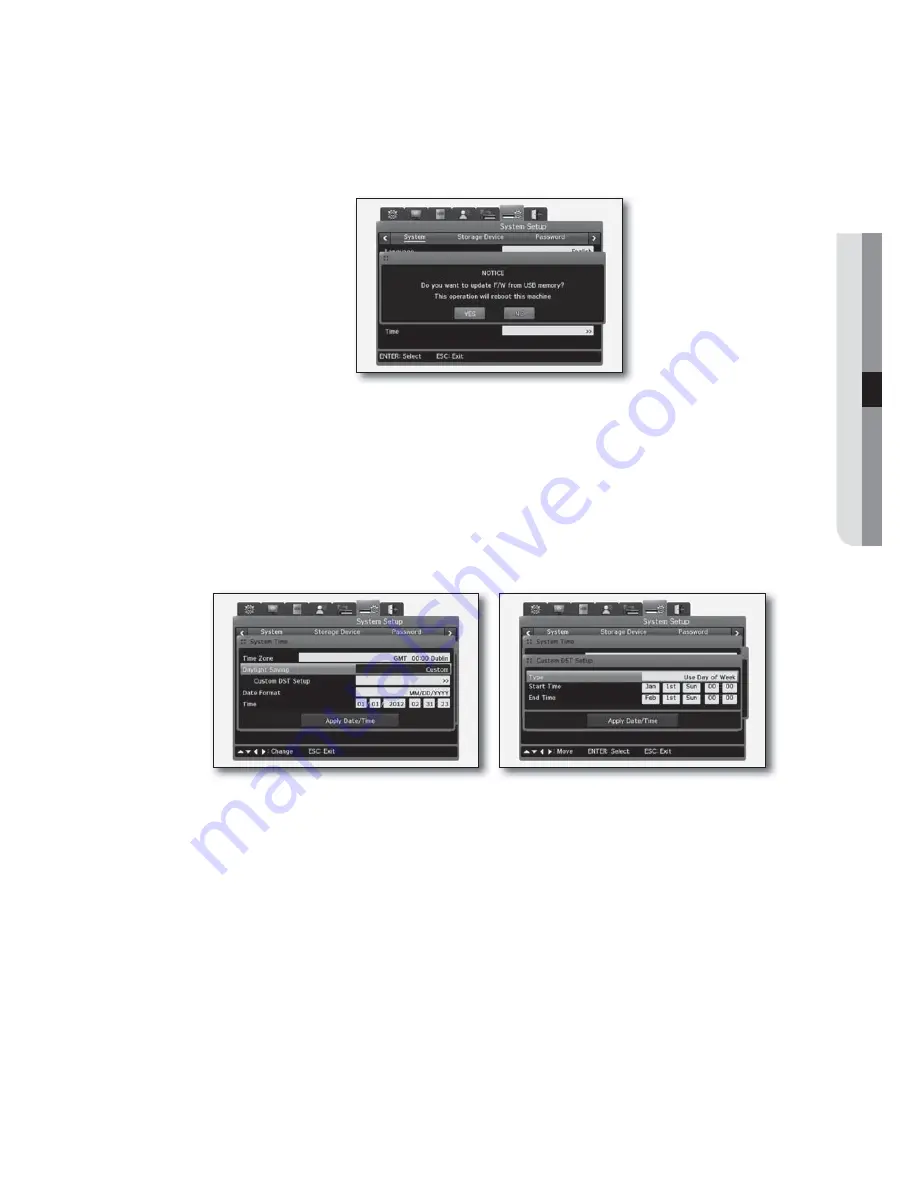
● MENU SETUP
To update the software
The USB updatable files is formatted in "*.dat".
1.
Download the USB updatable files to the USB device before connecting to the DVR.
2.
Select the Software Update item in the system menu, and press [
ENTER
].
3.
If you are prompted to confirm the update, click <
YES
> and press [
ENTER
].
The system will reboot in a moment with a buzzer.
To specify the time
J
If you change the time in the recording process, the time of an existing recording video will be changed accordingly so it is
recommended to copy important video data before changing the time.
1.
Press the [
MENU
] button on the front panel or select <
A
> in the Function menu.
2.
Move to the <
System
> menu and select <
Time
>. Then, press [
ENTER
].
3.
If you move to a sub menu item, use the direction buttons or the mouse to select it, and press [
ENTER
] or
simply click it.
•
Time Zone : Use the front [◄►] or mouse wheel to select a time zone. Each time you press the arrow button,
the time zone will switch. (To return to the previous menu, press the front [
ESC
] button or simply right-click it.
This method is the same in all OSD menus.)
•
Daylight Saving : This will be in sync with your time zone setting. Namely, If you select an area where DST is
applied in the Time Zone menu, DST will be automatically set to <
On
>. Otherwise, it will be set to <
Off
>.
Select <
Custom
> if you want to configure your own DST settings regardless of the standard time zone and
DST. If you select <
Custom
>, the Custom DST menu will be displayed.
- Custom DST contains two options <
Use Day of Week
> and <
Use Day of Month
>.
In <
Use Day of Week
>, specify the month, week, day of the week and time for the start and end times of
DST.
<
Use Day of Month
> requires you to specify the month, day and time for the start and end times of DST.
English
_49


