- 88 -
MF 5990dn - Agoris M943dn
12 -
PC Functions
3
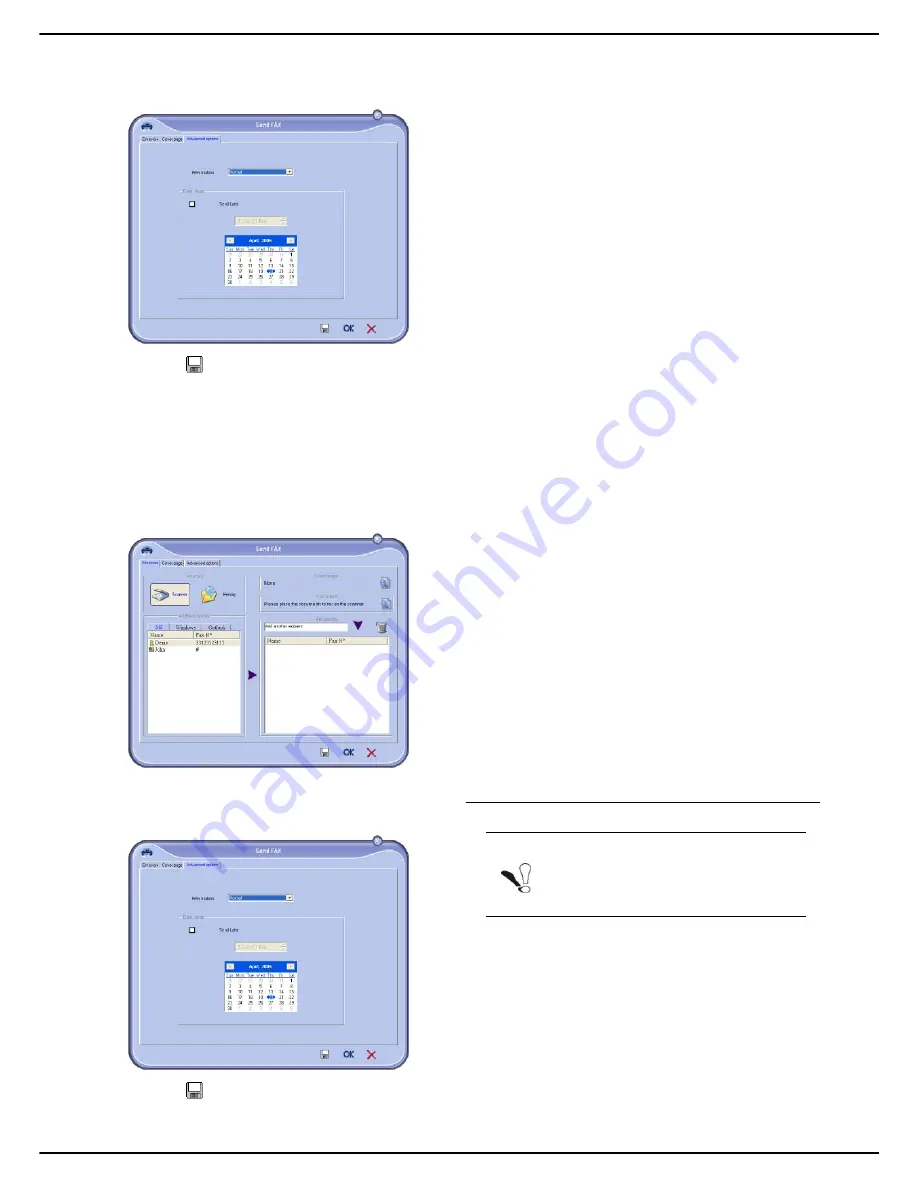
Add the recipients to the list of recipients. Click on
the tab
Advanced options
and select the resolu-
tion
Fine
as indicated below:
4
Click on
to save the background image.
>
The background image is created in the folder C:\Pro-
gram Files\Companion Suite Pro LH2\Docu-
ments\FAX\Temporary and has the file extension .fax.
Option (B):
1
Run
Companion FAX Manager
, select
New > Fax
and select the scanner as the source as indicated
below:
2
Add the recipients to the list of recipients. Click on
the tab
Advanced options
and select the resolu-
tion
Fine
as indicated below:
3
Click on
to save the background image.
>
The background image is created in the folder C:\Pro-
gram Files\Companion Suite Pro LH2\Docu-
ments\FAX\Temporary and has the file extension .fax.
Whether you choose option
A
or
B
, a background image
with the extension .fax is created in C:\Program
Files\Companion Suite Pro
LH2\Documents\FAX\Temporary.
You can now proceed to the second step described
below.
Adding information fields
Now that the background image is created in C:\Program
Files\Companion Suite Pro
LH2\Documents\FAX\Temporary, you can add the
required fields on the cover page background image:
To do so:
1
Run
Companion FAX Manager
, select
New >
Fax
, click on the tab
Cover page
and click on the
box
With cover page
.
2
Click on the
New
button. The cover page Creation
page is displayed.
3
Click on
Open
in the tool bar, switch the file filter to
*.fax and go to the directory C:\Program Files\Com-
panion Suite Pro LH2\Documents\FAX\Temporary
containing the background image you created in
the first step.
4
Click on the button
Fields
in the tool bar. A window
opens enabling you to add the fields to the back-
ground image.
5
Click on
Save
to save the cover page template and
exit this window.
6
The
New Fax
window opens. You can now select
the cover page template that you want to use. By
double clicking on the preview in the lower right-
hand corner, another window opens, displaying a
preview of the cover page with the fields completed
with the recipients contact details.
Creating a cover page
1
From the tab
Cover page
, click on
New
.
2
Select the cover page template you created from
the menu
File
.
Note
A cover page template must be created be-
fore sending a fax using it.
Содержание MF5990dn
Страница 1: ...TELECOM User Manual MF5990dn Agoris M943dn...


