40
Part 4 Steps Up Through Printing and Cutting
Cutting Test
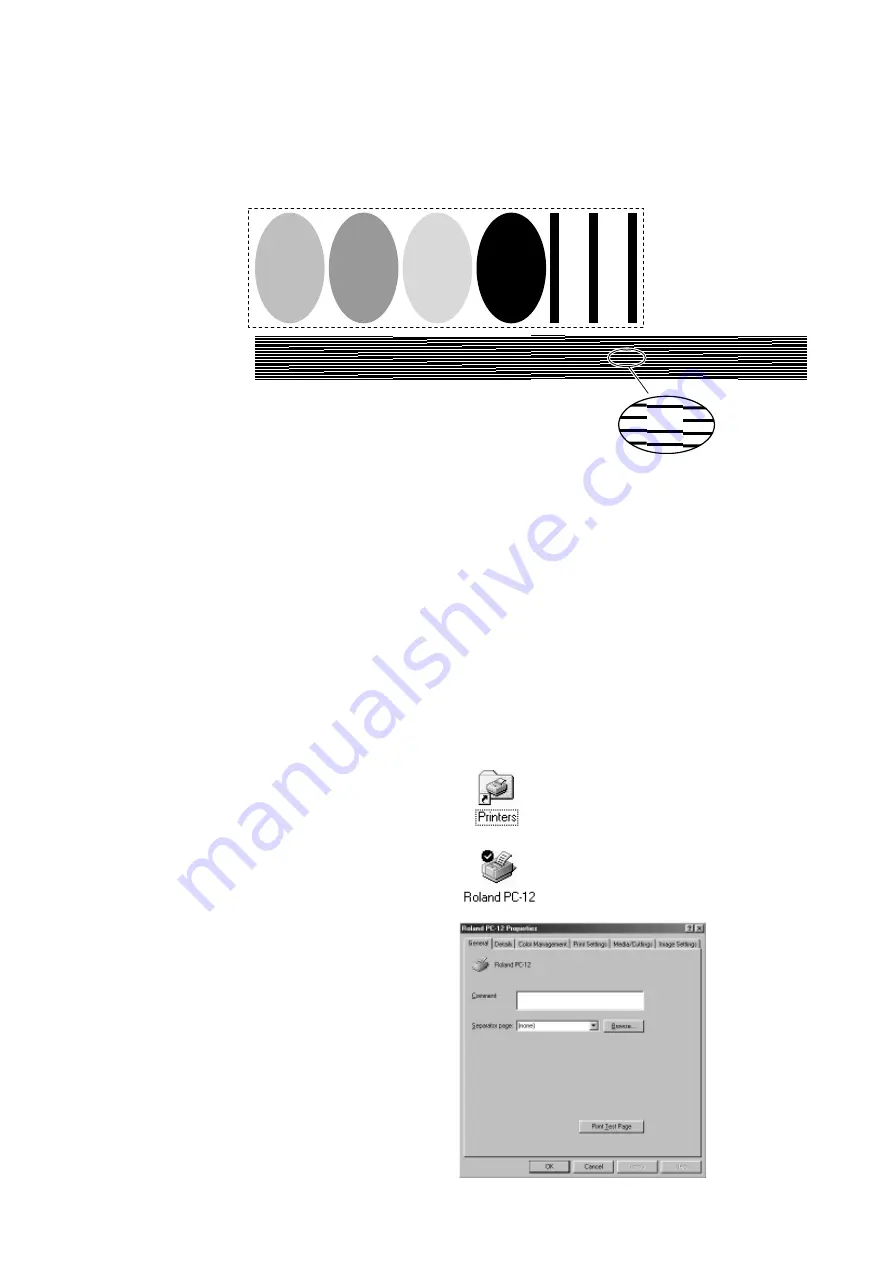
You can carry out a cutting test from the [Roland PC-12 Properties] dialog box.
When you are using the included test-use media, go to [User Defined Printing Size] and set [Width] to 290 mm (11-3/8 in.) . For information
on how to make the setting, go to "4.2 Output from a Compatible Program" and refer to "Page Settings."
1
Make sure the PC-12 is turned on and media is loaded.
2
Go into Control Panel and double-click the [Printers] icon
to display it.
3
In the [Printers] window, click the [Roland PC-12] icon to
select it.
4
From the [File] menu, choose [Properties]. In Windows NT
4.0, select [Document Defaults]. In Windows 2000, select
[Printing Preferences].
The [Roland PC-12 Properties] dialog box appears.
Output Results of the Printing Test
Cyan
Magenta
Yellow
Black
1, 2
3
R O M V e r s i o n
: 1 . 0 0
H e a d I D
: Z 0 9 0 1 0 0
C o l u m n P r i n t e d
: 0 0 0 4 8 0 m
M e d i a C u t
: 0 0 0 5 8
Example of Output Results
1
Four-color printing (cyan,
magenta, yellow, and black)
2
Cutting of a rectangle around
four-color printing
3
Printing-head dot drop-out
test pattern
4
Printer information
4
If there are any missing dots or other
evidence of a drop in printing gulity, clean
the head.
For more information about head cleaning,
see “6-1 Cleaning the Printing Heads.”
Содержание ColorCamm PC-12
Страница 96: ...MEMO 94...
Страница 97: ...R1 010808...


