Functions for Master-Making
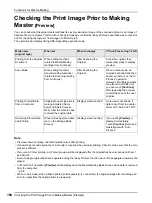
Checking the Print Image Prior to Making Master [Preview]
110
4
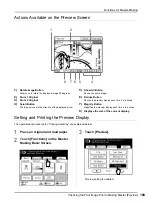
Make necessary settings.
You can configure print functions to apply to the
new original as needed.
5
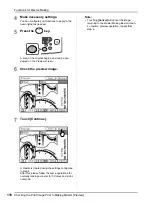
Press the
key.
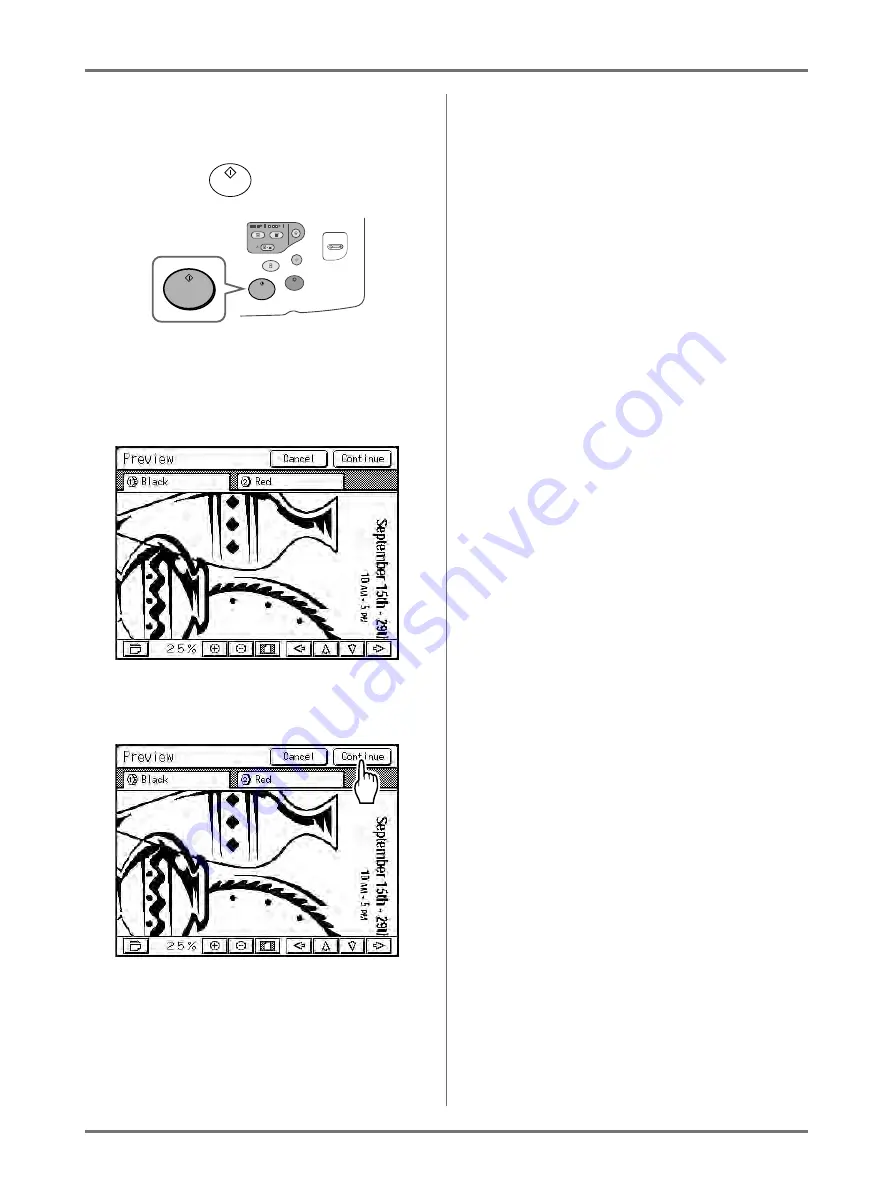
A scan of the original begins, and can be pre-
viewed on the Preview screen.
6
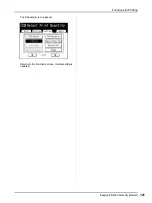
Check the preview image.
7
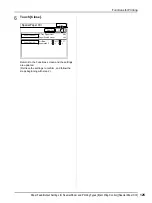
Touch [Continue].
A master is created using the settings configured
in step 4.
After this, please follow the same operations for
normally making a master for 1-Colour and 2-Col-
our mode.
Note:
• Touching
[Cancel]
will cancel the image,
returning to the Master Making Basic Screen.
To resume preview operation, repeat from
step 4.
Содержание MZ770
Страница 1: ......
Страница 2: ......
Страница 3: ......
Страница 34: ...Getting Acquainted Display 31...
Страница 114: ...Functions for Master Making Checking the Print Image Prior to Making Master Preview 111...
Страница 196: ...Advanced Features Keeping Masters Secure After Printing 193...
Страница 223: ...Storage and Scan Modes Option 2 Colour Printing with the Original and Storage Data Stamp 220 6 Touch Close 7 Touch...
Страница 224: ...Storage and Scan Modes Option 2 Colour Printing with the Original and Storage Data Stamp 221...
Страница 258: ...Replacing Consumables Disposal of Depleted Consumables 255...
Страница 264: ...Maintenance Cleaning 261...
Страница 300: ...Appendix Specifications 297...
Страница 305: ...Index 302 024 36004 802...
Страница 307: ...304 024 36004 802...

