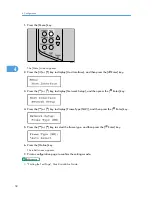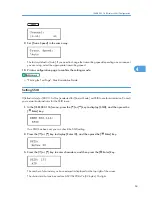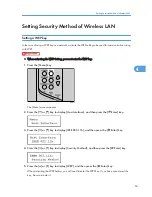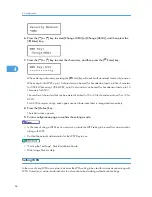
7.
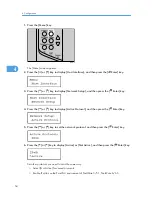
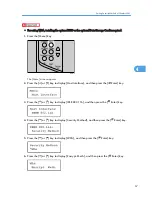
Press the [Escape] key until the screen returns to the [Network Setup] menu.
8.
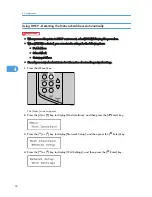
If you use IPv4, assign the IPv4 address to the printer. Press the [ ] or [ ] key to display
[IPv4 Settings], and then press the [ Enter] key.
To get the IP address for the printer, contact your network administrator.
9.
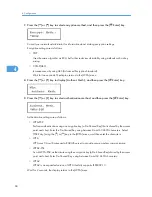
To specify the IP Address, Press the [ ] or [ ] key to display [IPv4 Address], and then press
the [ Enter] key.
If you use IPv4, also assign subnet mask and gateway address.
10.
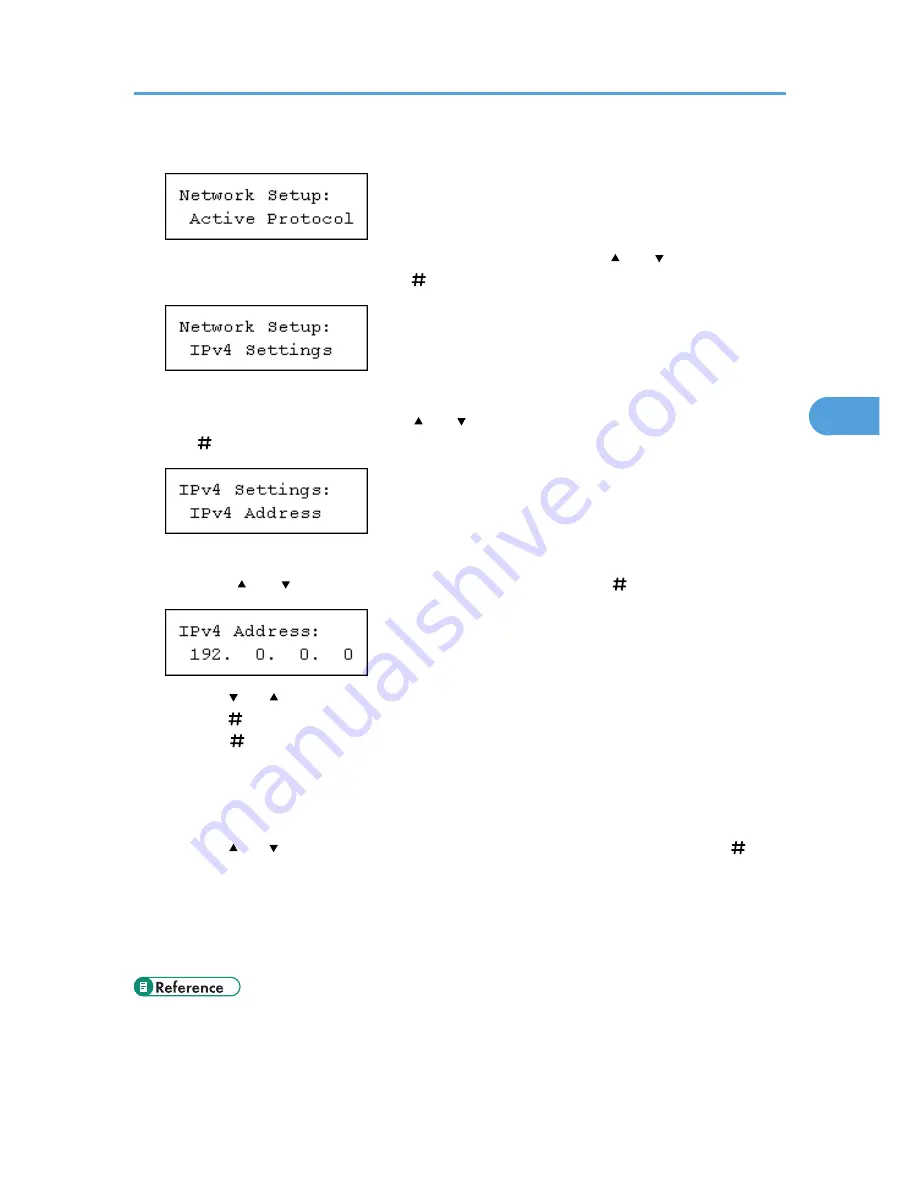
Press the [ ] or [ ] key to enter the address, and then press the [ Enter] key.
Press the [ ] or [ ] key to enter the left most entry field of the address. After entering the left field,
press the [ Enter] key, and then you can enter the next field. After completing to enter in the all fields,
press the [ Enter] key.
Do not set "011.022.033.044" as the IP address.
11.
If you use IPv4, use this method of assigning IPv4 address to assign subnet mask and
gateway address.
Press the [ ] or [ ] key to select [Subnet mask] or [Gateway Address], and then press the [ Enter]
key.
12.
Press the [Online] key.
The initial screen appears.
13.
Print a configuration page to confirm the settings made.
• "Printing the Test Page", Quick Installation Guide.
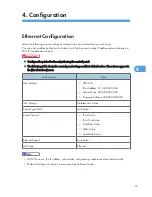
Ethernet Configuration
55
4
Содержание LP131n
Страница 6: ...Options 192 INDEX 197 4 ...
Страница 18: ...1 Guide to the Printer 16 1 ...
Страница 48: ...2 Installing Options 46 2 ...
Страница 53: ... p 37 Attaching Gigabit Ethernet Board Type A USB Connection 51 3 ...
Страница 76: ...4 Configuration 74 4 ...
Страница 130: ...6 Replacing Consumables and Maintenance Kit 128 6 ...
Страница 140: ...7 Cleaning the Printer 138 7 ...
Страница 198: ...11 Appendix 196 11 ...
Страница 201: ...MEMO 199 ...
Страница 202: ...MEMO 200 GB GB EN USA G176 ...
Страница 203: ...Copyright 2006 ...
Страница 204: ...Hardware Guide Model No MLP31n MLP36n P7031n P7035n LP131n LP136n Aficio SP 4100N Aficio SP 4110N G176 8602 EN USA ...


